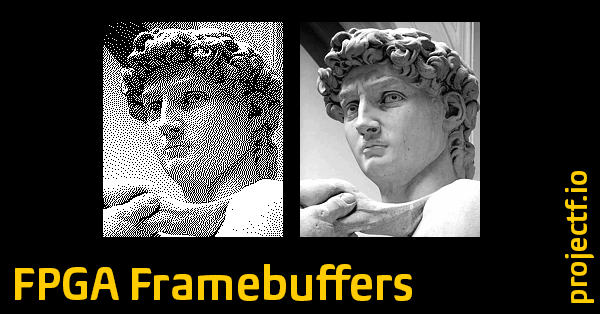
Welcome back to Exploring FPGA Graphics. In the previous part, we worked with sprites, but another approach is needed as graphics become more complex. Instead of drawing directly to the screen, we draw to a bitmap, which is read out to the screen. This post provides an introduction to framebuffers and how to scale them up. We’ll also learn how to fizzlefade graphics Wolfenstein 3D style.| Project F
Welcome back to Exploring FPGA Graphics. In the previous part, we updated our display signals and learnt about colour palettes. This part shows you how to create fast, colourful graphics with minimal logic. Hardware sprites maintain much of the simplicity of our Pong design while offering greater creative freedom.| Project F
Welcome to Exploring FPGA Graphics. In this series, we learn about graphics at the hardware level and get a feel for the power of FPGAs. We’ll learn how screens work, play Pong, create starfields and sprites, paint Michelangelo’s David, draw lines and triangles, and animate characters and shapes. Along the way, you’ll experience a range of designs and techniques, from memory and finite state machines to crossing clock domains and translating C algorithms into Verilog.| Project F


