Well, it’s that time again. This is the start of a second series of articles on raytracing in Rust following on from my previous series. This time, I’ll be doing all of the rendering on a GPU using Accel - see my previous post on Accel. I thought this would be a good project for learning about GPU programming, see. Second, this time I want to write a path tracer, rather than a raytracer.| bheisler.github.io
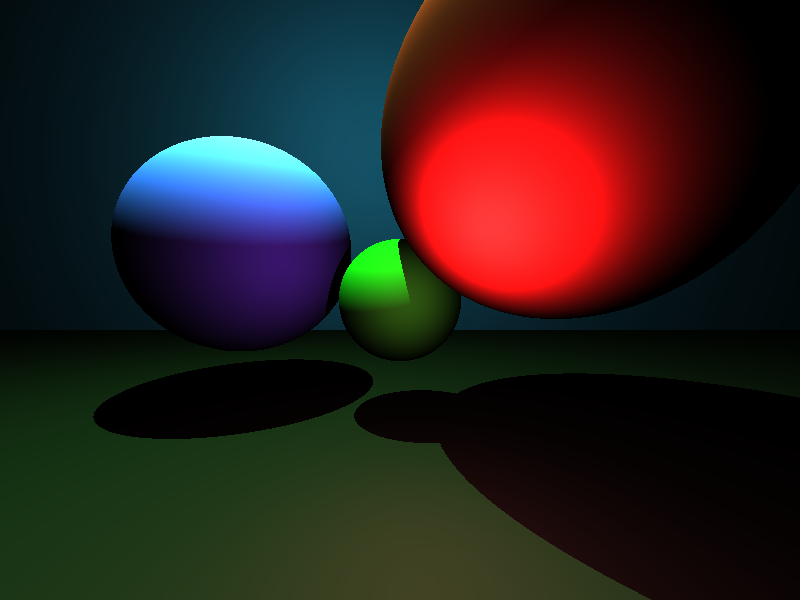
Welcome to Part 2 of my series on writing a raytracer in Rust. If you haven’t already, you may wish to read Part 1. Previously, we implemented a basic raytracer which can render only a single sphere with no lighting. This time, we’ll add multiple objects, planes, and basic lighting. Multiple Objects It’s pretty easy to change our scene definition to contain a Vec of spheres instead of just a single one.| bheisler.github.io
Hello! This is part one of a short series of posts on writing a simple raytracer in Rust. I’ve never written one of these before, so it should be a learning experience all around. So what is a raytracer anyway? The short version is it’s a computer program that traces the paths of simulated rays of light through a scene to produce high-quality 3D-rendered images. Despite that, it also happens to be the simplest way to render 3D images.| bheisler.github.io