Yosys and nextpnr have excellent support for Lattice ECP5 FPGAs. However, without using the ECP5 PLL (phase-locked loop), you’re stuck running at the speed of your dev board oscillator. This post outlines the architecture of ECP5 PLL and provides several practical examples to get you started with generating custom clock frequencies. Generating your own clock frequencies is much more straightforward than it first appears.| Project F
This FPGA demo effect renders four animated rasterbars. I created this effect with benjamin.computer for All You Need, a Chapterhouse prod released at Revision 2022.| Project F
This FPGA demo effect renders a horizontally scrolling message along a sine wave. I created this effect with benjamin.computer for All You Need, a Chapterhouse prod released at Revision 2022.| Project F
In this FPGA demo, we use multiple shapes (rectangles, triangles, circles) to render a simple picture of a castle. We don’t use any software or CPU, just shape rasterization and finite state machines. This Verilog design runs on the Digilent Arty A7 or as a Verilator/SDL simulation on your computer.| Project F
Welcome back to Exploring FPGA Graphics. Last time, we played Pong against our FPGA; this time, we revisit displays signals and learn about palettes and indexed colour.| Project F
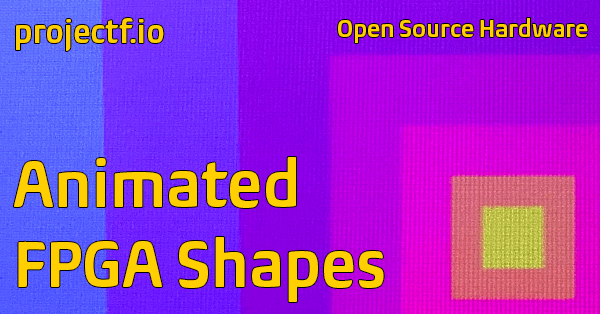
Welcome back to Exploring FPGA Graphics. Last time, we got an introduction to FPGA graphics; let’s put our new graphical skills to work with some simple demo effects. I hope these examples inspire you to create your own effects and improve your hardware design skills.| Project F
Welcome back to Exploring FPGA Graphics. In the final part of our introductory graphics series, we’re looking at animation. We’ve already seen animation with hardware sprites, but double buffering gives us maximum creative freedom with fast, tear-free motion.| Project F
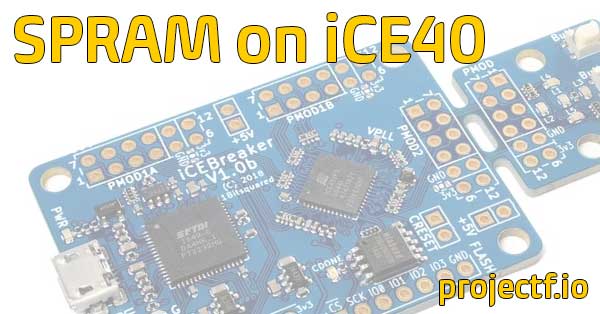
The iCE40 UltraPlus distinguishes itself from the rest of the iCE40 FPGA family by including a relatively generous 1 Mb (128 KiB) of single port synchronous SRAM known as SPRAM. SPRAM blocks are much larger than BRAM but are limited to a single port and 16-bit data bus.| Project F
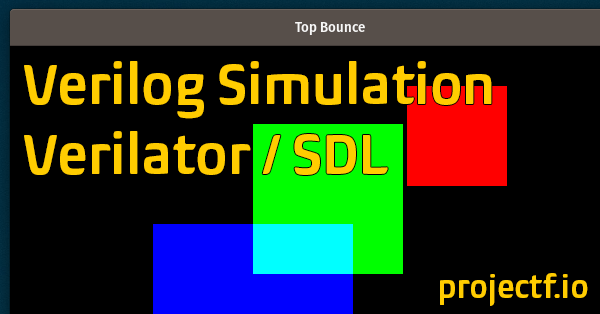
It can be challenging to test your FPGA or ASIC graphics designs. You can perform low-level behavioural simulations and examine waveforms, but you also need to verify how the video output will appear on the screen. By combining Verilator and SDL, you can build Verilog simulations that let you see your design on your computer.| Project F
Welcome back to our three-part FPGA tutorial with SystemVerilog and the Digilent Arty A7. In this third instalment, we build a countdown timer and model traffic lights. There’s a lot to get through this time: enums, case statements, button debouncing, shift registers, and the all-important finite state machine.| Project F
Welcome back to Exploring FPGA Graphics. In 2D Shapes, we build on what we learned from Lines and Triangles in two ways: drawing new shapes and learning to colour them in. We’ll start with rectangles and filled triangles before moving on to circles. These basic shapes make it possible to create a wide variety of graphics and user interfaces.| Project F
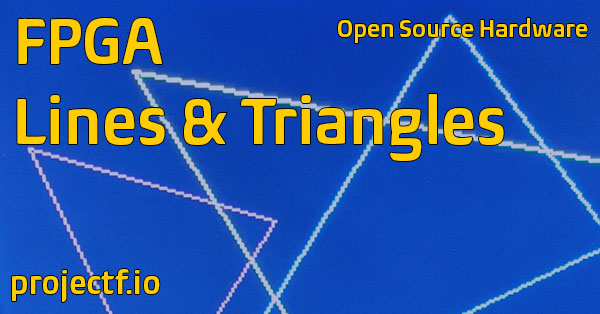
Welcome back to Exploring FPGA Graphics. It’s time to turn our attention to drawing. Most modern computer graphics come down to drawing triangles and colouring them in. So, it seems fitting to begin our drawing tour with triangles and the straight lines that form them. This post will implement Bresenham’s line algorithm in Verilog and create lines, triangles, and even a cube (our first sort-of 3D).| Project F
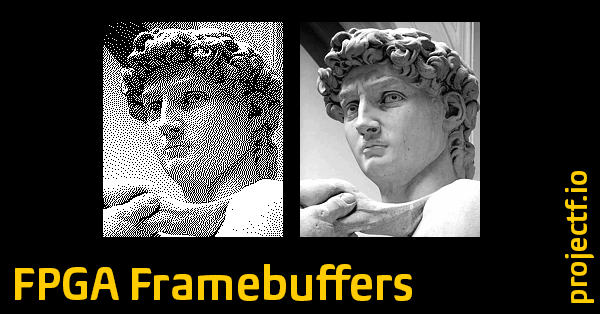
Welcome back to Exploring FPGA Graphics. In the previous part, we worked with sprites, but another approach is needed as graphics become more complex. Instead of drawing directly to the screen, we draw to a bitmap, which is read out to the screen. This post provides an introduction to framebuffers and how to scale them up. We’ll also learn how to fizzlefade graphics Wolfenstein 3D style.| Project F
Welcome back to Exploring FPGA Graphics. In the previous part, we updated our display signals and learnt about colour palettes. This part shows you how to create fast, colourful graphics with minimal logic. Hardware sprites maintain much of the simplicity of our Pong design while offering greater creative freedom.| Project F
Designing with FPGAs involves many types of memory, some familiar from other devices, but some that are specific to FPGAs. This how to gives a quick overview of the different flavours, together with their strengths and weaknesses, and some sample designs. This guide includes external memory types, such as SRAM and HBM, that are used in CPUs and GPUs, so much of what is said here is generally applicable, but the focus is on FPGAs.| Project F
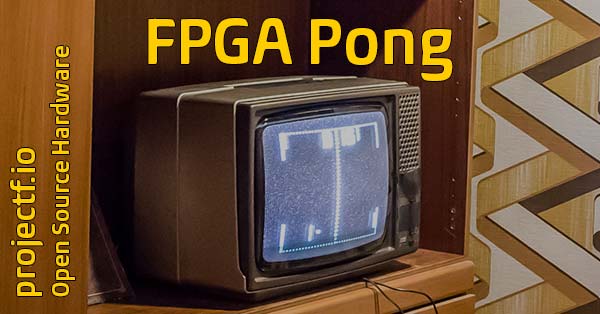
Welcome back to Exploring FPGA Graphics. Last time, we raced the beam; this time, we’ll recreate the arcade classic, Pong and play against our FPGA.| Project F
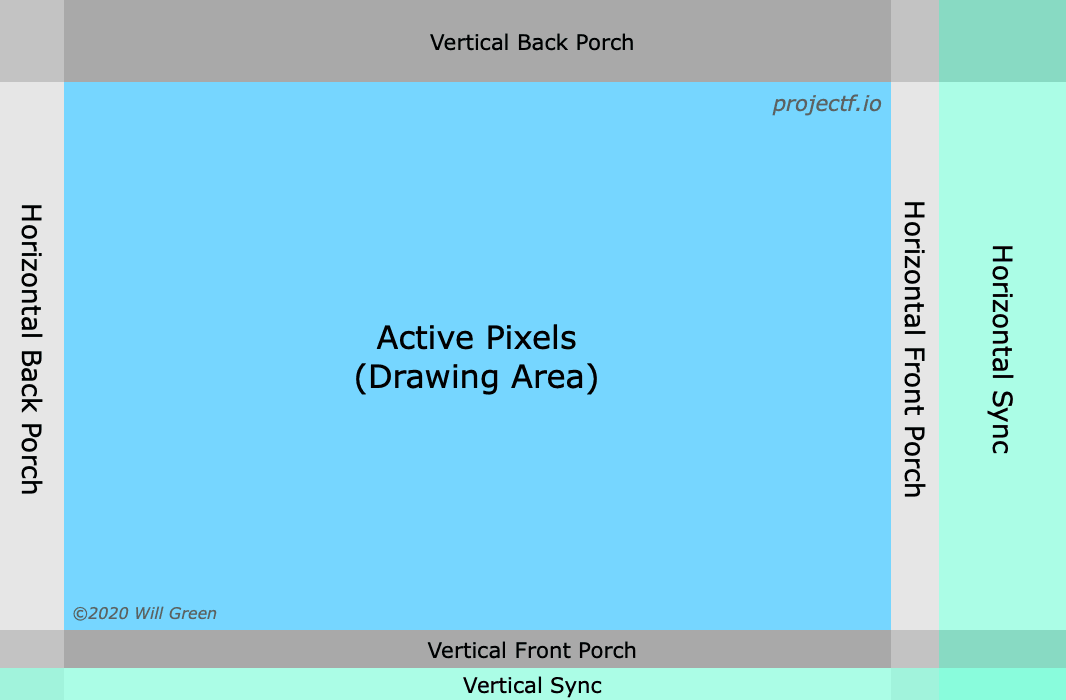
To work with standard monitors and TVs, you need to use the correct video timings. This how to includes the timings for five standard display modes using analogue VGA, DVI, HDMI, or DisplayPort: 640x480 (VGA), 800x600 (SVGA), 1280x720, and 1920x1080 (30 Hz and 60 Hz).| Project F
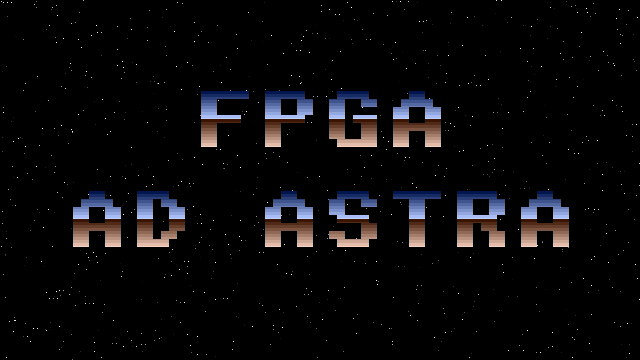
This collection of related demos combines some of my earliest FPGA designs from 2018: simple sprites and an animated starfield generated with a linear-feedback shift register.| Project F