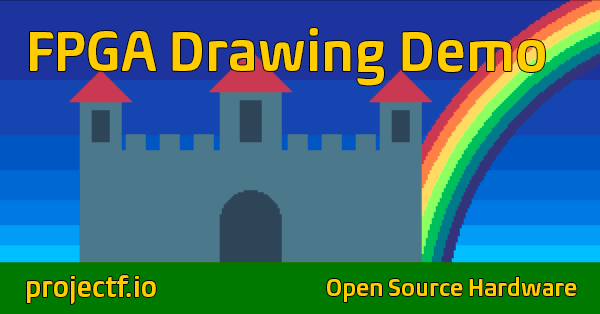
In this FPGA demo, we use multiple shapes (rectangles, triangles, circles) to render a simple picture of a castle. We don’t use any software or CPU, just shape rasterization and finite state machines. This Verilog design runs on the Digilent Arty A7 or as a Verilator/SDL simulation on your computer.| Project F
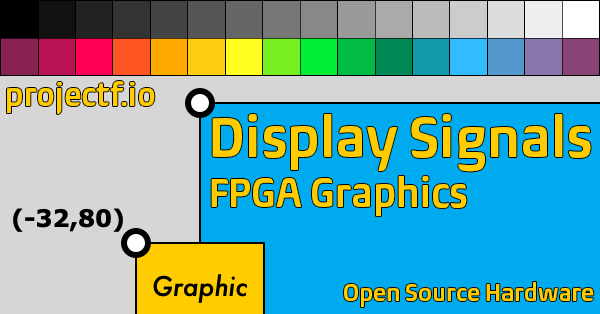
Welcome back to Exploring FPGA Graphics. Last time, we played Pong against our FPGA; this time, we revisit displays signals and learn about palettes and indexed colour.| Project F
Welcome back to Exploring FPGA Graphics. Last time, we got an introduction to FPGA graphics; let’s put our new graphical skills to work with some simple demo effects. I hope these examples inspire you to create your own effects and improve your hardware design skills.| Project F
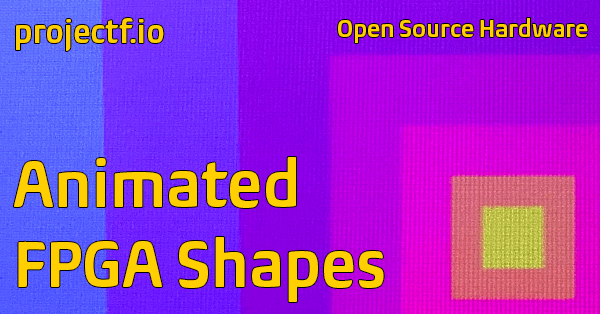
Welcome back to Exploring FPGA Graphics. In the final part of our introductory graphics series, we’re looking at animation. We’ve already seen animation with hardware sprites, but double buffering gives us maximum creative freedom with fast, tear-free motion.| Project F
Welcome back to Exploring FPGA Graphics. In 2D Shapes, we build on what we learned from Lines and Triangles in two ways: drawing new shapes and learning to colour them in. We’ll start with rectangles and filled triangles before moving on to circles. These basic shapes make it possible to create a wide variety of graphics and user interfaces.| Project F
Welcome back to Exploring FPGA Graphics. In the previous part, we worked with sprites, but another approach is needed as graphics become more complex. Instead of drawing directly to the screen, we draw to a bitmap, which is read out to the screen. This post provides an introduction to framebuffers and how to scale them up. We’ll also learn how to fizzlefade graphics Wolfenstein 3D style.| Project F
Welcome back to Exploring FPGA Graphics. In the previous part, we updated our display signals and learnt about colour palettes. This part shows you how to create fast, colourful graphics with minimal logic. Hardware sprites maintain much of the simplicity of our Pong design while offering greater creative freedom.| Project F
Welcome back to Exploring FPGA Graphics. Last time, we raced the beam; this time, we’ll recreate the arcade classic, Pong and play against our FPGA.| Project F
Welcome to Exploring FPGA Graphics. In this series, we learn about graphics at the hardware level and get a feel for the power of FPGAs. We’ll learn how screens work, play Pong, create starfields and sprites, paint Michelangelo’s David, draw lines and triangles, and animate characters and shapes. Along the way, you’ll experience a range of designs and techniques, from memory and finite state machines to crossing clock domains and translating C algorithms into Verilog.| Project F