Sometimes you need to send a single pulse from one clock domain to another. This is a simple case of clock domain crossing or CDC. This post uses the xd module from the Project F Library to handle such situations simply and safely.| Project F
Welcome back to Exploring FPGA Graphics. Last time, we got an introduction to FPGA graphics; let’s put our new graphical skills to work with some simple demo effects. I hope these examples inspire you to create your own effects and improve your hardware design skills.| Project F
Welcome back to Exploring FPGA Graphics. In the final part of our introductory graphics series, we’re looking at animation. We’ve already seen animation with hardware sprites, but double buffering gives us maximum creative freedom with fast, tear-free motion.| Project F
Welcome back to Exploring FPGA Graphics. In 2D Shapes, we build on what we learned from Lines and Triangles in two ways: drawing new shapes and learning to colour them in. We’ll start with rectangles and filled triangles before moving on to circles. These basic shapes make it possible to create a wide variety of graphics and user interfaces.| Project F
Welcome back to Exploring FPGA Graphics. It’s time to turn our attention to drawing. Most modern computer graphics come down to drawing triangles and colouring them in. So, it seems fitting to begin our drawing tour with triangles and the straight lines that form them. This post will implement Bresenham’s line algorithm in Verilog and create lines, triangles, and even a cube (our first sort-of 3D).| Project F
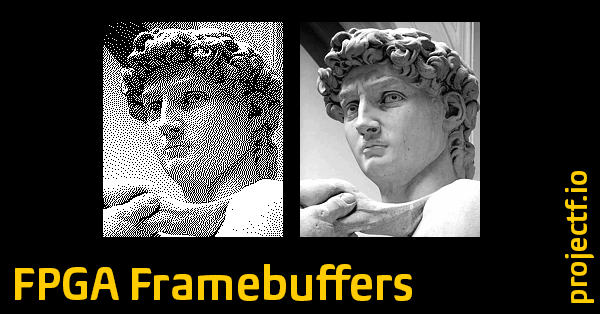
Welcome back to Exploring FPGA Graphics. In the previous part, we worked with sprites, but another approach is needed as graphics become more complex. Instead of drawing directly to the screen, we draw to a bitmap, which is read out to the screen. This post provides an introduction to framebuffers and how to scale them up. We’ll also learn how to fizzlefade graphics Wolfenstein 3D style.| Project F
Welcome back to Exploring FPGA Graphics. In the previous part, we updated our display signals and learnt about colour palettes. This part shows you how to create fast, colourful graphics with minimal logic. Hardware sprites maintain much of the simplicity of our Pong design while offering greater creative freedom.| Project F
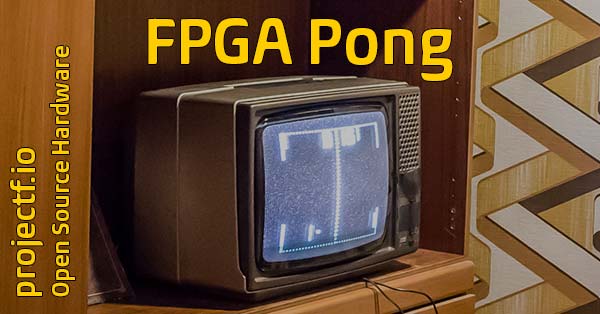
Welcome back to Exploring FPGA Graphics. Last time, we raced the beam; this time, we’ll recreate the arcade classic, Pong and play against our FPGA.| Project F
It’s common for a simulation or firmware to need data loading into a memory array, ram, or rom. Fortunately, Verilog provides the $readmemh and $readmemb functions for this very purpose. Unfortunately, there is a dearth of good Verilog documentation online, so using them can be harder than it should be. This how to explains the syntax and provides plenty of examples, including how to do this in Yosys and Xilinx Vivado.| Project F