Yosys and nextpnr have excellent support for Lattice ECP5 FPGAs. However, without using the ECP5 PLL (phase-locked loop), you’re stuck running at the speed of your dev board oscillator. This post outlines the architecture of ECP5 PLL and provides several practical examples to get you started with generating custom clock frequencies. Generating your own clock frequencies is much more straightforward than it first appears.| Project F
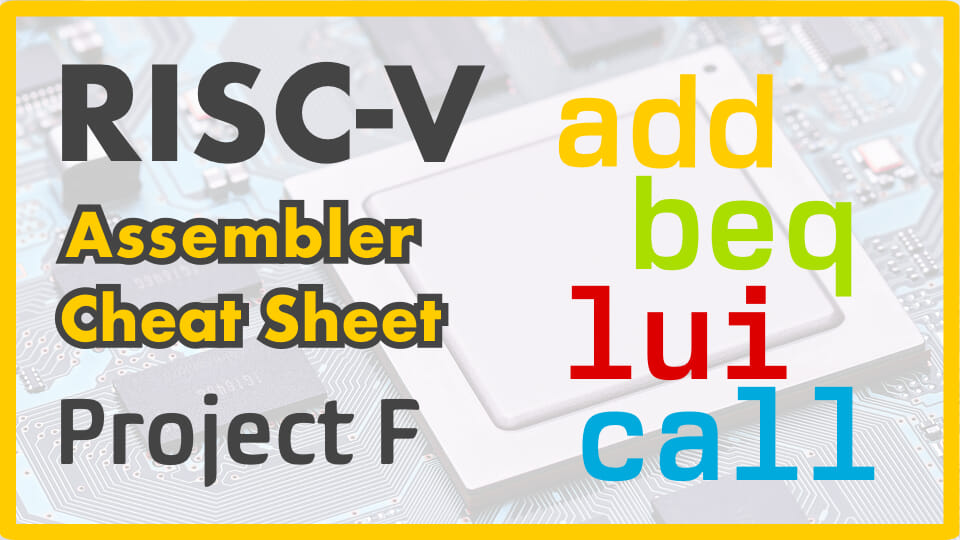
This cheat sheet provides a handy guide to 32-bit RISC-V instructions. I’ve aimed it at software developers, so group instructions by purpose and include common pseudoinstructions.| Project F
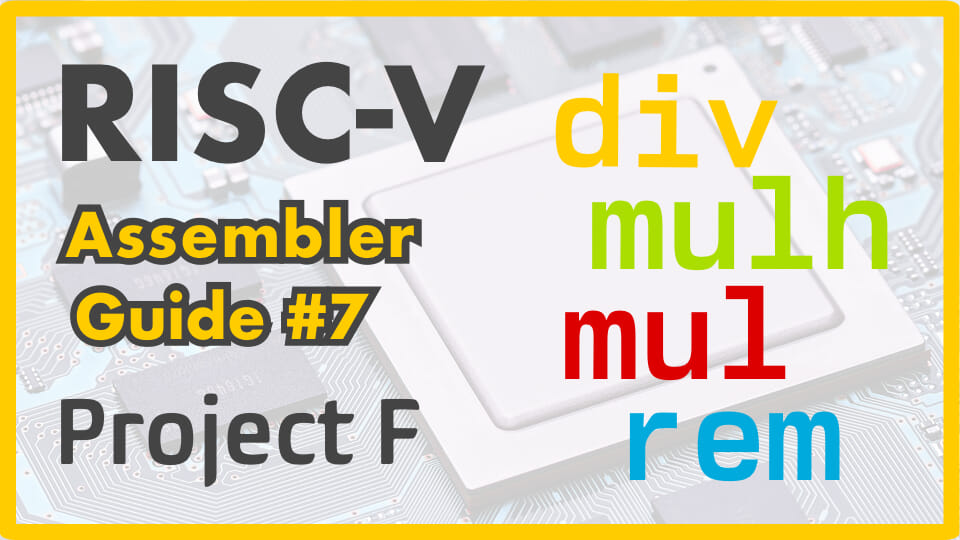
Integer multiply and divide instructions form the optional M extension. Making multiplication and division optional keeps the base instruction set simple and reduces the size of the smallest RISC-V core. This post includes a brief overview of common RISC-V extensions.| Project F
This RISC-V assembler post begins by examining the RISC-V jump instructions: jal and jalr. Jump instructions are the basis of functions, so we’ll then dig into function calls, the RISC-V ABI, calling convention, and how to use the stack.| Project F
This RISC-V assembler post covers branch and set instructions, such as beq, bltu, bgez, and slt. We’ll also cover the zero register, program counter, condition codes, and multi-word addition.| Project F
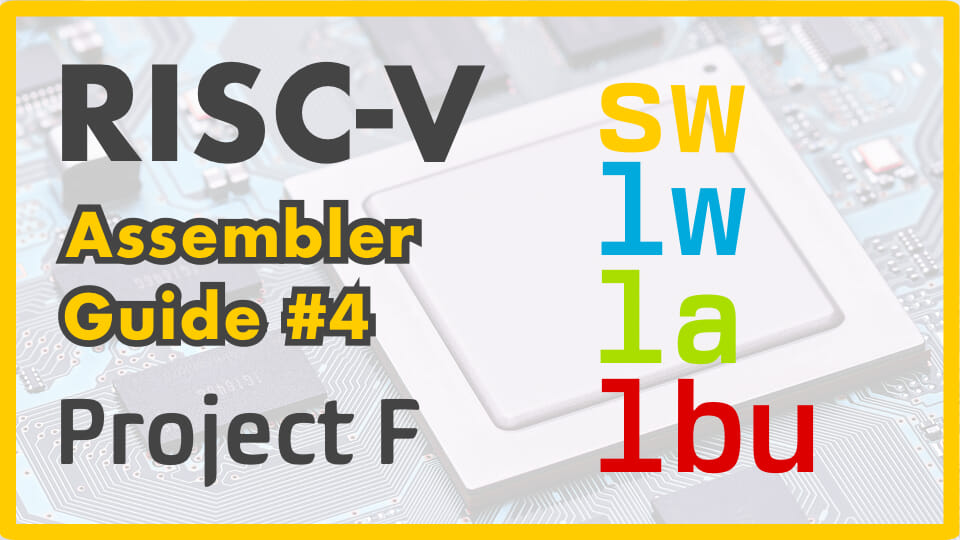
This RISC-V assembler post covers load and store instructions, such as lw, sw, and lbu. We also cover memory alignment, addressing modes, and loading symbol addresses.| Project F
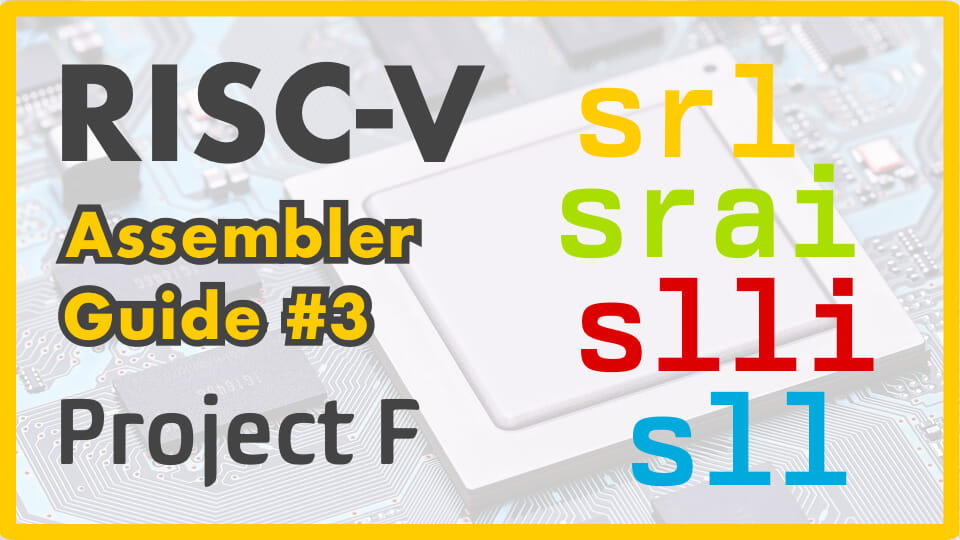
This RISC-V assembler post covers shift instructions, such as sll, srl, and srai. I also explain how to use shift instructions to quickly multiply and divide by powers of two.| Project F
Sometimes you need to send a single pulse from one clock domain to another. This is a simple case of clock domain crossing or CDC. This post uses the xd module from the Project F Library to handle such situations simply and safely.| Project F
Welcome back to Exploring FPGA Graphics. Last time, we got an introduction to FPGA graphics; let’s put our new graphical skills to work with some simple demo effects. I hope these examples inspire you to create your own effects and improve your hardware design skills.| Project F
Welcome back to Exploring FPGA Graphics. In the final part of our introductory graphics series, we’re looking at animation. We’ve already seen animation with hardware sprites, but double buffering gives us maximum creative freedom with fast, tear-free motion.| Project F
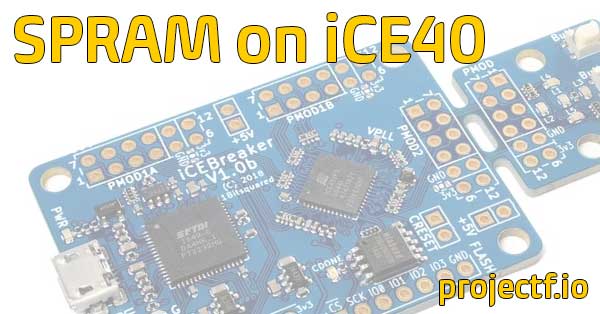
The iCE40 UltraPlus distinguishes itself from the rest of the iCE40 FPGA family by including a relatively generous 1 Mb (128 KiB) of single port synchronous SRAM known as SPRAM. SPRAM blocks are much larger than BRAM but are limited to a single port and 16-bit data bus.| Project F
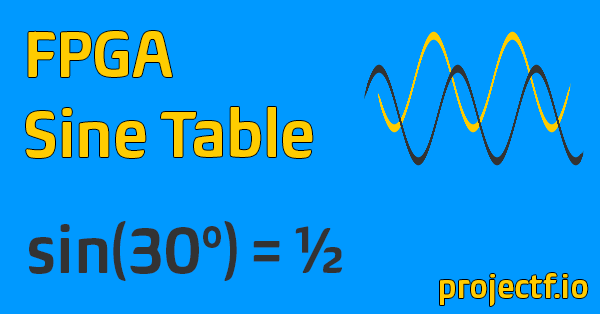
In this how to, we’re going to look at a straightforward method for generating sine and cosine using a lookup table. There are more precise methods, but this one is fast and simple and will suffice for many applications.| Project F
Welcome back to Exploring FPGA Graphics. In 2D Shapes, we build on what we learned from Lines and Triangles in two ways: drawing new shapes and learning to colour them in. We’ll start with rectangles and filled triangles before moving on to circles. These basic shapes make it possible to create a wide variety of graphics and user interfaces.| Project F
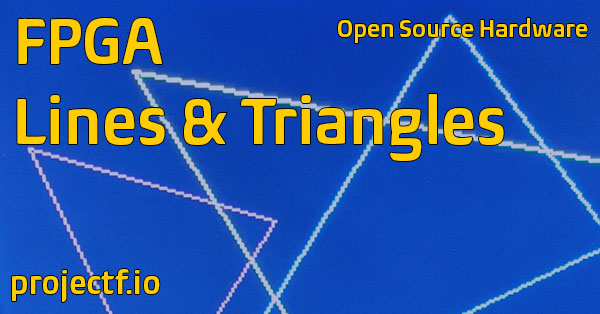
Welcome back to Exploring FPGA Graphics. It’s time to turn our attention to drawing. Most modern computer graphics come down to drawing triangles and colouring them in. So, it seems fitting to begin our drawing tour with triangles and the straight lines that form them. This post will implement Bresenham’s line algorithm in Verilog and create lines, triangles, and even a cube (our first sort-of 3D).| Project F
The square root is useful in many circumstances, including statistics, graphics, and signal processing. In this how to, we’re going to look at a straightforward digit-by-digit square root algorithm for integer and fixed-point numbers. There are lower-latency methods, but this one is simple, using only subtraction and bit shifts.| Project F
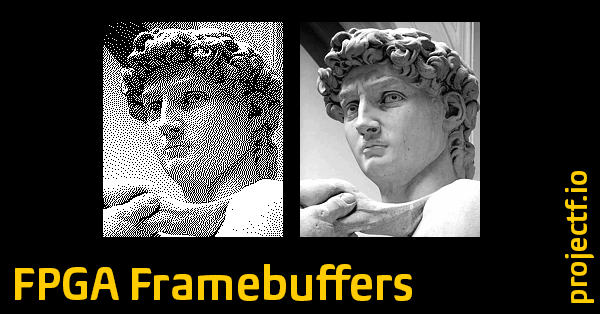
Welcome back to Exploring FPGA Graphics. In the previous part, we worked with sprites, but another approach is needed as graphics become more complex. Instead of drawing directly to the screen, we draw to a bitmap, which is read out to the screen. This post provides an introduction to framebuffers and how to scale them up. We’ll also learn how to fizzlefade graphics Wolfenstein 3D style.| Project F
Welcome back to Exploring FPGA Graphics. In the previous part, we updated our display signals and learnt about colour palettes. This part shows you how to create fast, colourful graphics with minimal logic. Hardware sprites maintain much of the simplicity of our Pong design while offering greater creative freedom.| Project F
Designing with FPGAs involves many types of memory, some familiar from other devices, but some that are specific to FPGAs. This how to gives a quick overview of the different flavours, together with their strengths and weaknesses, and some sample designs. This guide includes external memory types, such as SRAM and HBM, that are used in CPUs and GPUs, so much of what is said here is generally applicable, but the focus is on FPGAs.| Project F
Welcome back to Exploring FPGA Graphics. Last time, we raced the beam; this time, we’ll recreate the arcade classic, Pong and play against our FPGA.| Project F
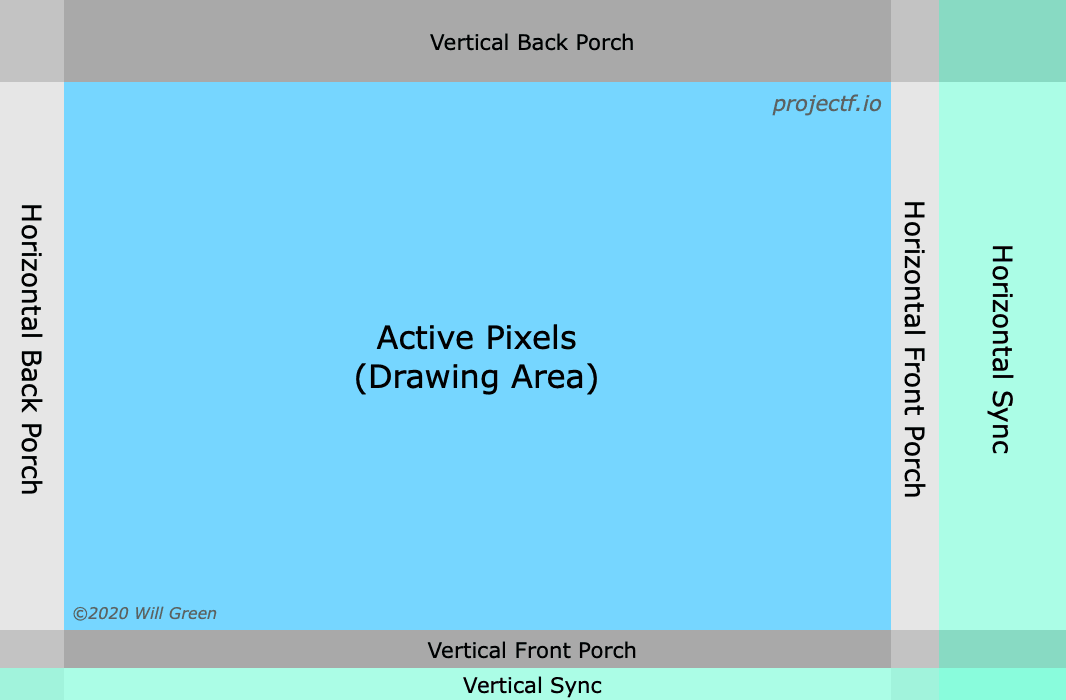
To work with standard monitors and TVs, you need to use the correct video timings. This how to includes the timings for five standard display modes using analogue VGA, DVI, HDMI, or DisplayPort: 640x480 (VGA), 800x600 (SVGA), 1280x720, and 1920x1080 (30 Hz and 60 Hz).| Project F
Welcome to Exploring FPGA Graphics. In this series, we learn about graphics at the hardware level and get a feel for the power of FPGAs. We’ll learn how screens work, play Pong, create starfields and sprites, paint Michelangelo’s David, draw lines and triangles, and animate characters and shapes. Along the way, you’ll experience a range of designs and techniques, from memory and finite state machines to crossing clock domains and translating C algorithms into Verilog.| Project F
It’s common for a simulation or firmware to need data loading into a memory array, ram, or rom. Fortunately, Verilog provides the $readmemh and $readmemb functions for this very purpose. Unfortunately, there is a dearth of good Verilog documentation online, so using them can be harder than it should be. This how to explains the syntax and provides plenty of examples, including how to do this in Yosys and Xilinx Vivado.| Project F