Courk's Blog
Various reverse-engineering and electronics projects.| Courk's Blog
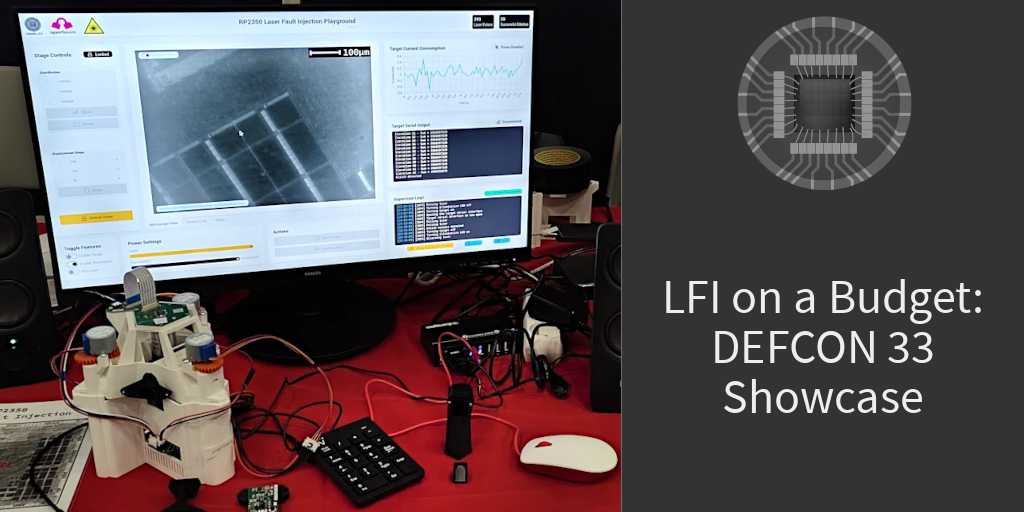
Following my work on bypassing the Secure Boot feature of the RP2350 microcontroller using laser fault injection (see the relevant article for more details), I was honored to be invited to the 33rd edition of the DEFCON convention by Raspberry Pi. There, I showcased my budget-friendly “Laser Fault Injection Platform” and gave two small talks discussing its design. This short article provides access to some of the materials presented at the conference, including slides, and additional sour...| Courk's Blog

In August 2024, Raspberry Pi introduced the RP2350 microcontroller. This part iterates over the RP2040 and comes with numerous new features. These include security-related capabilities, such as a Secure Boot implementation. A couple of days after this announcement, during DEFCON 2024, an interesting challenge targeted at these new features was launched: the RP2350 Hacking Challenge. After some work and the development of a fully custom “Laser Fault Injection Platform”, I managed to beat t...| Courk's Blog
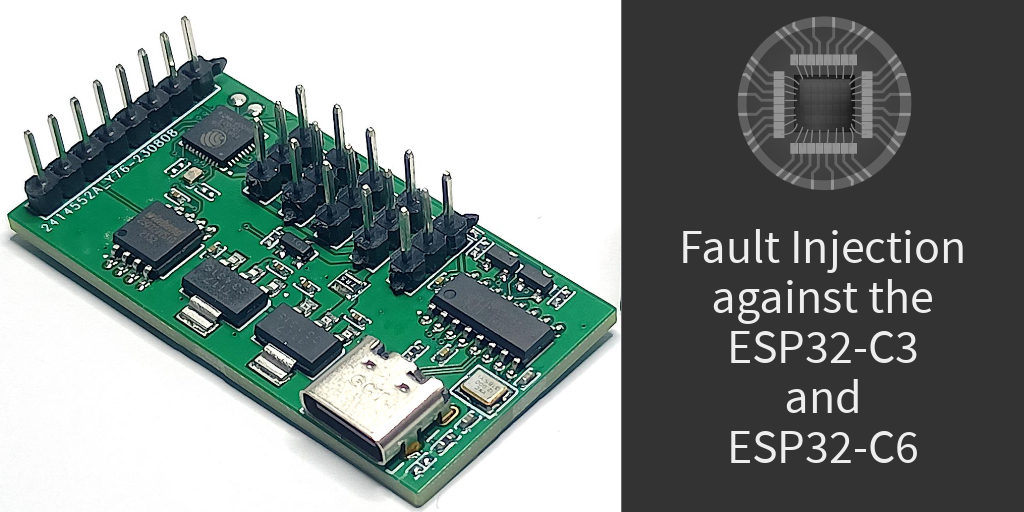
In a previous article, the vulnerabilities of the ESP32-C3 and ESP32-C6 against side-channel attacks have been demonstrated. Recovering enough key information to decrypt the external flash data is possible. However, a new attack needs to be performed for each new 128-byte block. Since attacking a single block takes hours, this makes decrypting the entire flash content using such a method very impractical. This frustrating limitation led me to the following question: is it possible, given cont...| Courk's Blog

I recently read the Unlimited Results: Breaking Firmware Encryption of ESP32-V3 paper. This paper is about breaking the firmware encryption feature of the ESP32 SoC using a Side-Channel attack. This was an interesting read, and soon, I wanted to try to reproduce these results with the following constraints: To understand everything about this attack, I wanted to start from scratch, even if it meant sometimes reinventing the wheel. I wanted to keep things low-cost. This means no five-figure di...| Courk's Blog
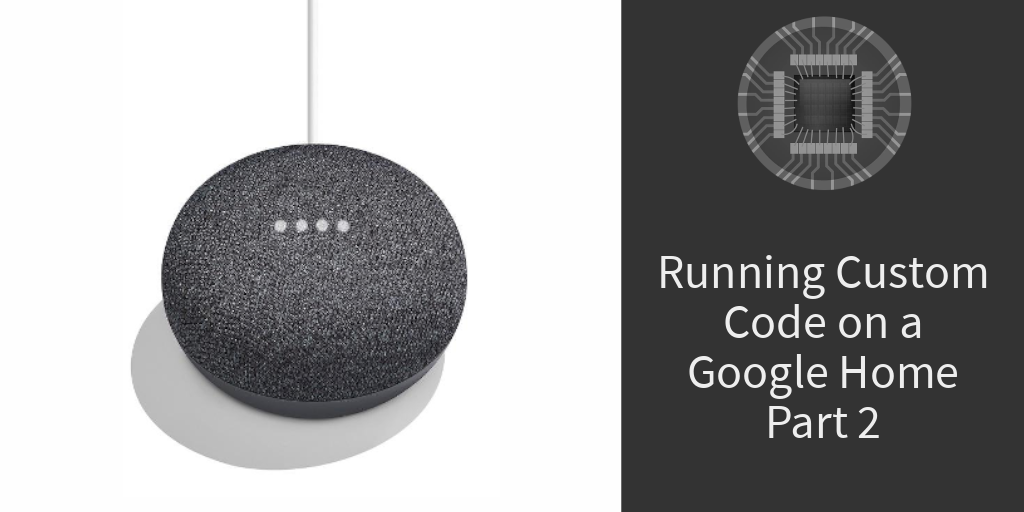
After the work detailed in part 1, altering the content of the NAND Flash of the Google Home Mini with ease is now possible. Despite this very privileged access, because of Google’s secure boot implementation, running arbitrary code on the CPU of the device isn’t possible using simple and naive methods. However, as we’ll see, there is still a way. This post will detail how I achieved code execution. It will require fuzzing, understanding some Linux code and finally exploiting a kernel b...| Courk's Blog
A couple of months ago, I spent some time fiddling around my ISP-provided residential gateway. This gateway is actually not just a gateway. It’s more like a mix between a set-top Box and a gateway. Additionally, to access the Internet, the end-user can also use it to watch TV through the HDMI output of the device. I actually went quite far, and I’ve found a couple of interesting things. This post won’t go through all of my findings. Instead, I’ll focus on the most “unusual”, educa...| Courk's Blog
I received the Aura, a device advertised as a “Connected Alarm Clock”. This device in itself is quite cool and uses different sounds and color patterns to help the user fall asleep and wake him up during light stages of his sleep cycles. Soon I was interested in doing some reverse engineering on it because: It was fun. I wanted to really own the device, I wanted to be able to run my own code on it. This article describes my journey into the Aura, from firmware image grabbing to remote buf...| Courk's Blog

As demonstrated in the previous articles of this website, I’ve always been interested in running my own code on consumer devices. In this series of two articles, we’ll take a look at the well-known Google Home Mini. To achieve this goal, we’ll have to go rather deep into the rabbit hole. Various topics and techniques will be explored.| Courk's Blog