Learn how to configure and handle interrupts with the ESP32 board to detect and respond to changes on its input GPIOs. We’ll build a project example using a pushbutton and ... CONTINUE READING » The post ESP32 GPIO Interrupts with Arduino IDE first appeared on Random Nerd Tutorials.| Random Nerd Tutorials
Learn how to use a PIR (Passive Infrared) Motion Sensor with the ESP32 programmed with Arduino IDE to detect motion. We’ll create a simple example to introduce you to the ... CONTINUE READING » The post ESP32 with PIR Motion Sensor using Interrupts and Timers (Arduino IDE) first appeared on Random Nerd Tutorials.| Random Nerd Tutorials
In this guide, you’ll learn how to set and read the ESP32 board’s GPIO pins as digital inputs with ESP-IDF (Espressif IoT Development Framework). The ESP32 is a microcontroller that ... CONTINUE READING » The post ESP-IDF: ESP32 GPIO – Read Digital Inputs first appeared on Random Nerd Tutorials.| Random Nerd Tutorials
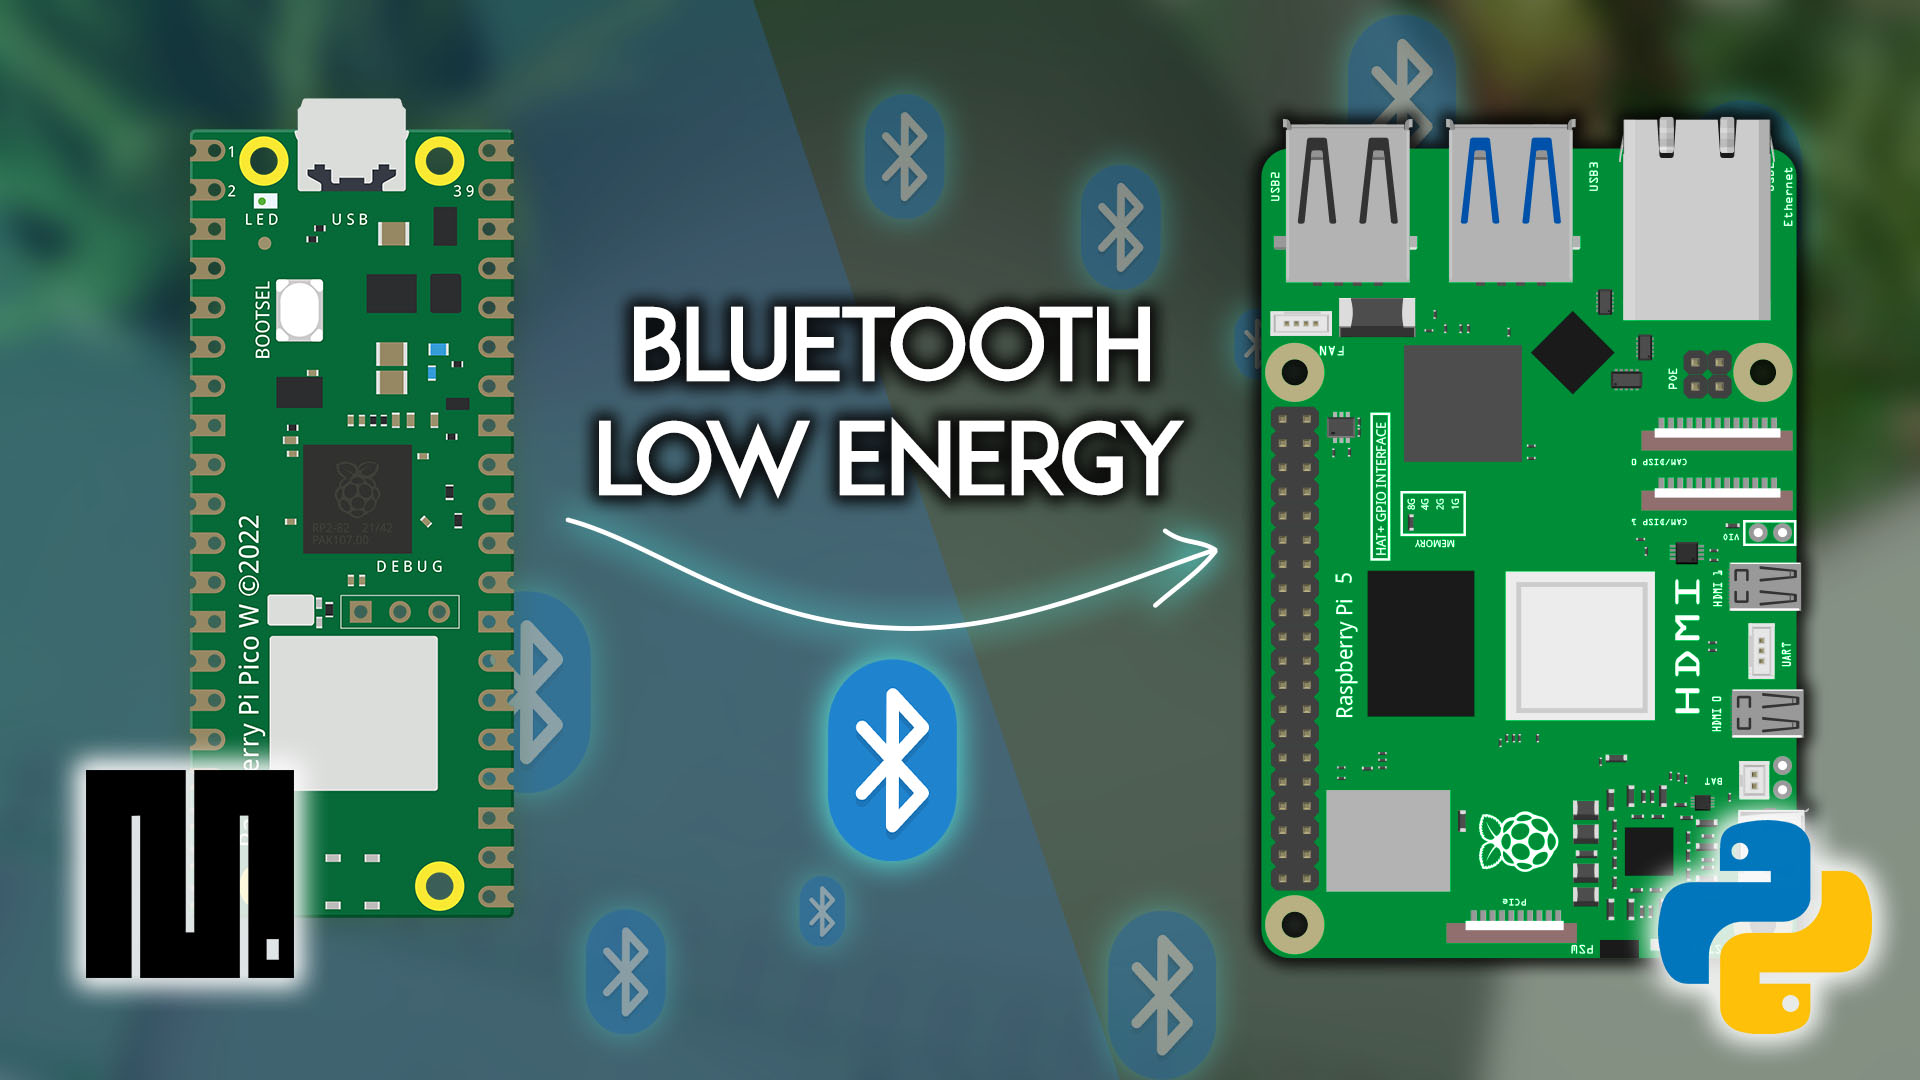
This tutorial explains how to set up Bluetooth Low Energy (BLE) communication between a Raspberry Pi and a Pico W. We’ll create two simple examples where the Pico sends data to the Pi.| Random Nerd Tutorials
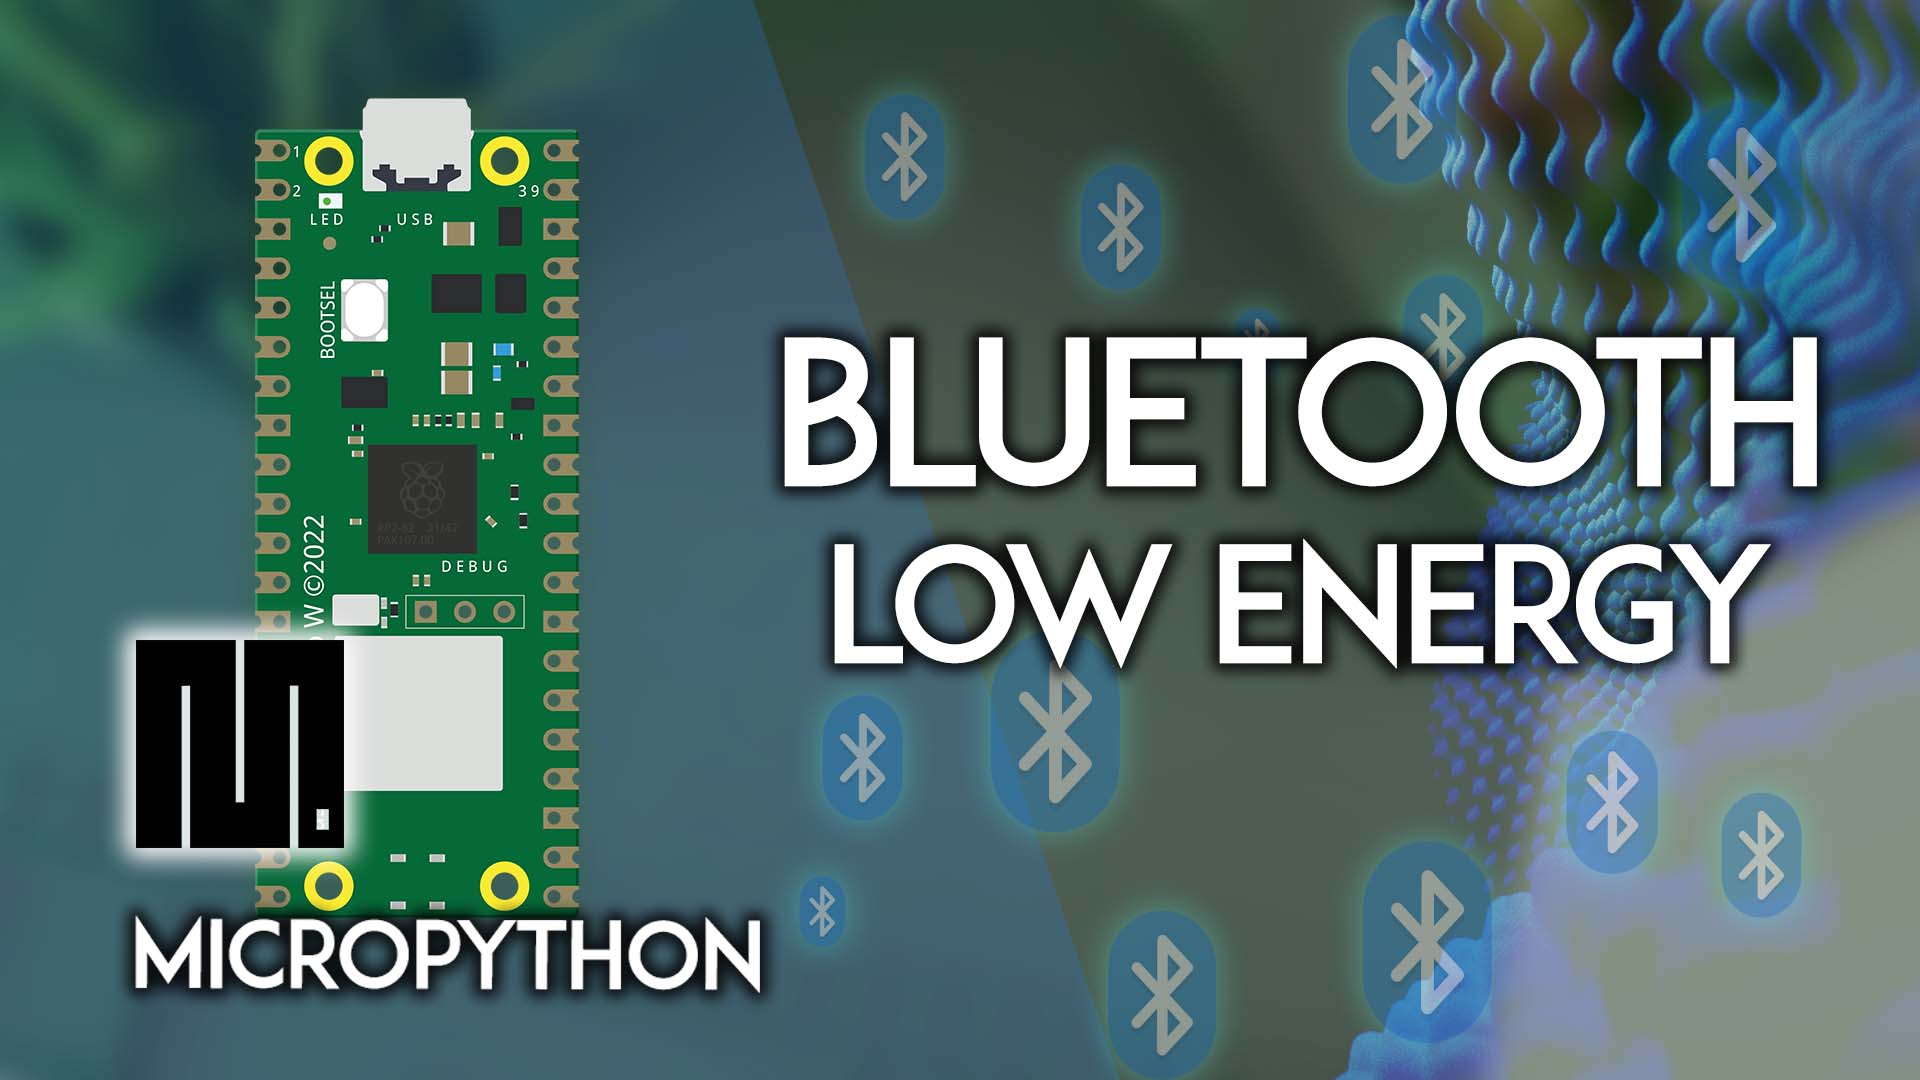
The Raspberry Pi Pico W (and 2 W) supports Bluetooth Low Energy (BLE) using MicroPython. This guides shows how to setup BLE peripheral and as a BLE central device.| Random Nerd Tutorials
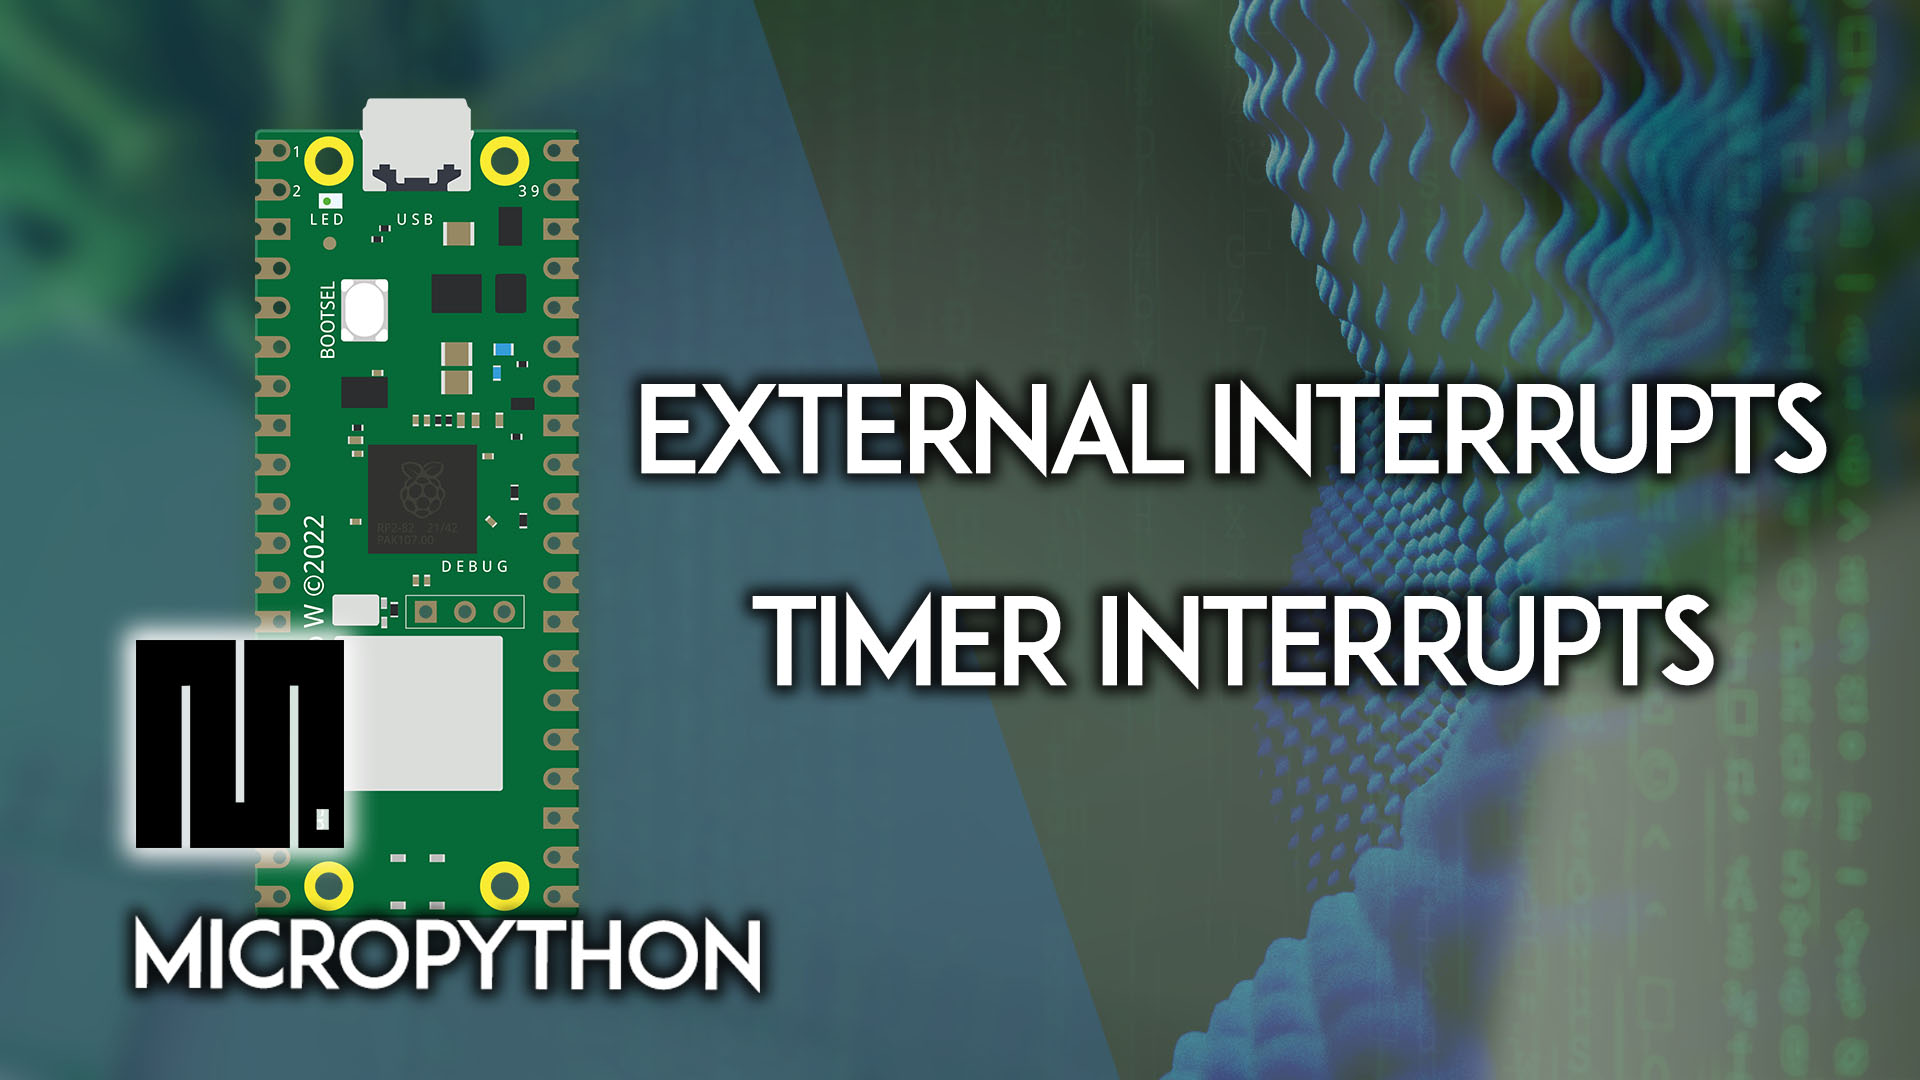
Learn how to handle external and timer interrupts with the Raspberry Pi Pico using MicroPython and build some project examples with a pushbutton and a PIR motion sensor.| Random Nerd Tutorials
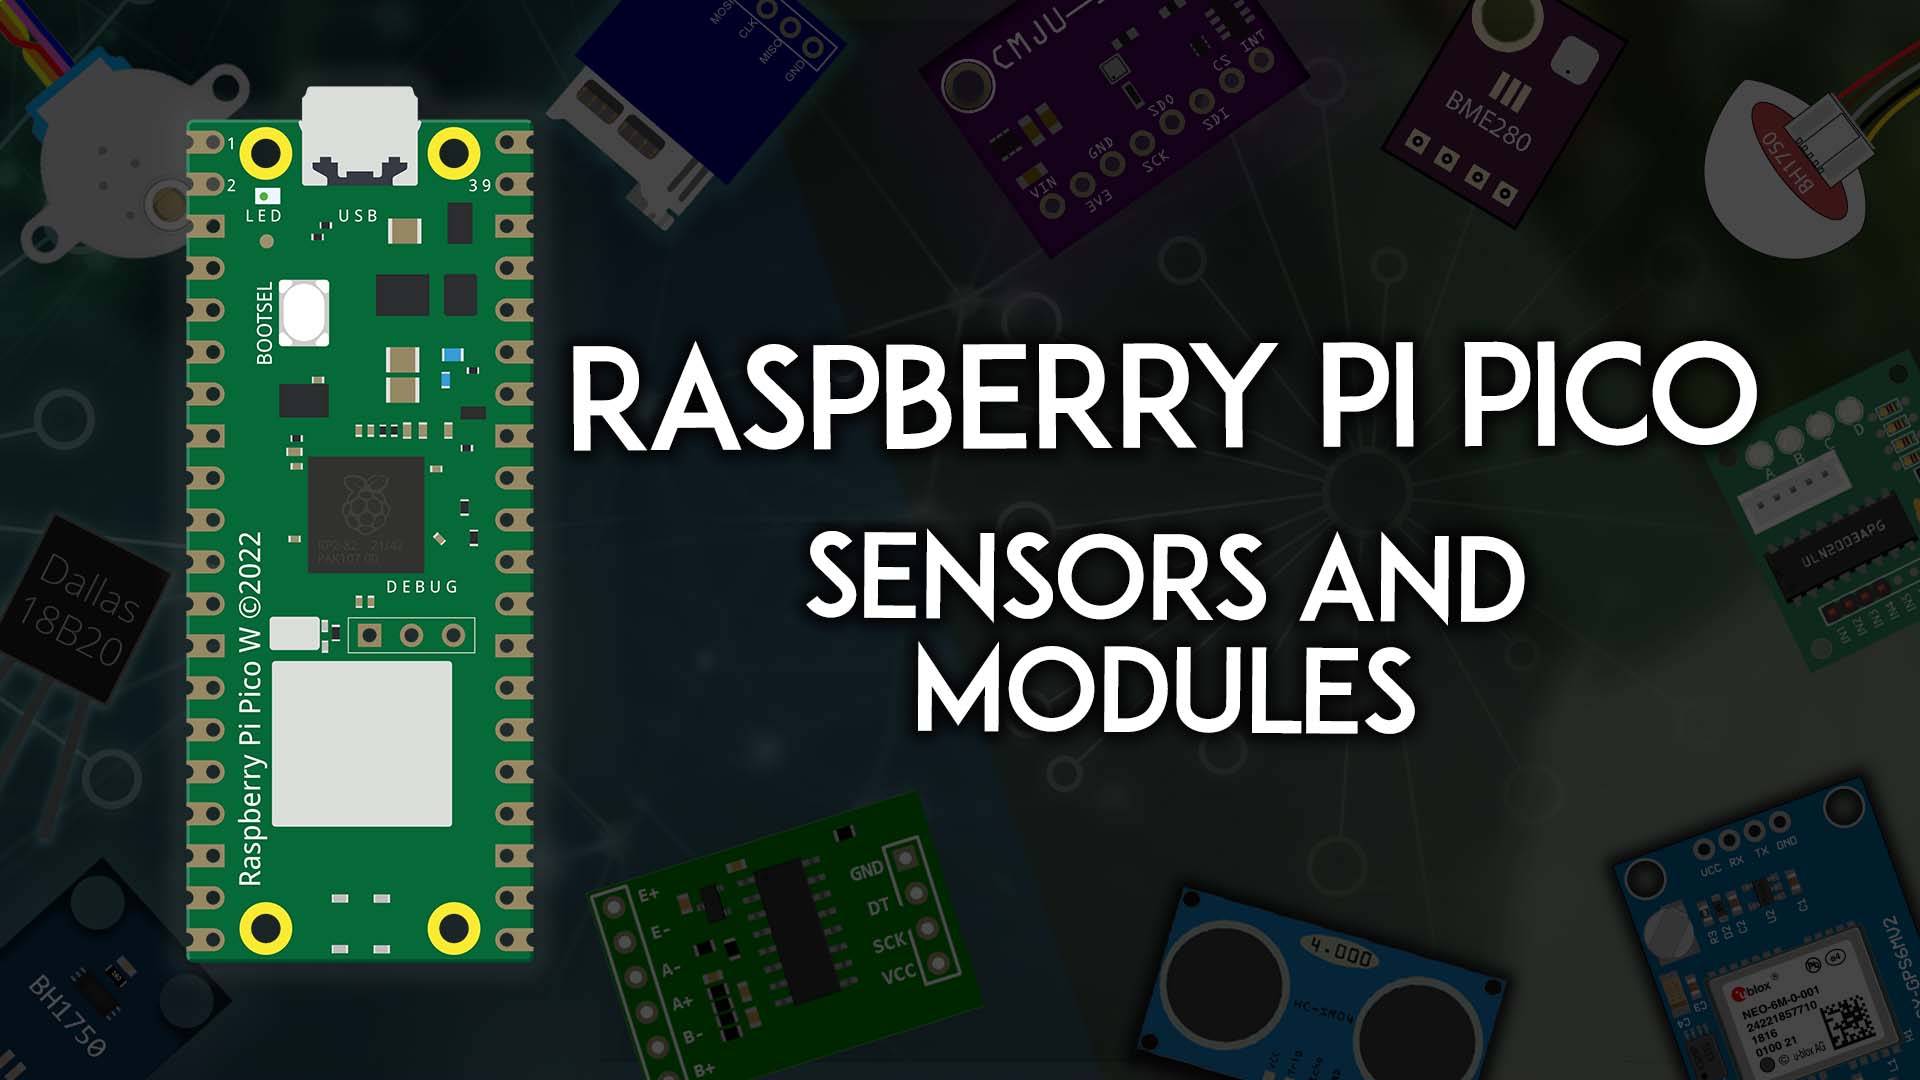
This article is a compilation of 20 free guides for sensors, modules and peripherals compatible with Raspberry Pi Pico programmed using MicroPython and Arduino IDE| Random Nerd Tutorials
Interface the DS3231 Real Time Clock Module with the Raspberry Pi Pico board programmed with MicroPython: set and get the time, set alarms, and get temperature readings.| Random Nerd Tutorials
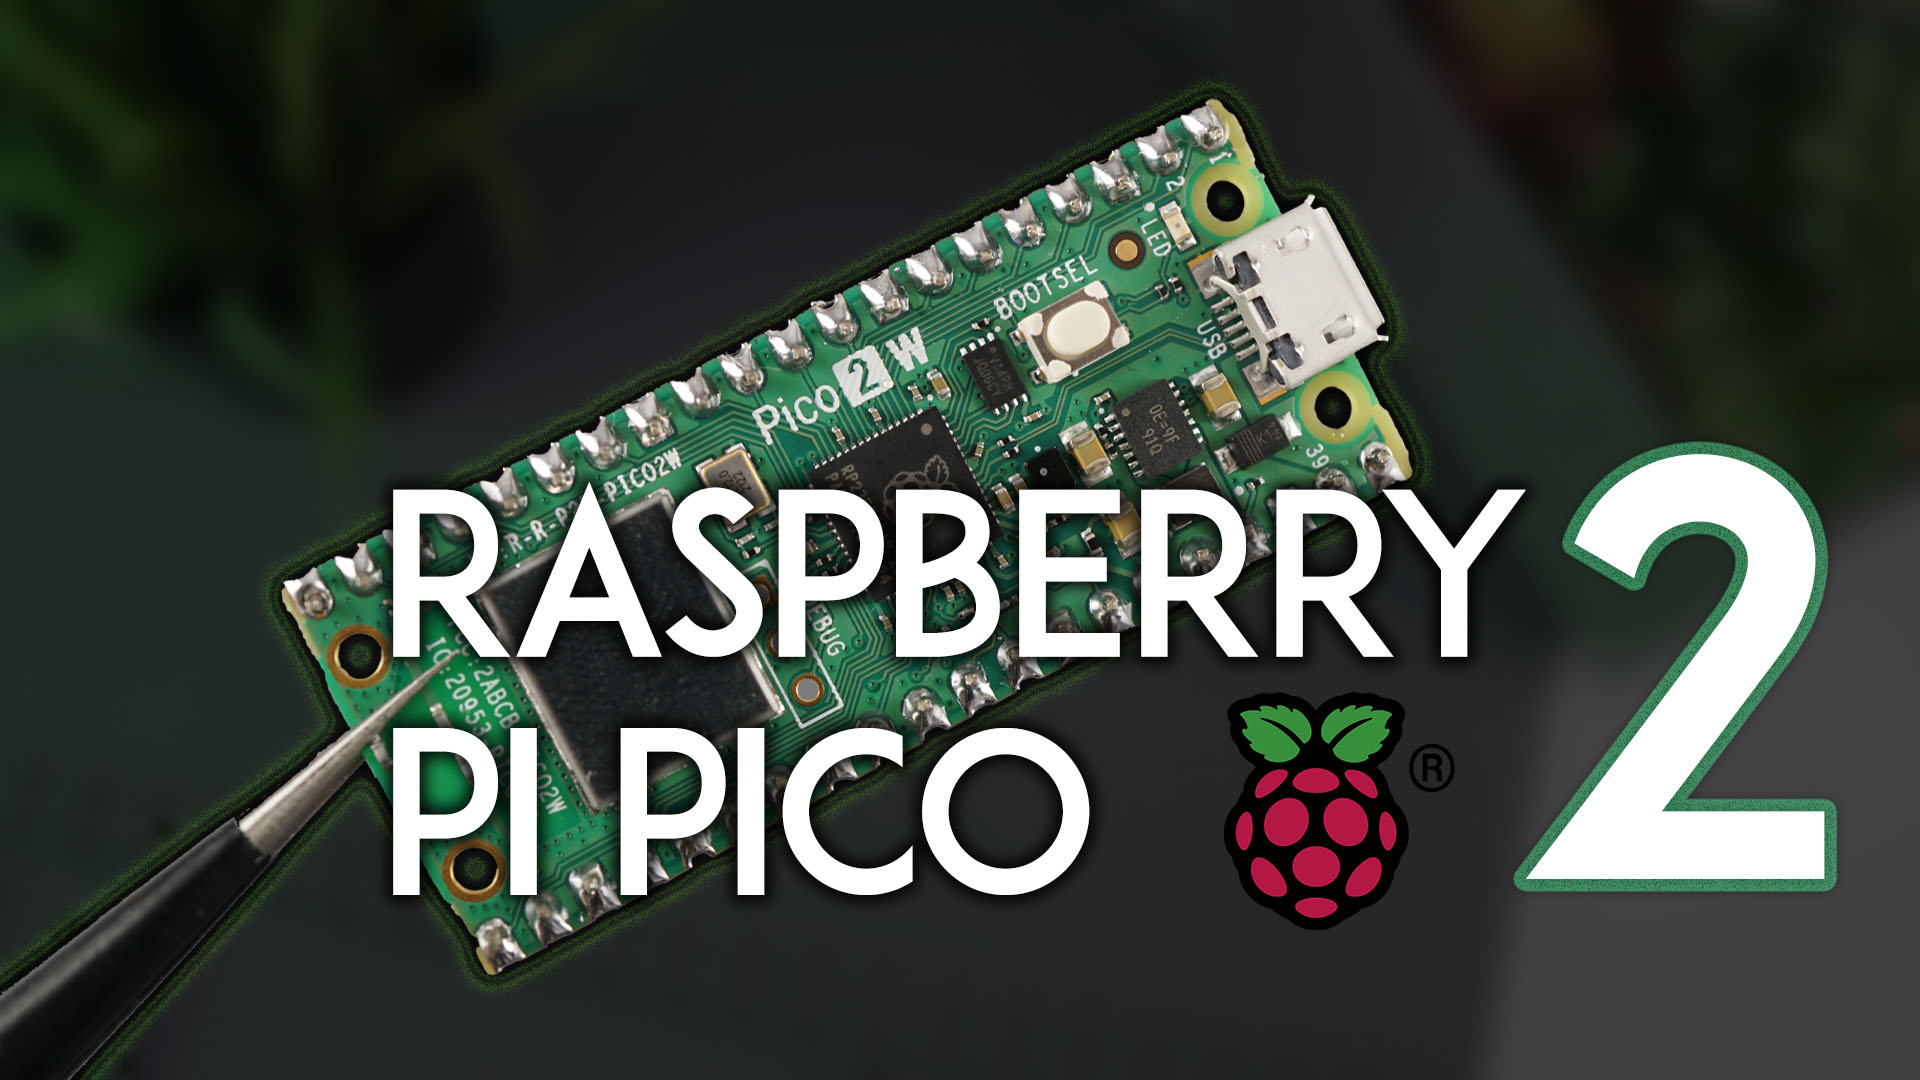
Program the Raspberry Pi Pico 2 or 2 W boards using Arduino IDE. The Raspberry Pi Pico 2 / 2 W is a microcontroller developed by the RPi Foundation, built with RP2350 chip.| Random Nerd Tutorials
The Raspberry Pi Pico 2 is the successor to the original Raspberry Pi Pico 1. Learn how to get started with Pico 2 and Pico 2 using MicroPython and Arduino IDE.| Random Nerd Tutorials
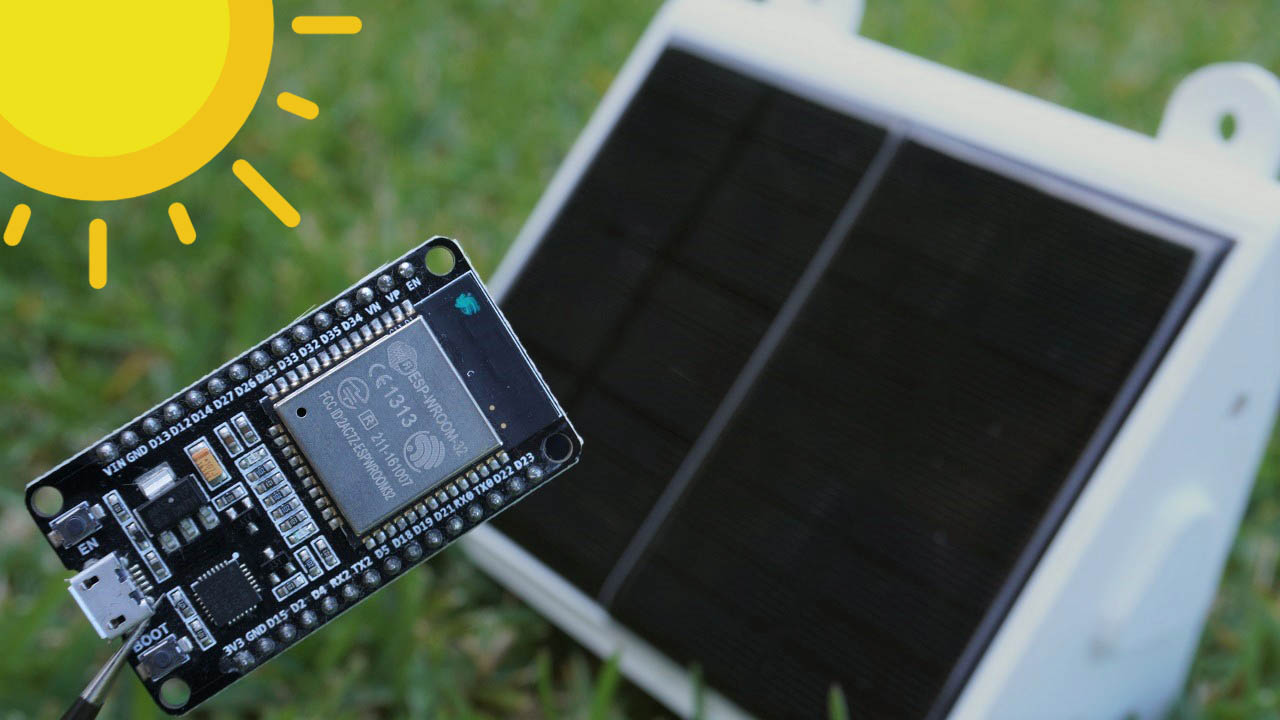
This tutorial shows step-by-step how to power the ESP32 or ESP8266 board with solar panels using a 18650 lithium battery and the TP4056 battery charger module.| Random Nerd Tutorials
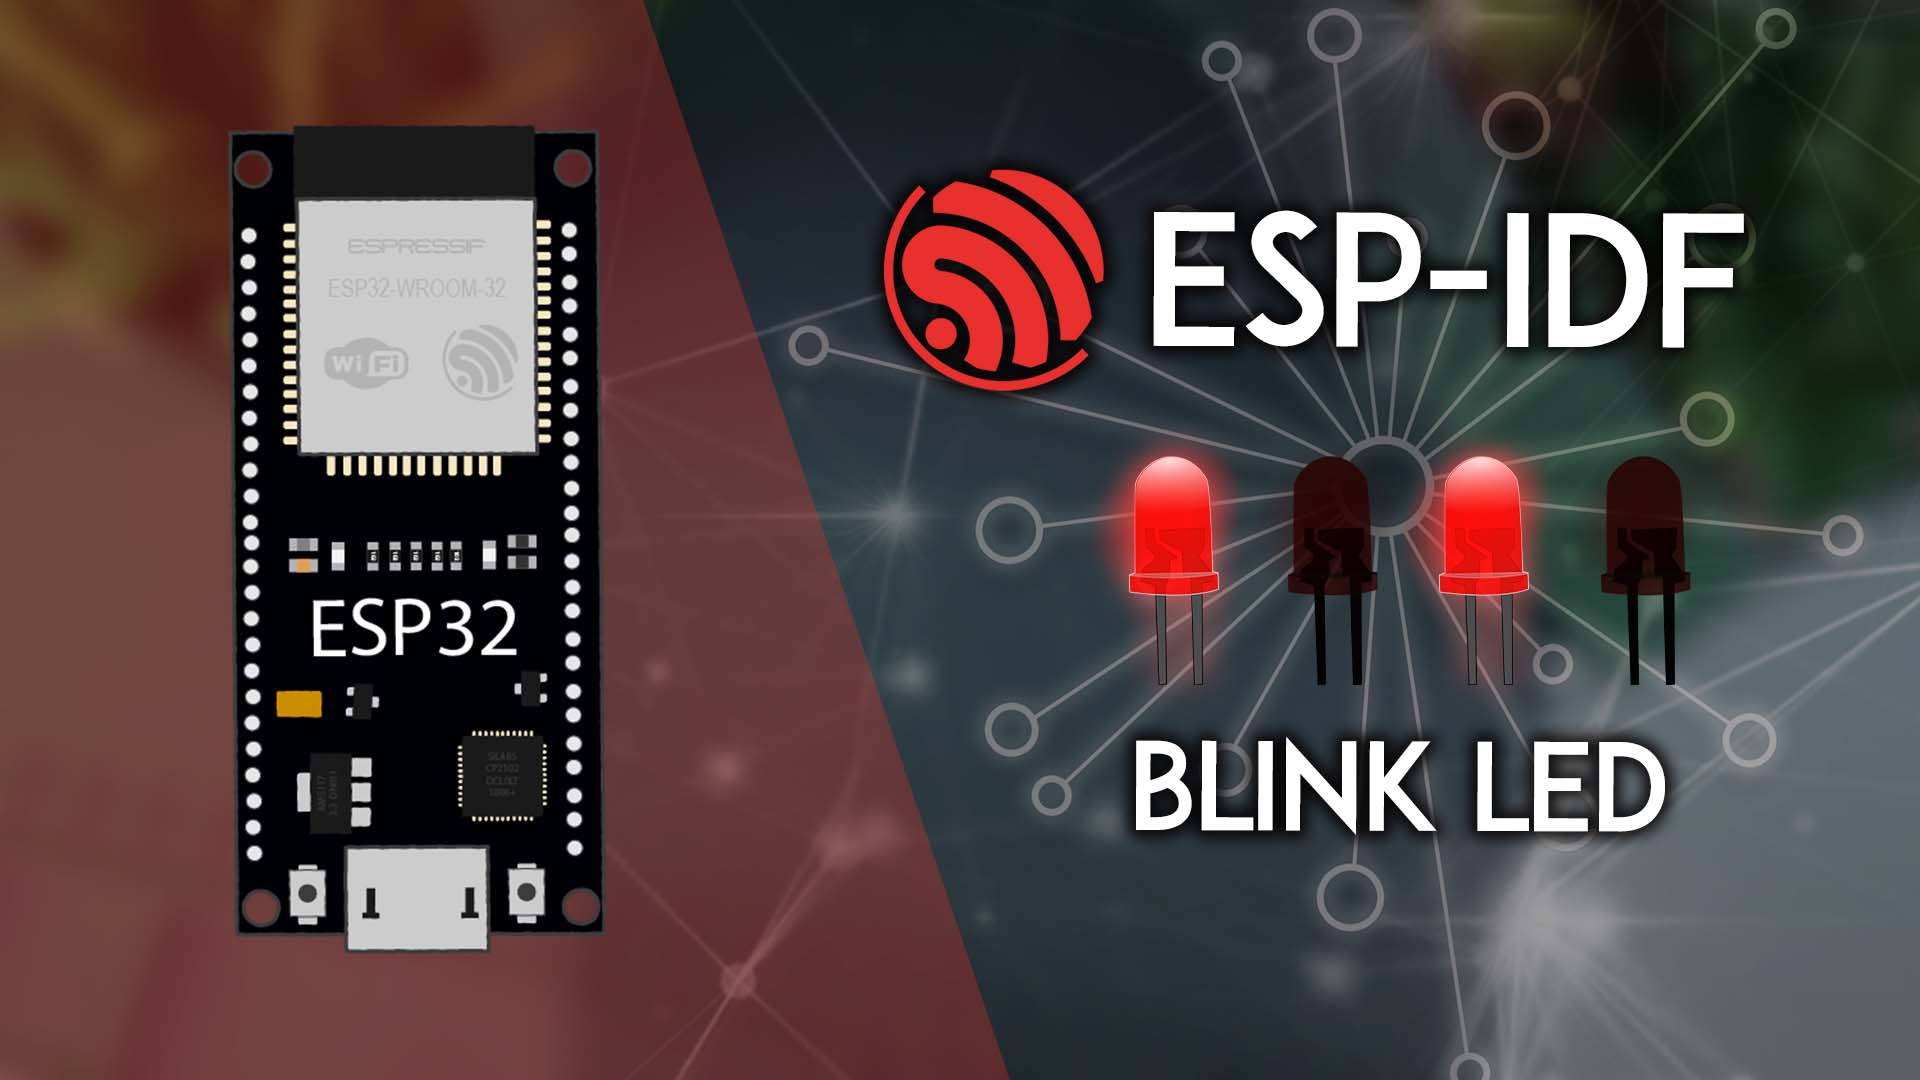
Blink an LED on an ESP32 board with the ESP-IDF (Espressif IoT Development Framework) on VS Code. Follow this guide to run your first ESP-IDF project quickly.| Random Nerd Tutorials
In this guide, we’ll introduce you to and explain how to use FreeRTOS semaphores with the ESP32, using the Arduino IDE. Semaphores are like signals (or flags) that allow you ... CONTINUE READING » The post ESP32 with FreeRTOS: Getting Started with Semaphores (Arduino IDE) first appeared on Random Nerd Tutorials.| Random Nerd Tutorials
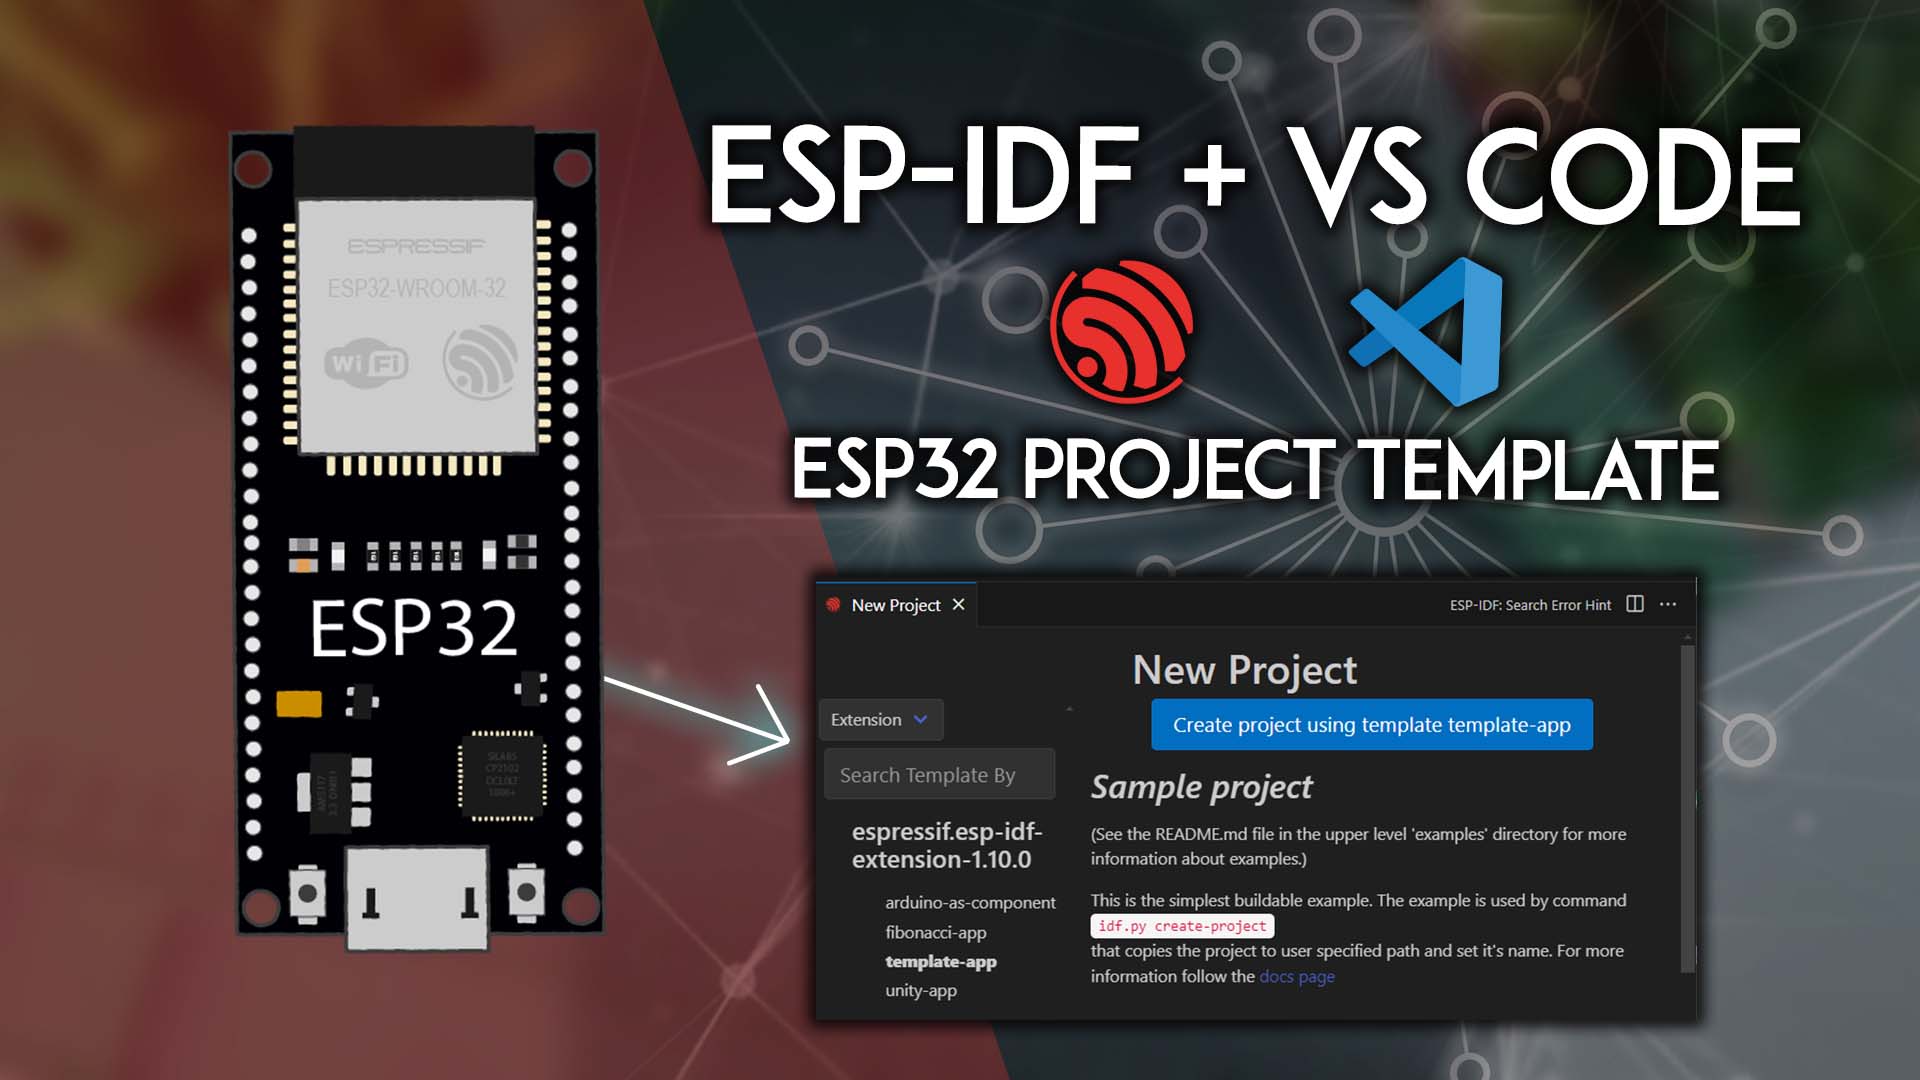
This is a quick guide for getting started using ESP-IDF with the ESP32. Learn how to create a template on VS Code to program your ESP32 using ESP-IDF.| Random Nerd Tutorials
In this MicroPython guide, we’ll show you how to set up an ESP32 to receive and display data from multiple ESP32 boards using the ESP-NOW communication protocol (many-to-one configuration). We’ll ... CONTINUE READING » The post MicroPython: ESP-NOW with ESP32—Receive Data from Multiple Boards (many-to-one) first appeared on Random Nerd Tutorials.| Random Nerd Tutorials
In this guide, you’ll learn how to control the ESP32 board’s GPIOs using PWM (Pulse Width Modulation) with ESP-IDF (Espressif IoT Development Framework). The ESP32 is a microcontroller that offers ... CONTINUE READING » The post ESP-IDF: ESP32 GPIO PWM with LEDC (Control LED Brightness) first appeared on Random Nerd Tutorials.| Random Nerd Tutorials
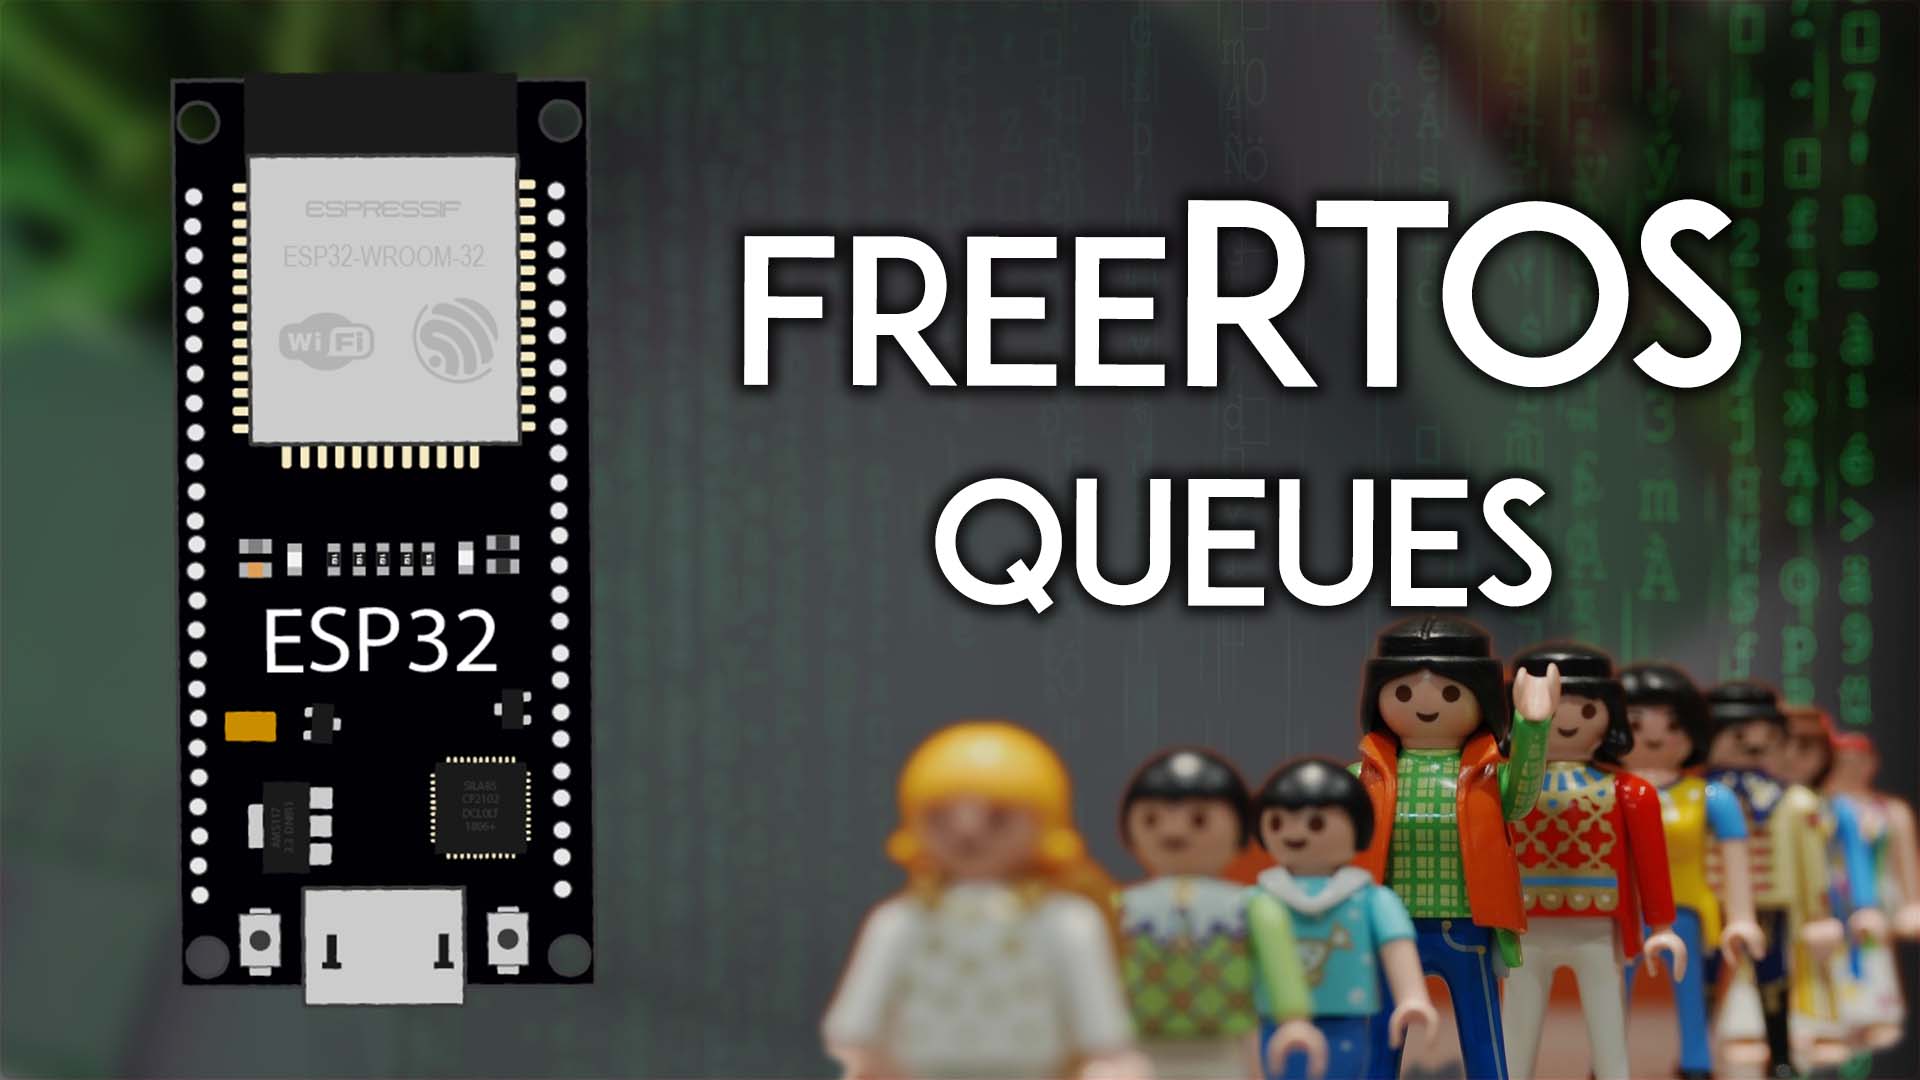
Learn how to use FreeRTOS queues for safe and efficient communication between tasks on the ESP32, using the Arduino IDE. Queues allow you to exchange data between tasks in a safe way.| Random Nerd Tutorials
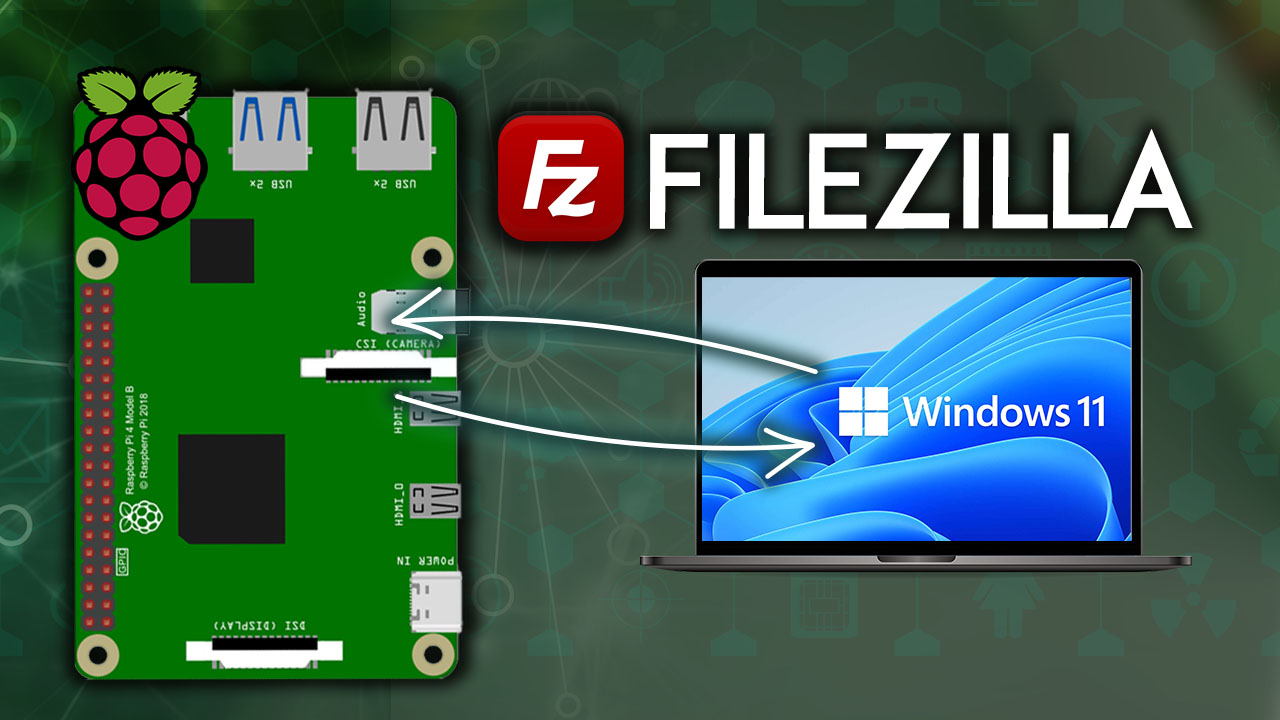
Learn how to transfer files remotely from your computer to a Raspberry Pi and vice-versa. We'll be using FileZilla FTP (File Transfer Protocol) Client to establish a remote connection over the internet.| Random Nerd Tutorials
Create and execute files remotely on your Raspberry Pi using VS Code on your computer. All you have to do is to install the Remote-SSH extension on VS Code.| Random Nerd Tutorials
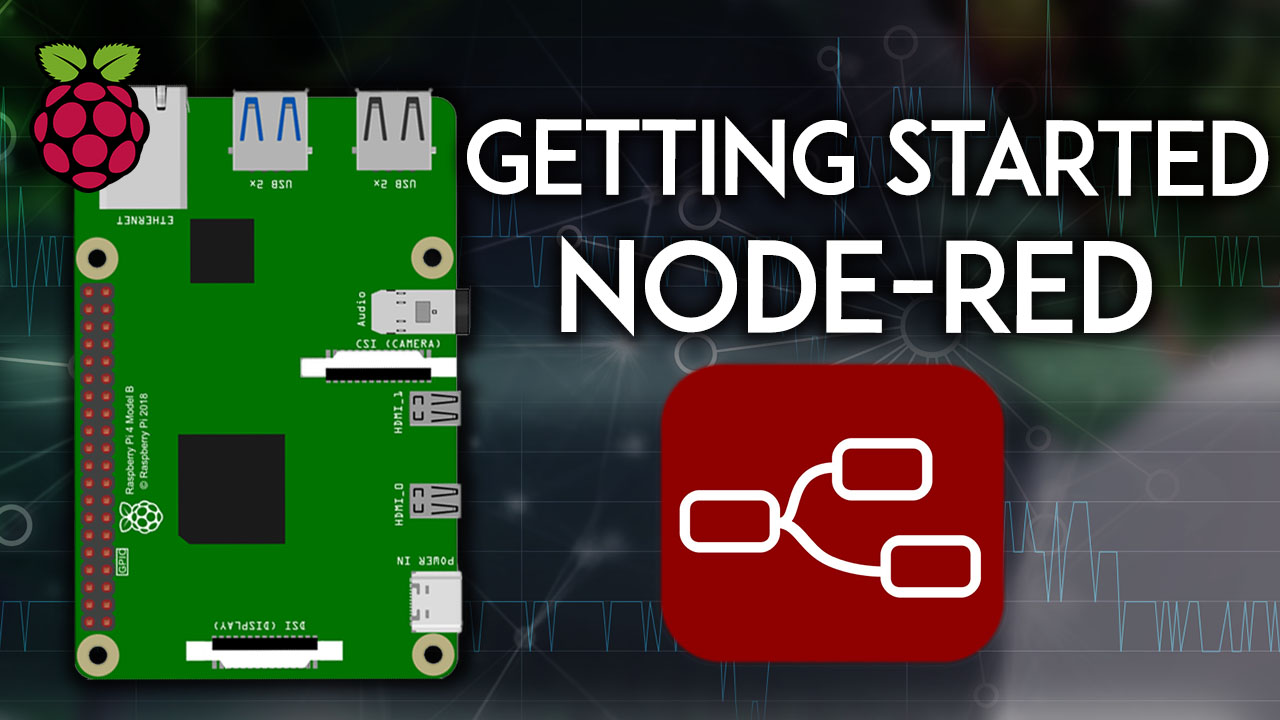
This post is an introductory guide to Node-RED. I'll cover what's Node-RED, how to install it, how to use the visual interface and create a simple flow.| Random Nerd Tutorials
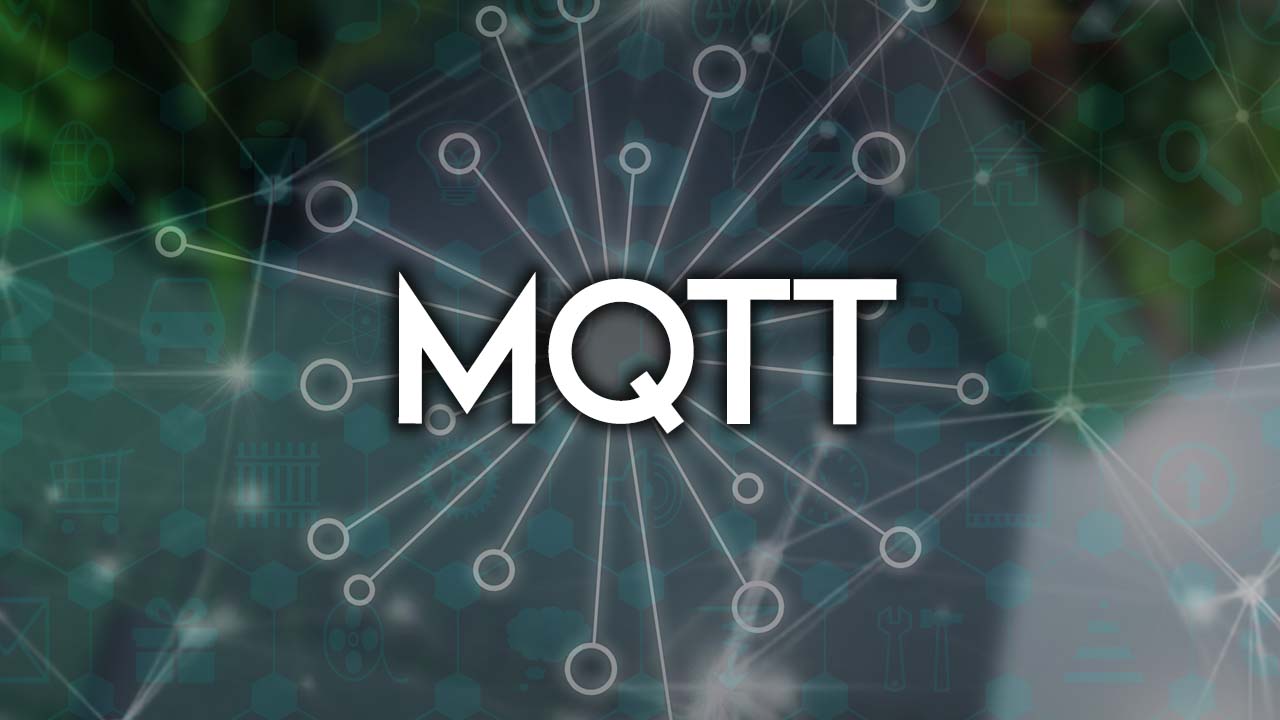
This article is an introduction to the MQTT protocol. MQTT stands for Message Queuing Telemetry Transport, a simple messaging protocol suitable for communication between IoT devices.| Random Nerd Tutorials
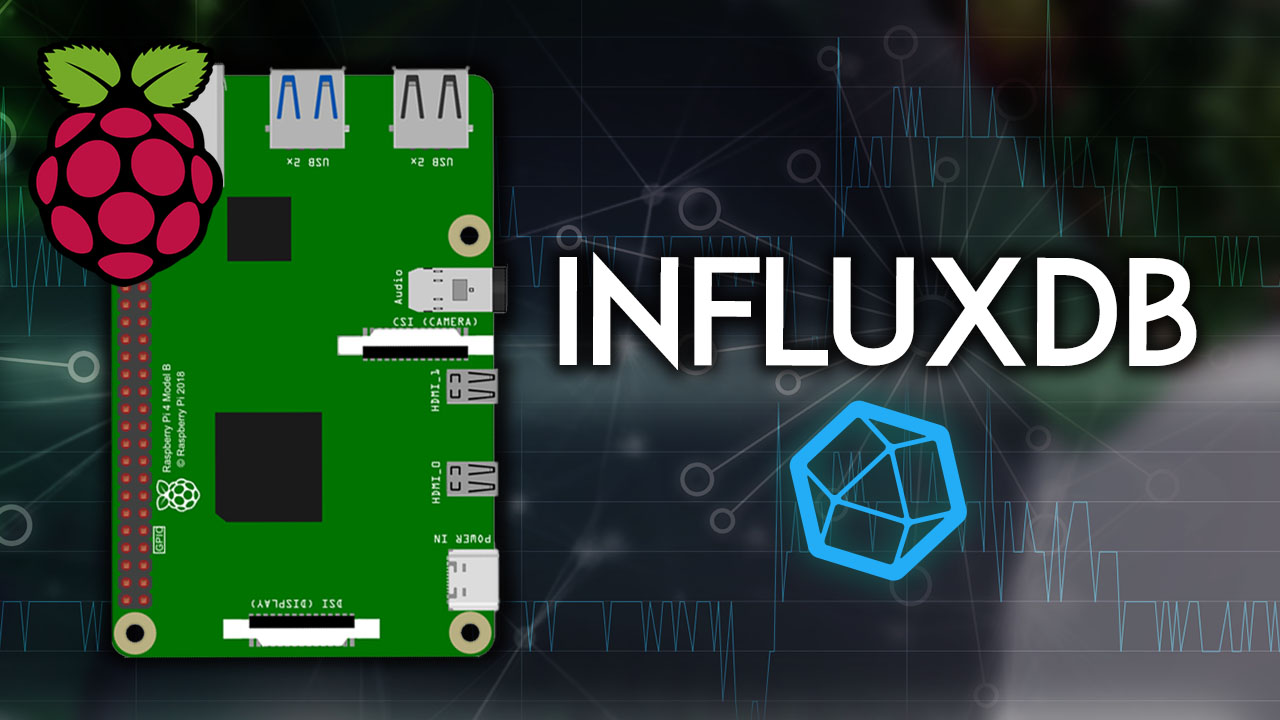
How to install InfluxDB 2 on Raspberry Pi. InfluxDB is an open-source time-series database (TSDB). It's ideal to store sensor data with timestamps over a determined period of time.| Random Nerd Tutorials
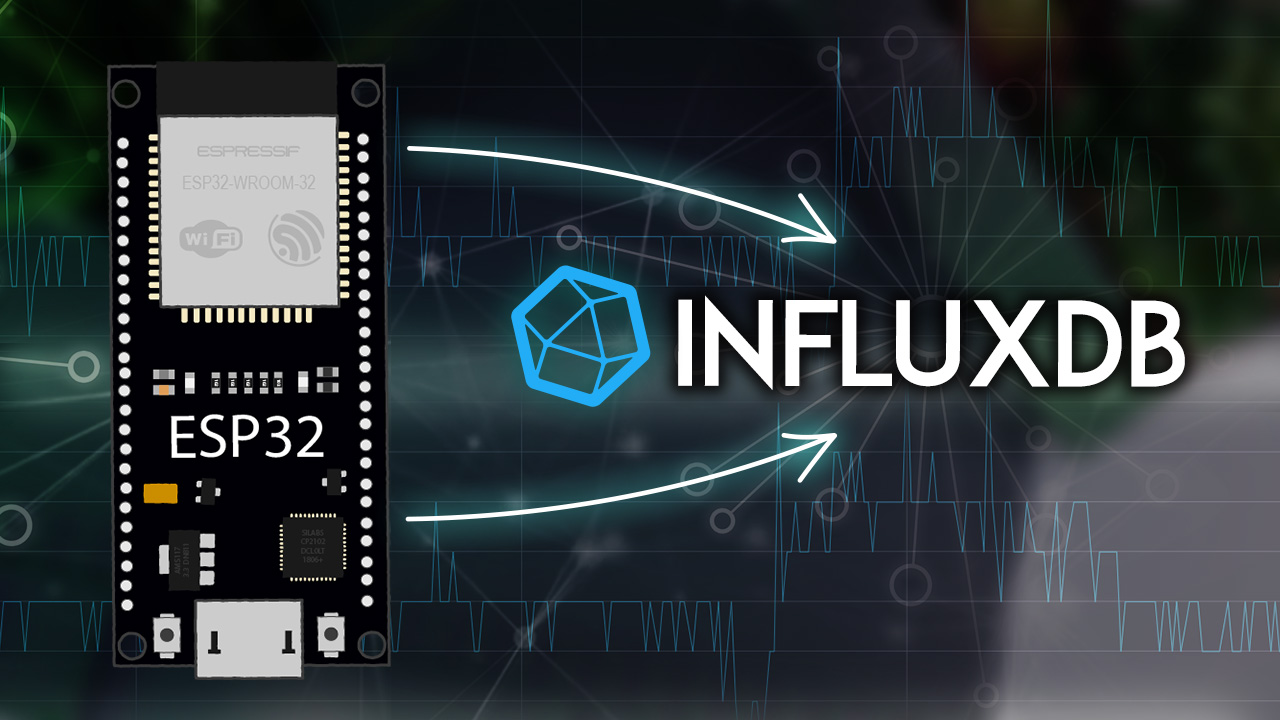
Get started with InfluxDB using the ESP32 board. InfluxDB is an open-source time series database (TSDB). So, it is ideal to store sensor data with timestamps over a determined period of time.| Random Nerd Tutorials
Learn how to install the ESP-IDF extension for ESP32 boards on VS Code IDE (Microsoft Visual Studio Code) on Windows, Mac OS X or Linux Ubuntu operating systems. Introduction to ... CONTINUE READING » The post Install ESP-IDF Extension for ESP32 on VS Code (Windows, Mac OS X, Linux) first appeared on Random Nerd Tutorials.| Random Nerd Tutorials
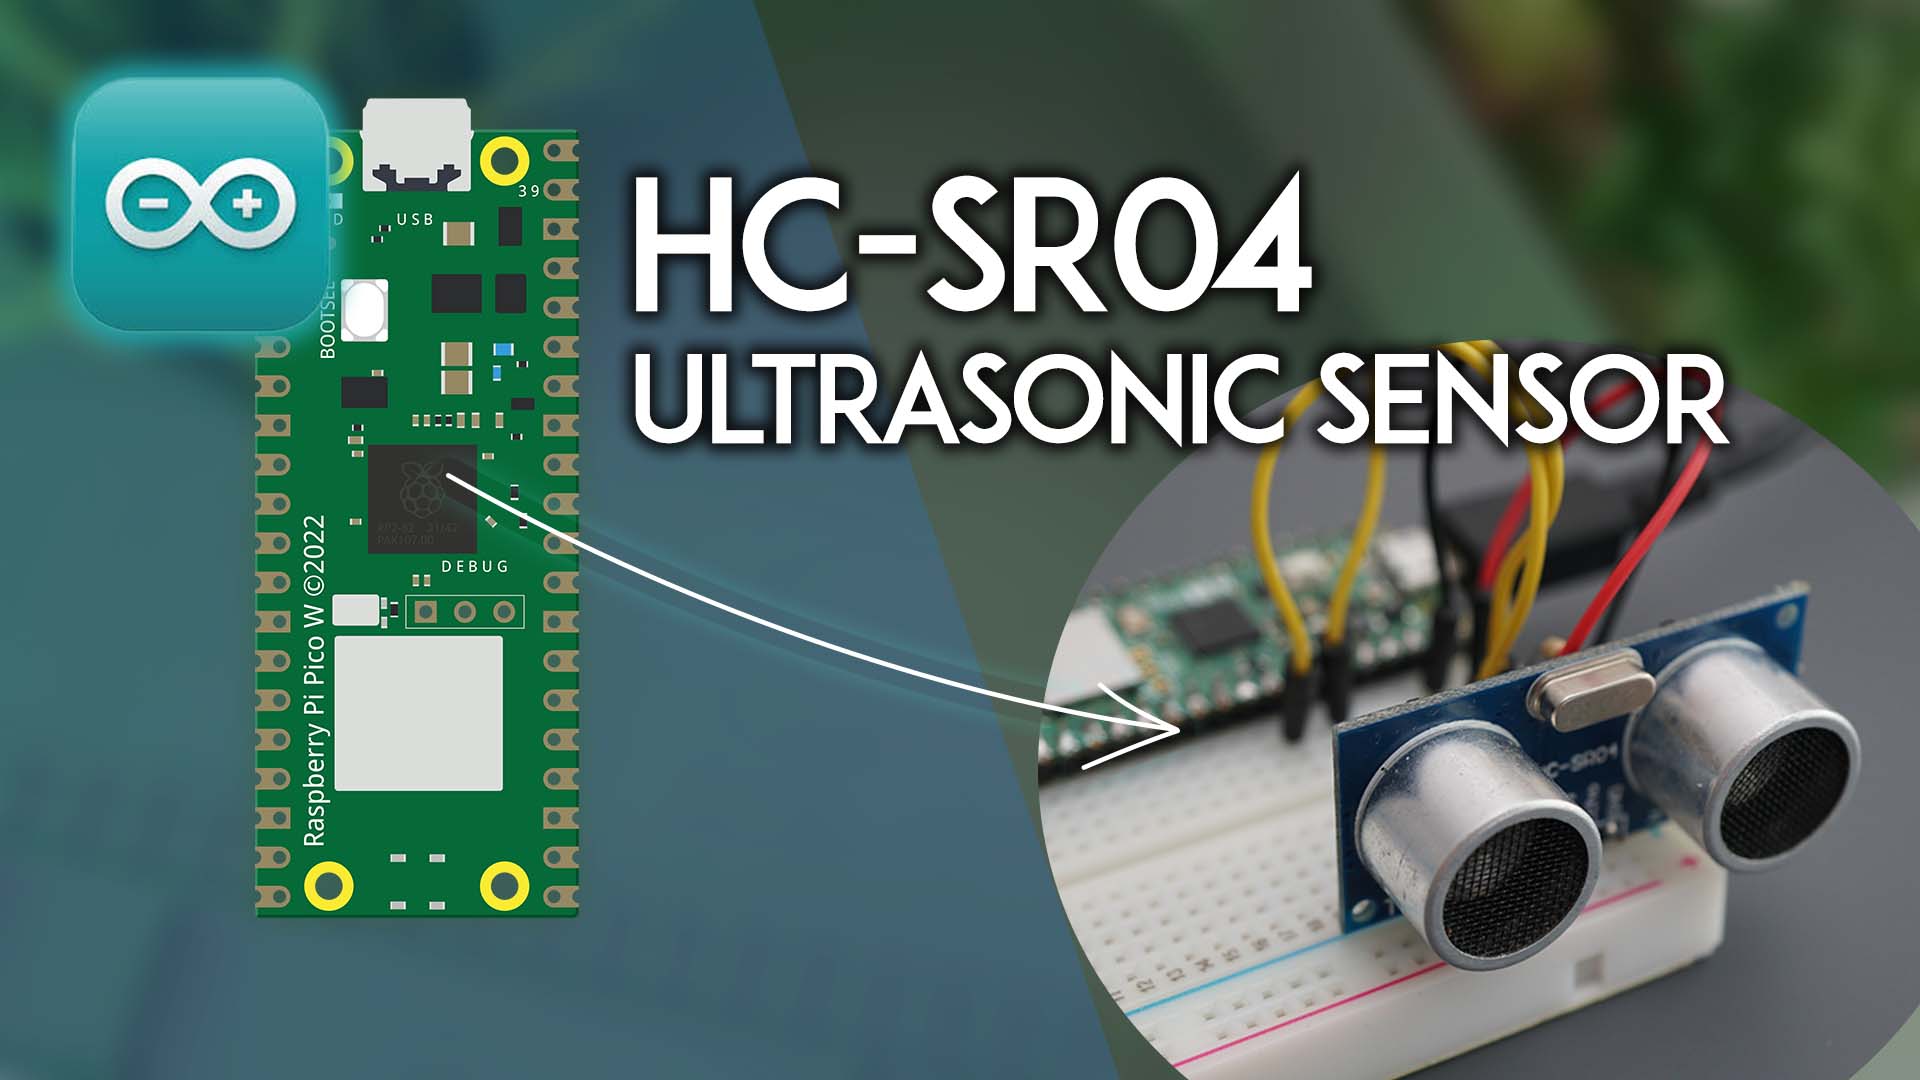
Learn how to use the HC-SR04 Ultrasonic Sensor with the Raspberry Pi Pico to get the distance to an object using MicroPython firmware. This tutorial covers how to wire the ... CONTINUE READING » The post Raspberry Pi Pico: HC-SR04 Ultrasonic Sensor (MicroPython) first appeared on Random Nerd Tutorials.| Random Nerd Tutorials
Use the HC-SR04 Ultrasonic Sensor with the Raspberry Pi Pico to get the distance to an object programmed using Arduino IDE. Wire the sensor and display the distance on an OLED screen.| Random Nerd Tutorials
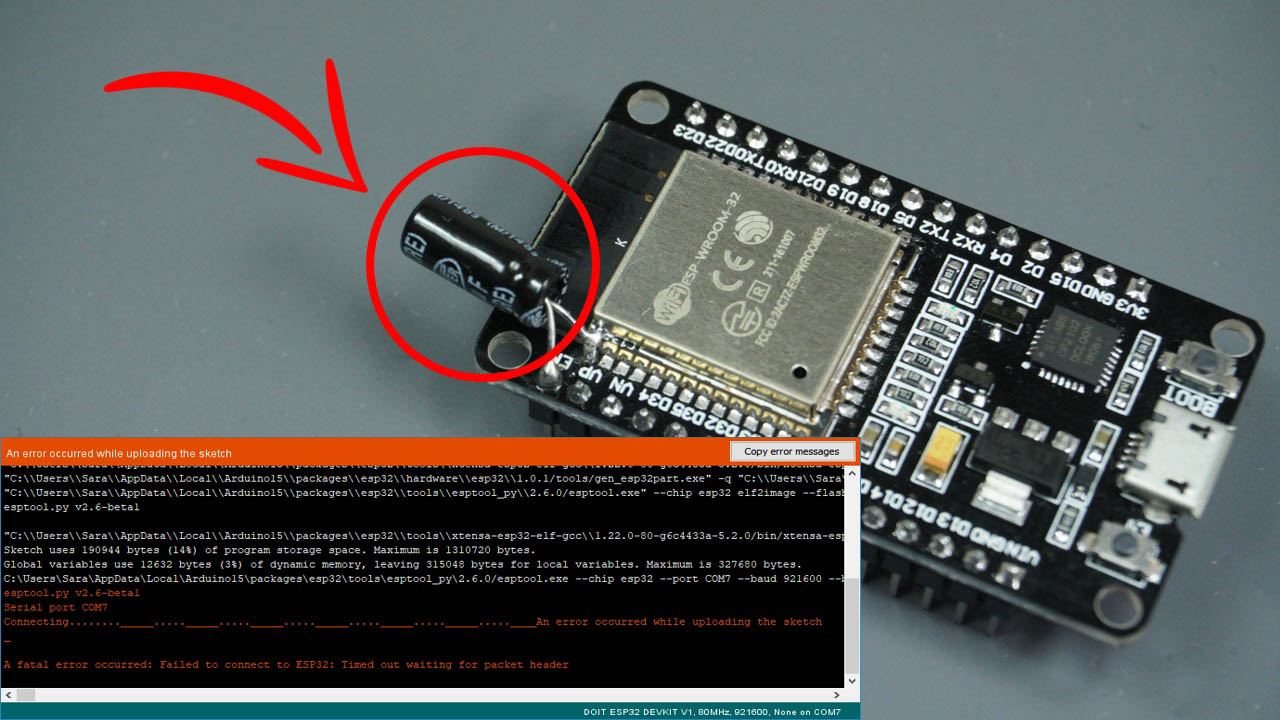
Learn how to fix the Fatal Error Occurred: "Failed to connect to ESP32: Timed out waiting for packet header" error when trying to upload code to your ESP32.| Random Nerd Tutorials
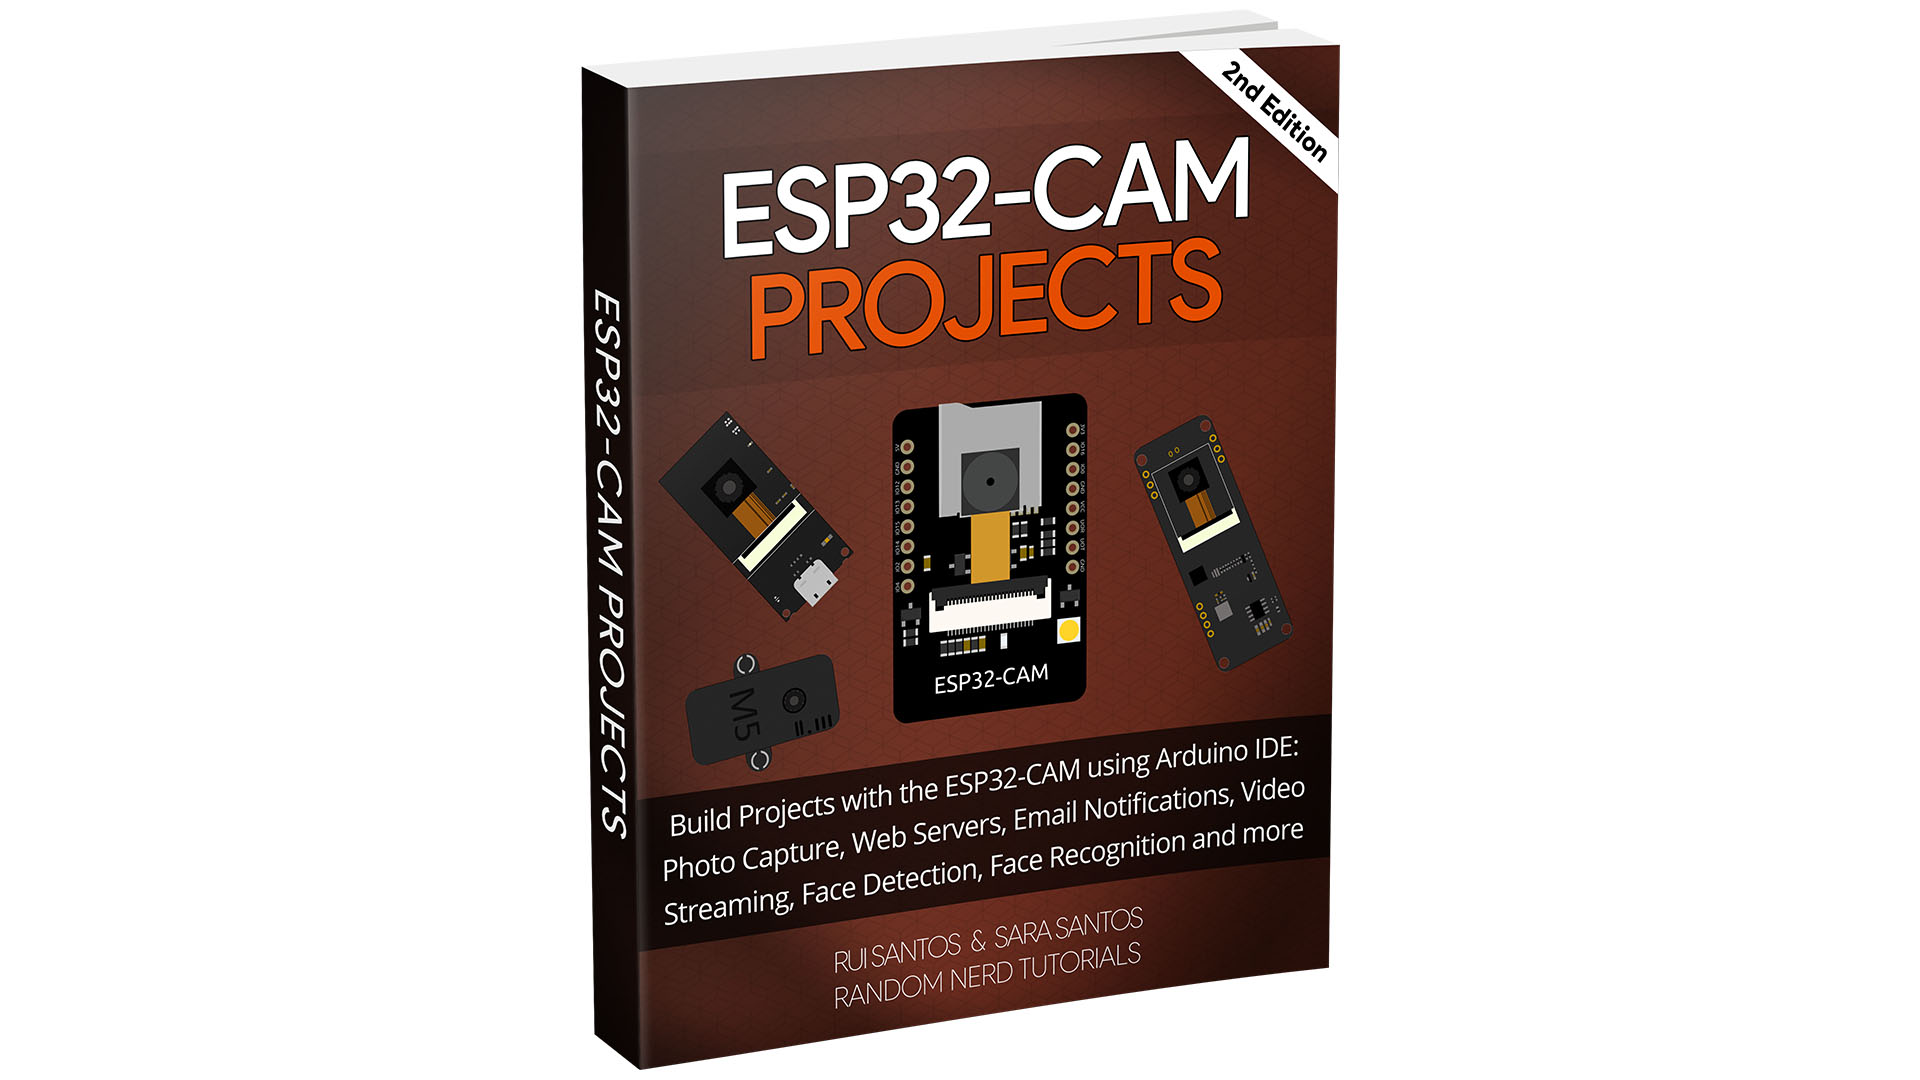
Build 20 ESP32-CAM Projects using Arduino IDE with our new eBook. It includes: photo capture, web servers, email notifications, video streaming, face detection and recognition.| Random Nerd Tutorials
Learn how to establish a two-way communication between two ESP32 boards using ESP-NOW communication protocol. First, we’ll test a simple example to show you how to implement two-way communication. Finally, ... CONTINUE READING » The post MicroPython: ESP32 ESP-NOW Two-Way Communication first appeared on Random Nerd Tutorials.| Random Nerd Tutorials
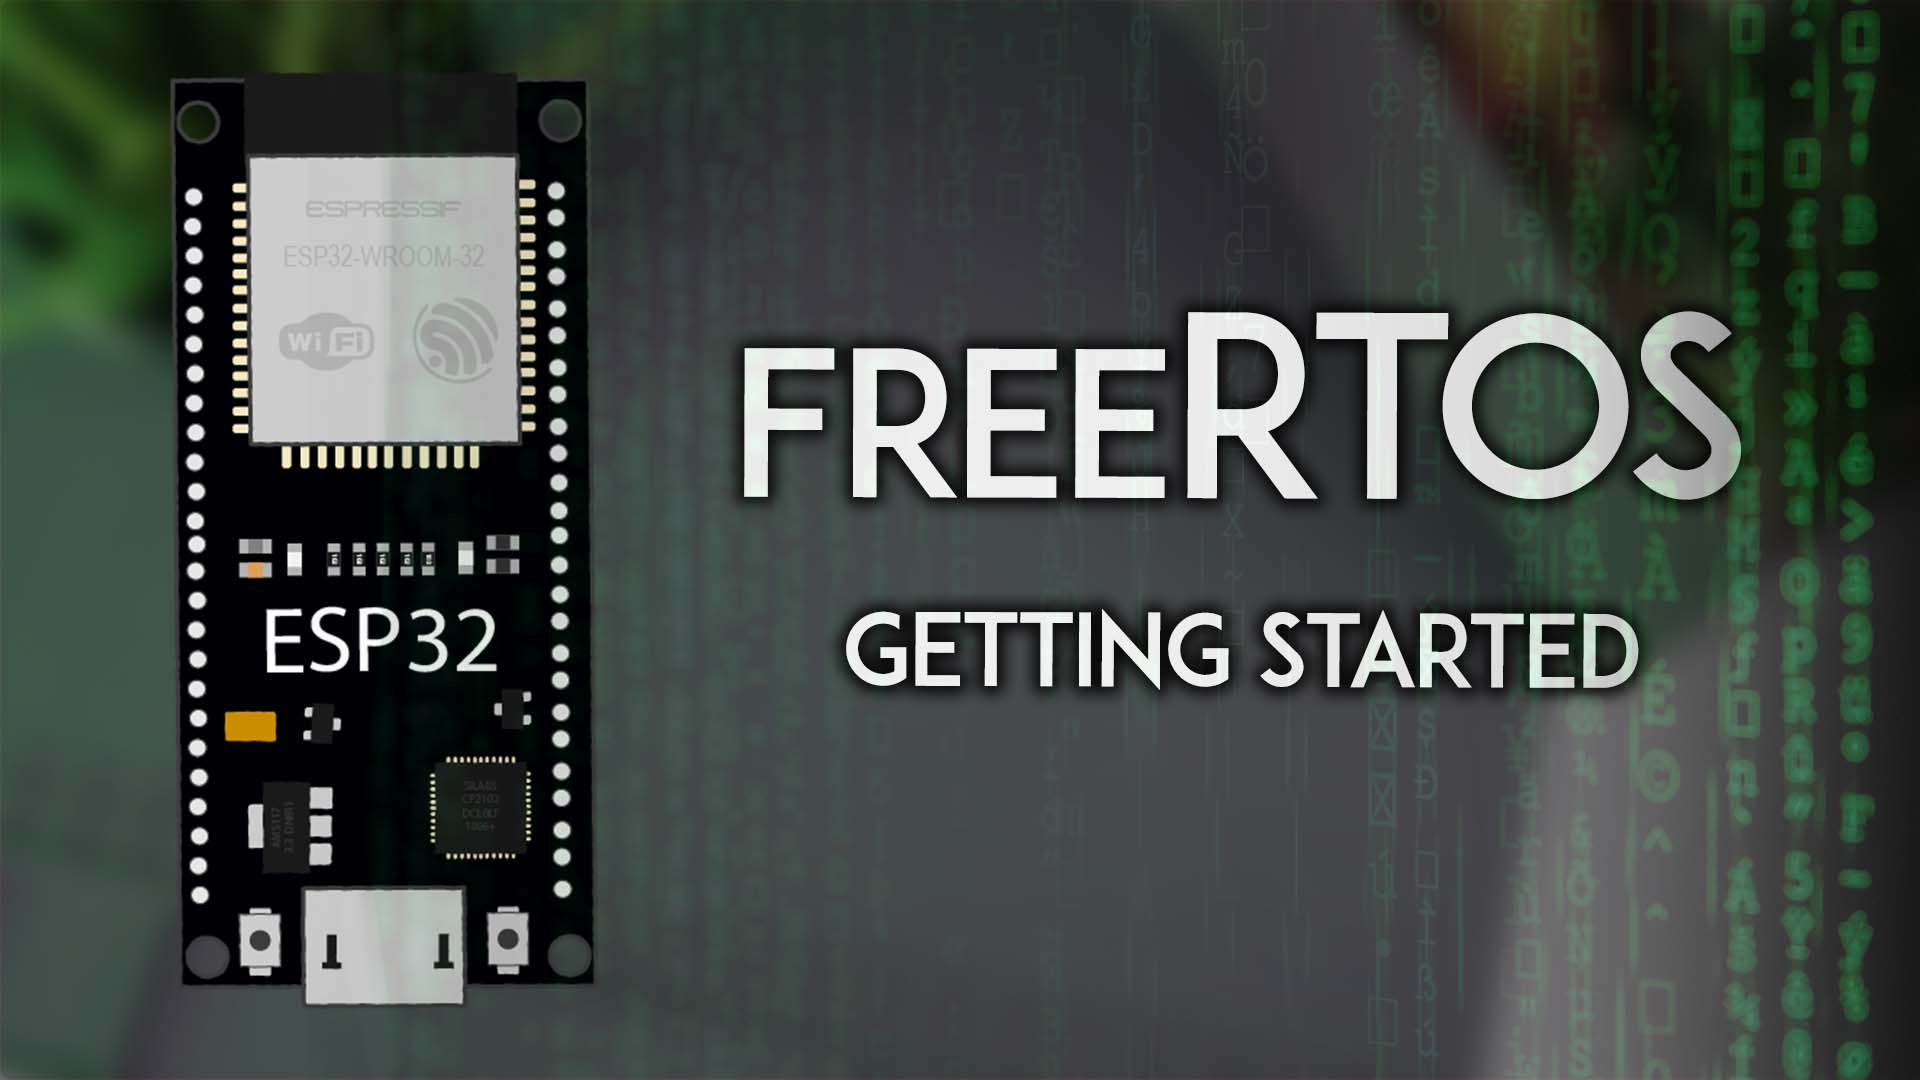
Get started with FreeRTOS with the ESP32 and the Arduino IDE. Create single and multiple tasks, suspend and resume tasks, run code ESP32 two cores, and calculate memory for each task.| Random Nerd Tutorials
Program the ESP32 or ESP8266 NodeMCU boards with MicroPython to send emails using an SMTP server. Send alert notifications, send messages with sensor readings, and much more.| Random Nerd Tutorials
Random Nerd Tutorials helps makers, hobbyists and engineers build electronics projects. We make projects with: ESP32, ESP8266, Arduino, Raspberry Pi, Home Automation and Internet of Things. If you want to learn electronics and programming, you're in the right place.| Random Nerd Tutorials
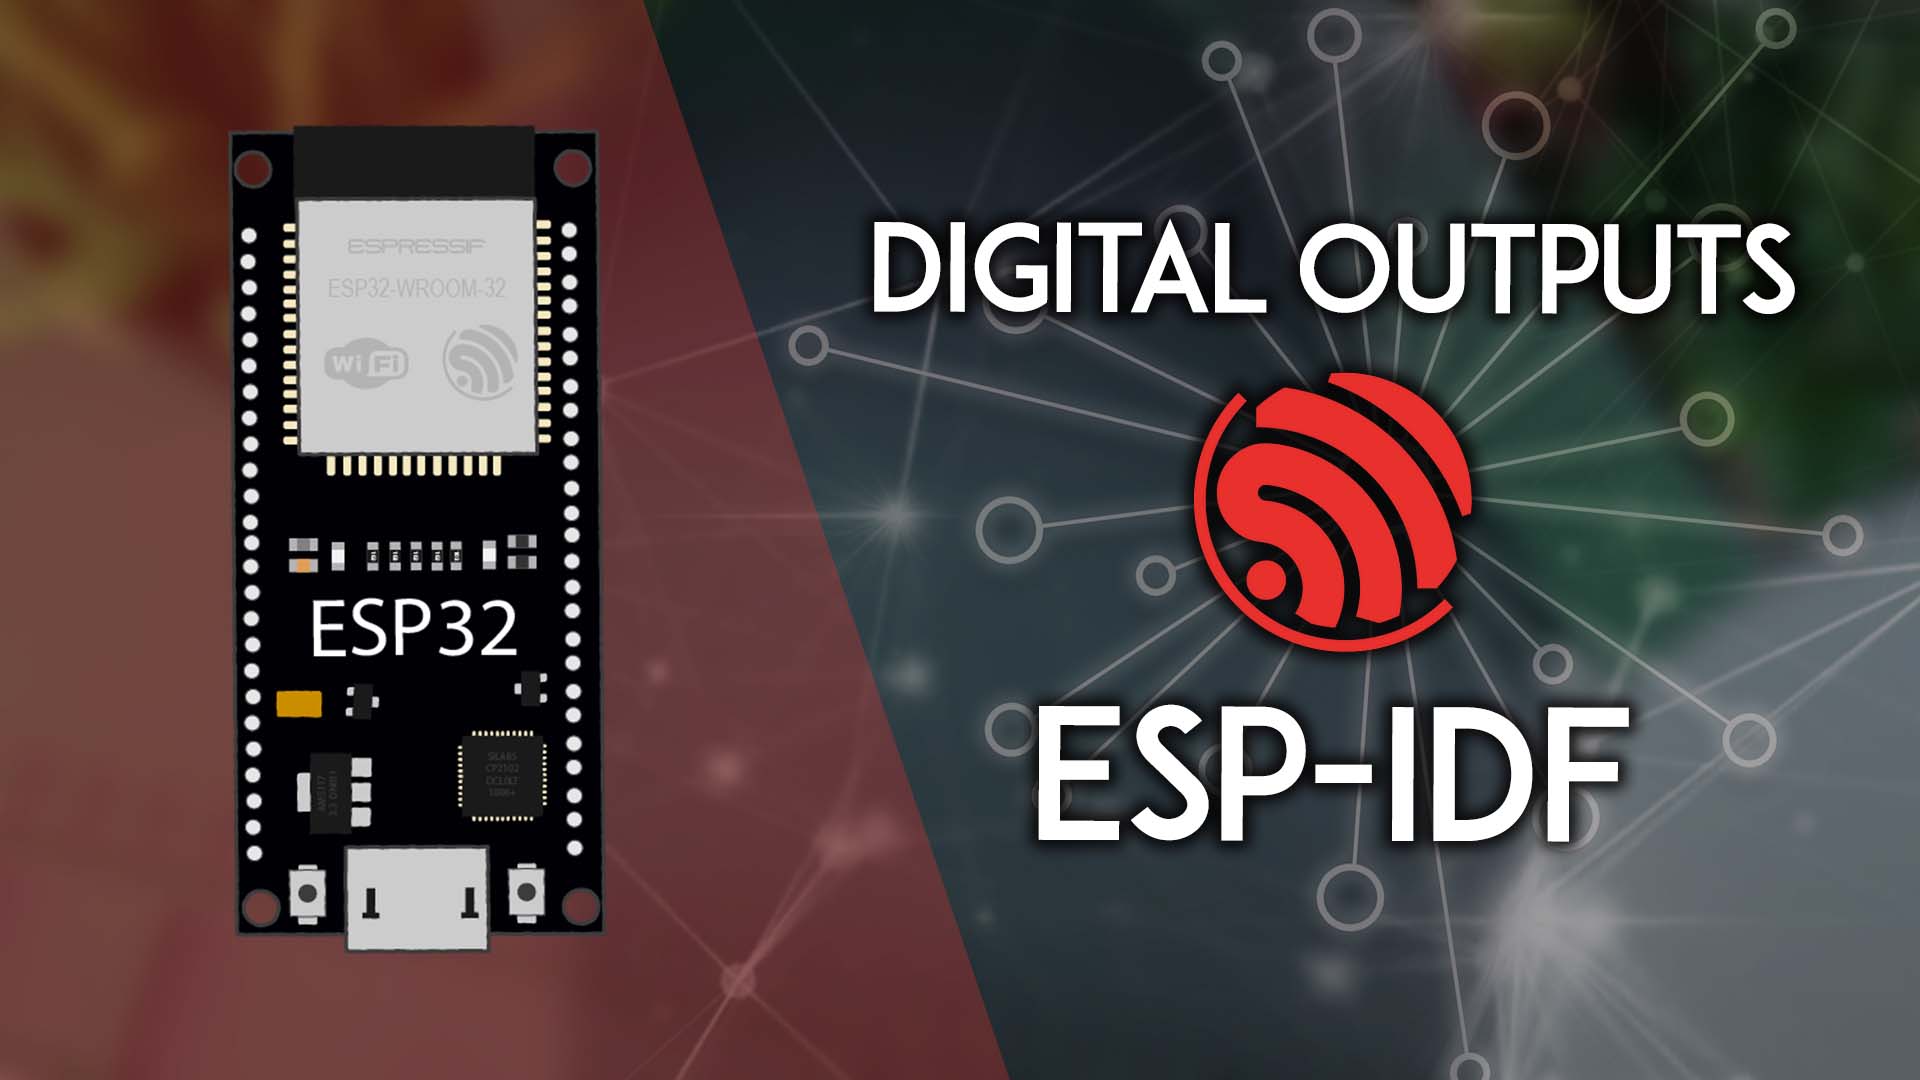
Control the ESP32 board's GPIO pins as digital outputs with ESP-IDF. You can control devices like LED by setting the pin's voltage level to HIGH (3.3V) or LOW (0V).| Random Nerd Tutorials
Learn how to transfer files remotely from your Mac OS computer to a Raspberry Pi and vice-versa. We'll be using FileZilla FTP (File Transfer Protocol) Client to establish a remote connection over the internet.| Random Nerd Tutorials
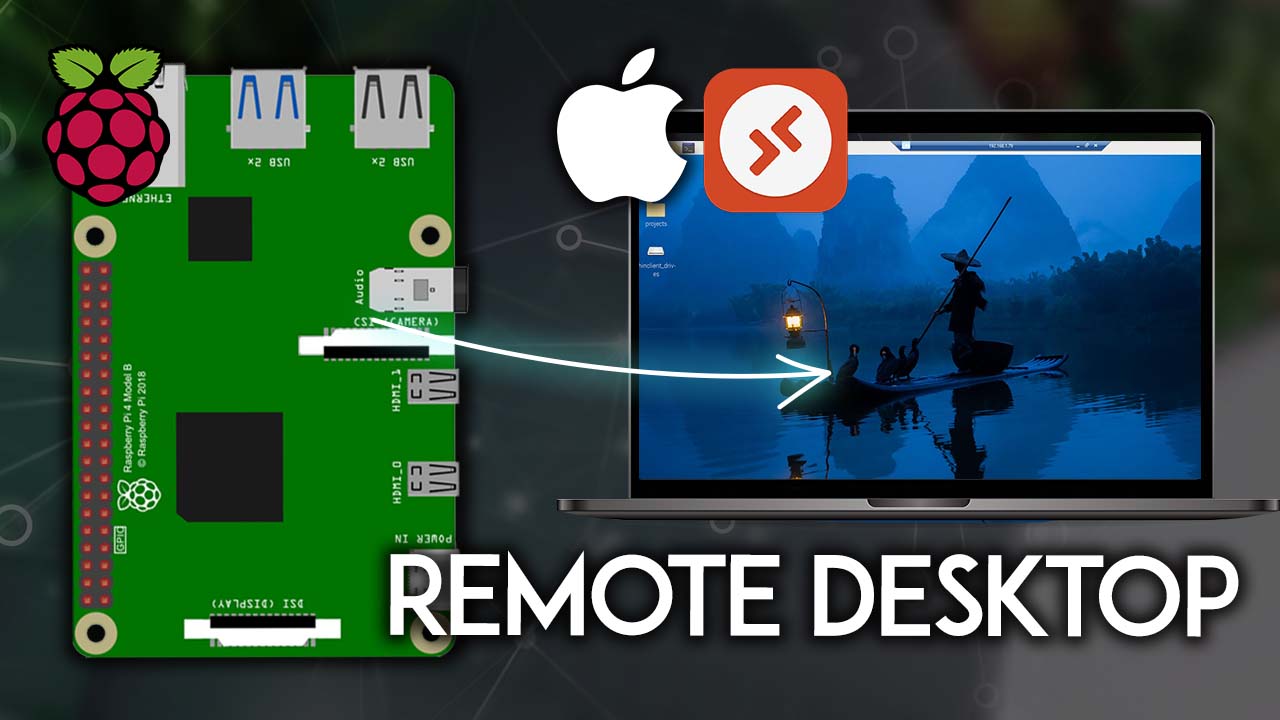
Set up a Remote Desktop Connection with a Raspberry Pi using RDP on Mac OS computer. RDP allows you to connect your Windows PC to your Raspberry Pi and control its GUI remotely.| Random Nerd Tutorials
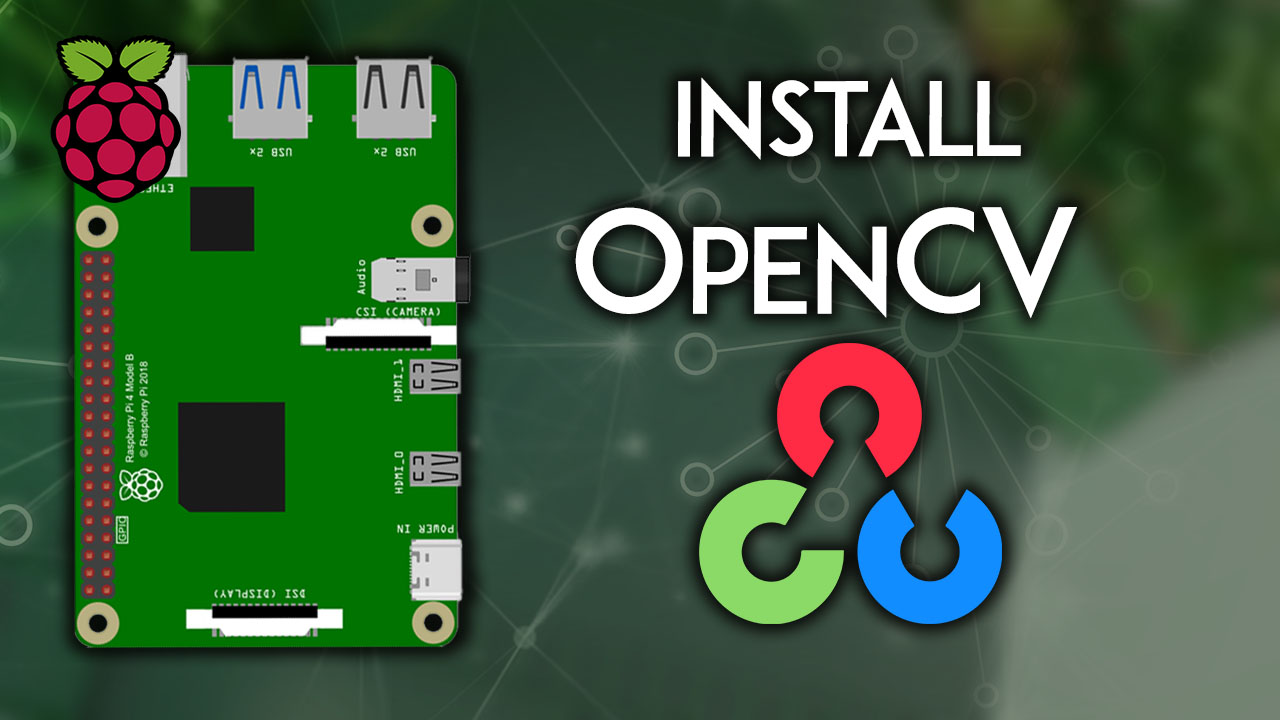
Install OpenCV (Open Computer Vision Library) software on a Raspberry Pi board running Raspberry Pi OS 64-bit. We'll install all OpenCV and all its dependencies using the apt and with pip.| Random Nerd Tutorials
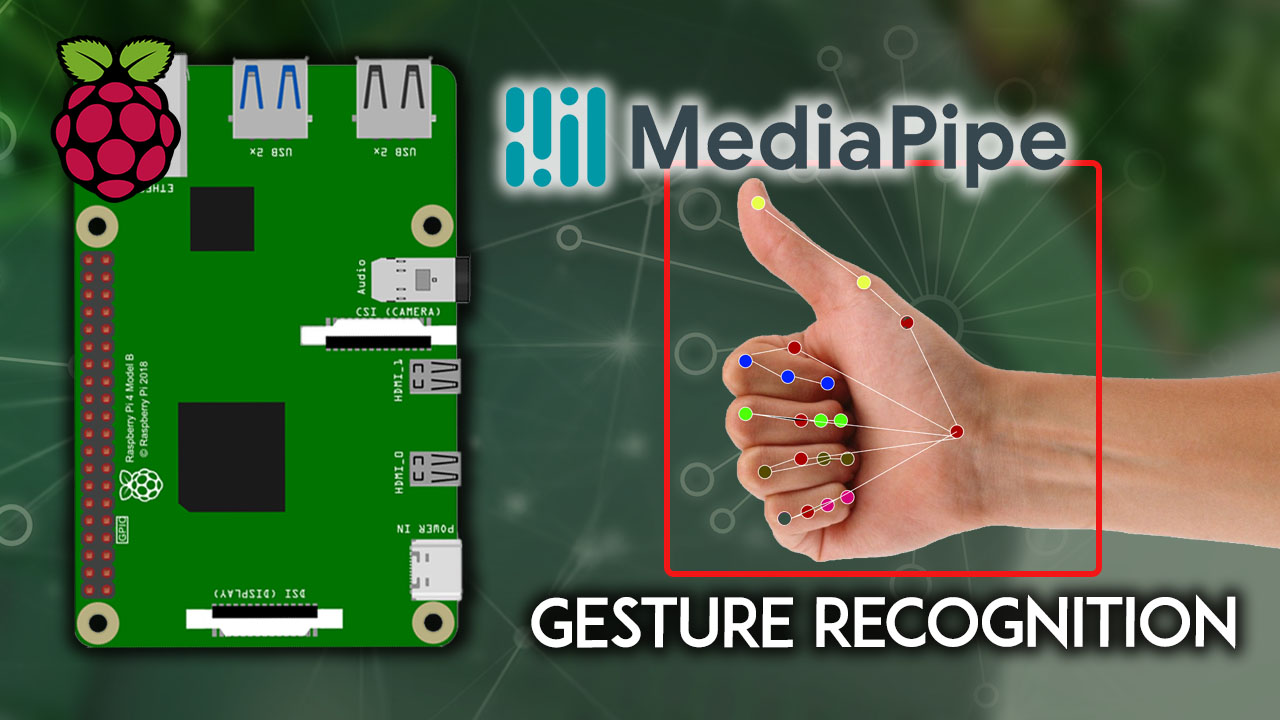
Get started with MediaPipe Python library on a Raspberry Pi board. It covers installing MediaPipe using pip on a virtual environment and running a gesture recognition example.| Random Nerd Tutorials
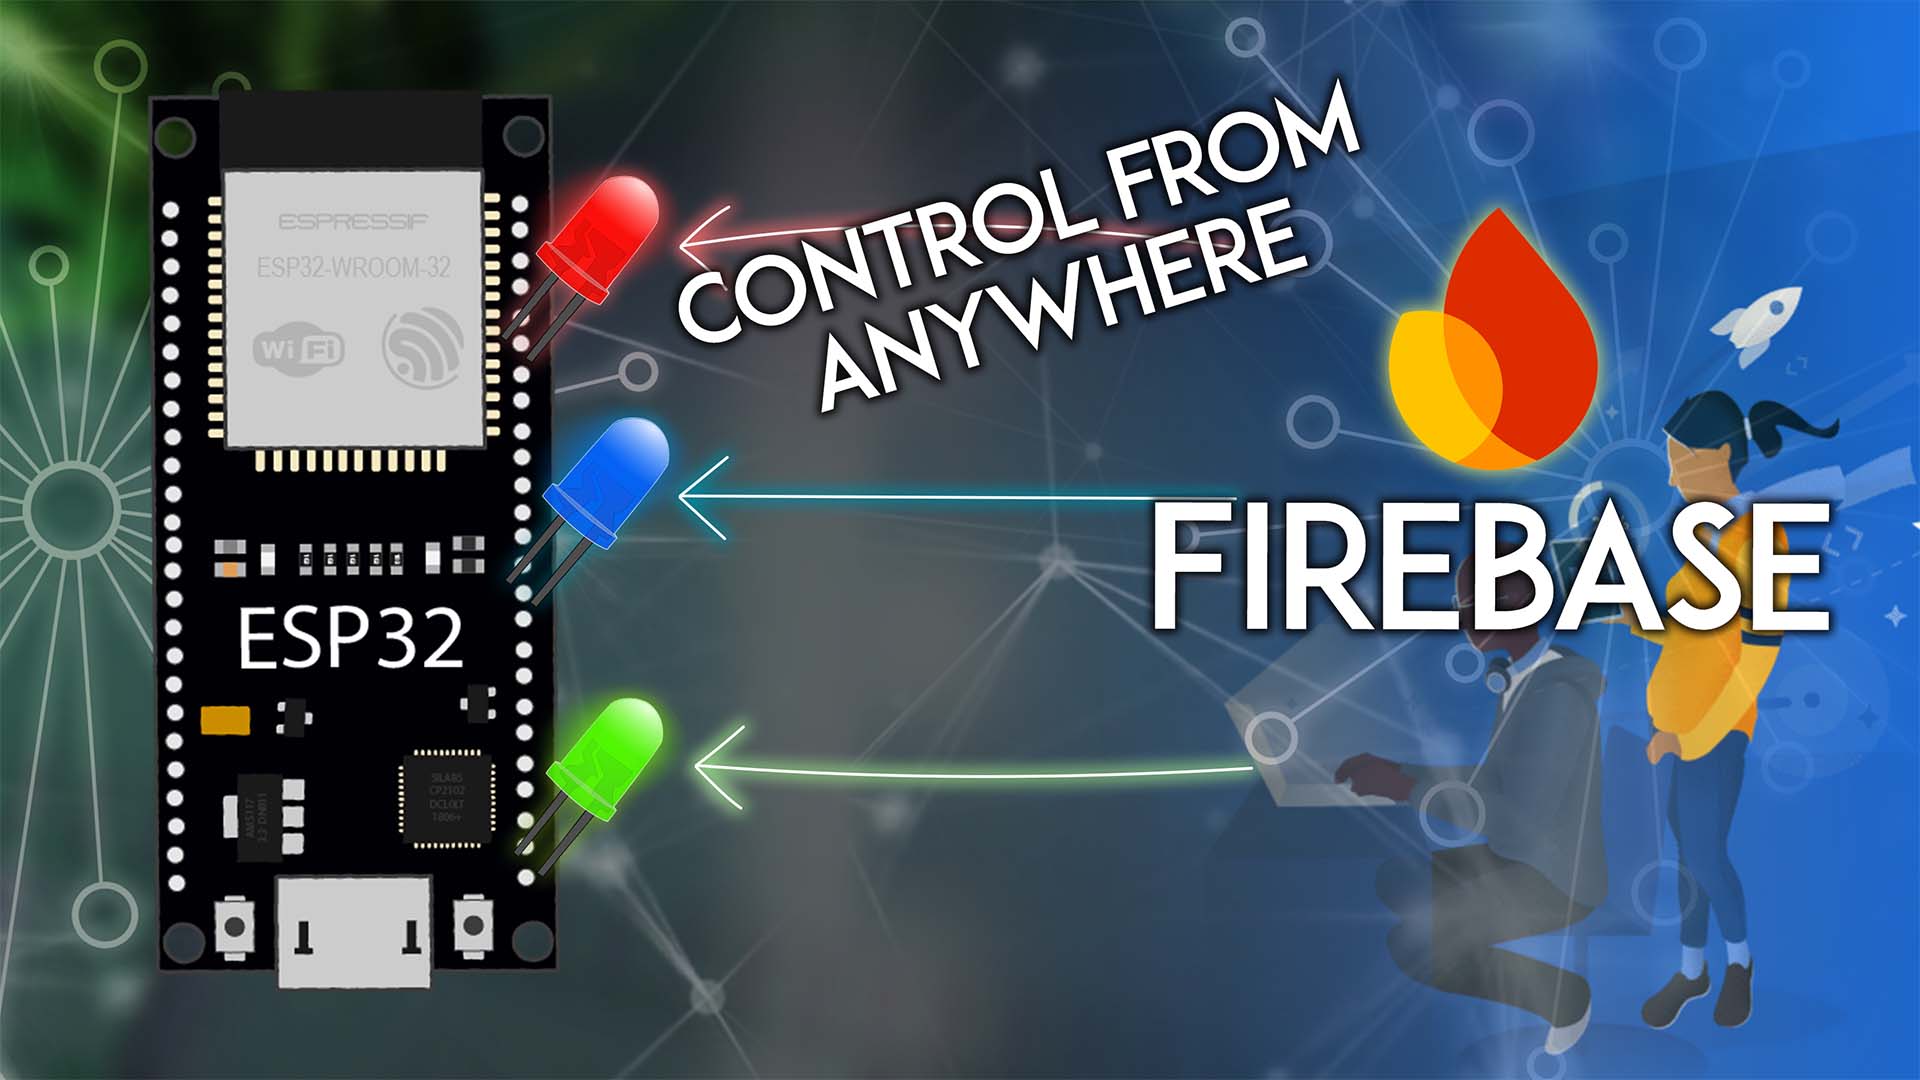
Control the ESP32 GPIOs from anywhere using Firebase. Create nodes on the Firebase Realtime Database to save the current GPIO states. Whenever there's a change in the database nodes, the ESP32 updates its GPIOs accordingly.| Random Nerd Tutorials
Program the ESP32 boards with the ESP-IDF (Espressif IoT Development Framework). We'll install the ESP-IDF on VS Code IDE to run ESP-IDF tools to build and flash programs.| Random Nerd Tutorials
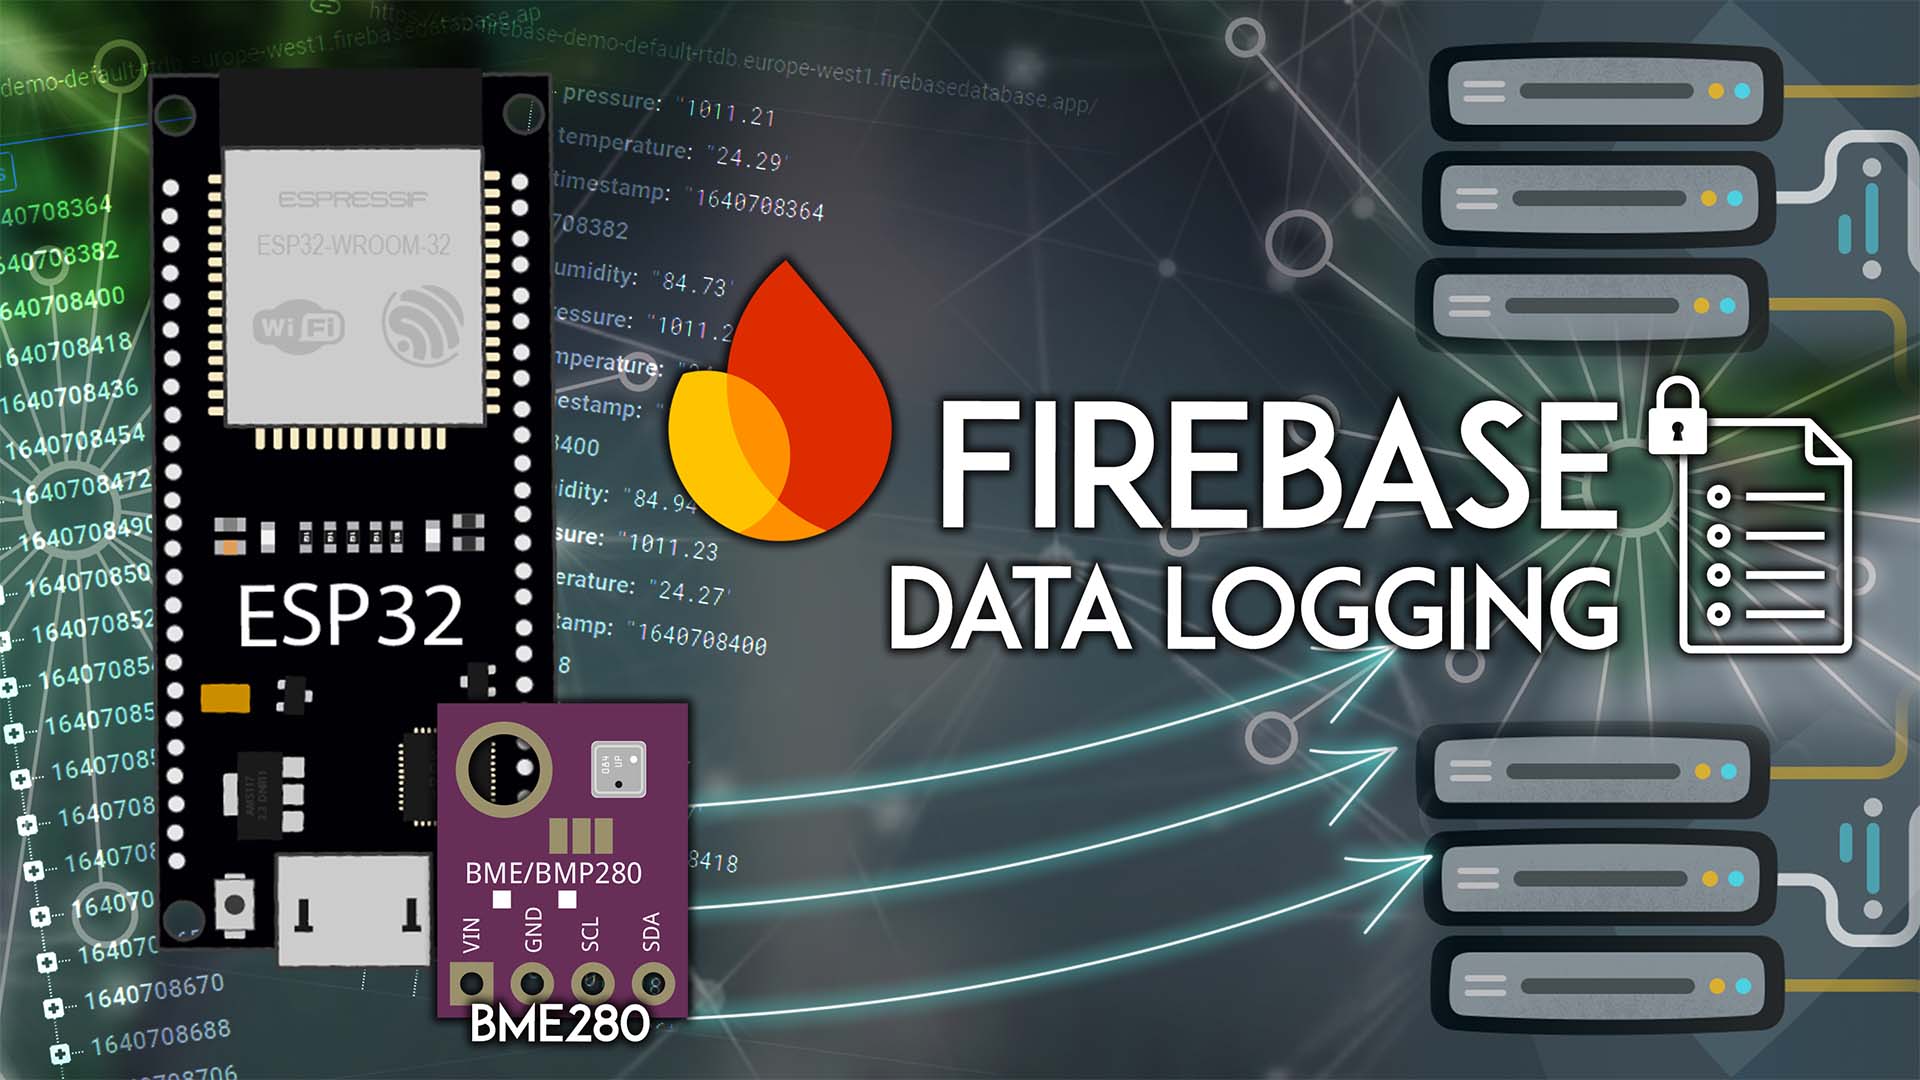
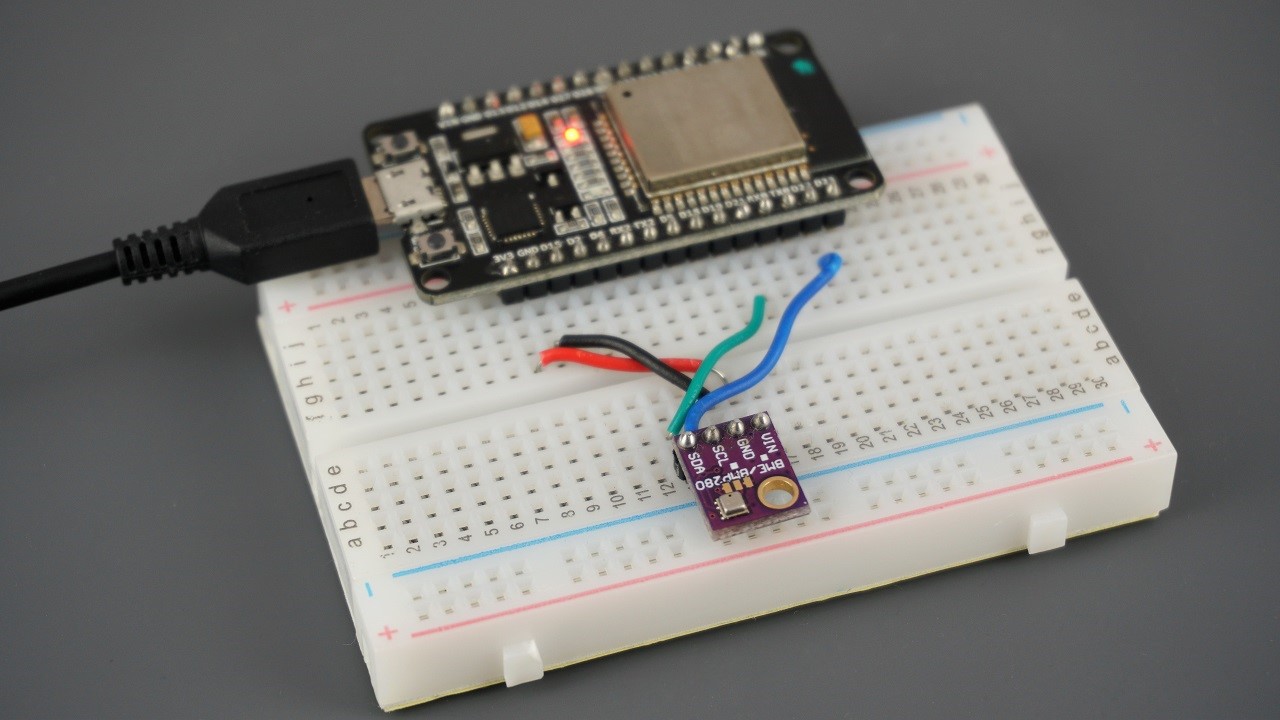
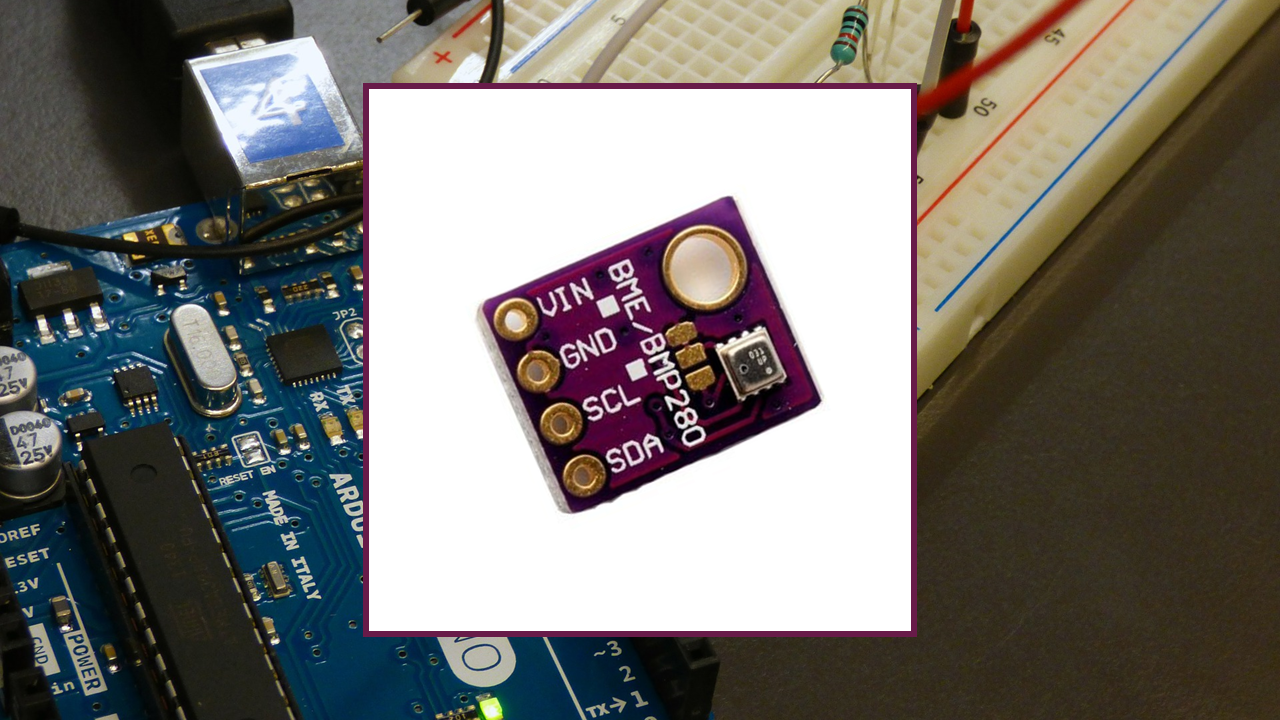
Learn how to log data with the ESP32 to the Firebase Realtime Database with timestamps (data logging) so that you have a record of your data history temperature, humidity, and pressure from a BME280 sensor| Random Nerd Tutorials
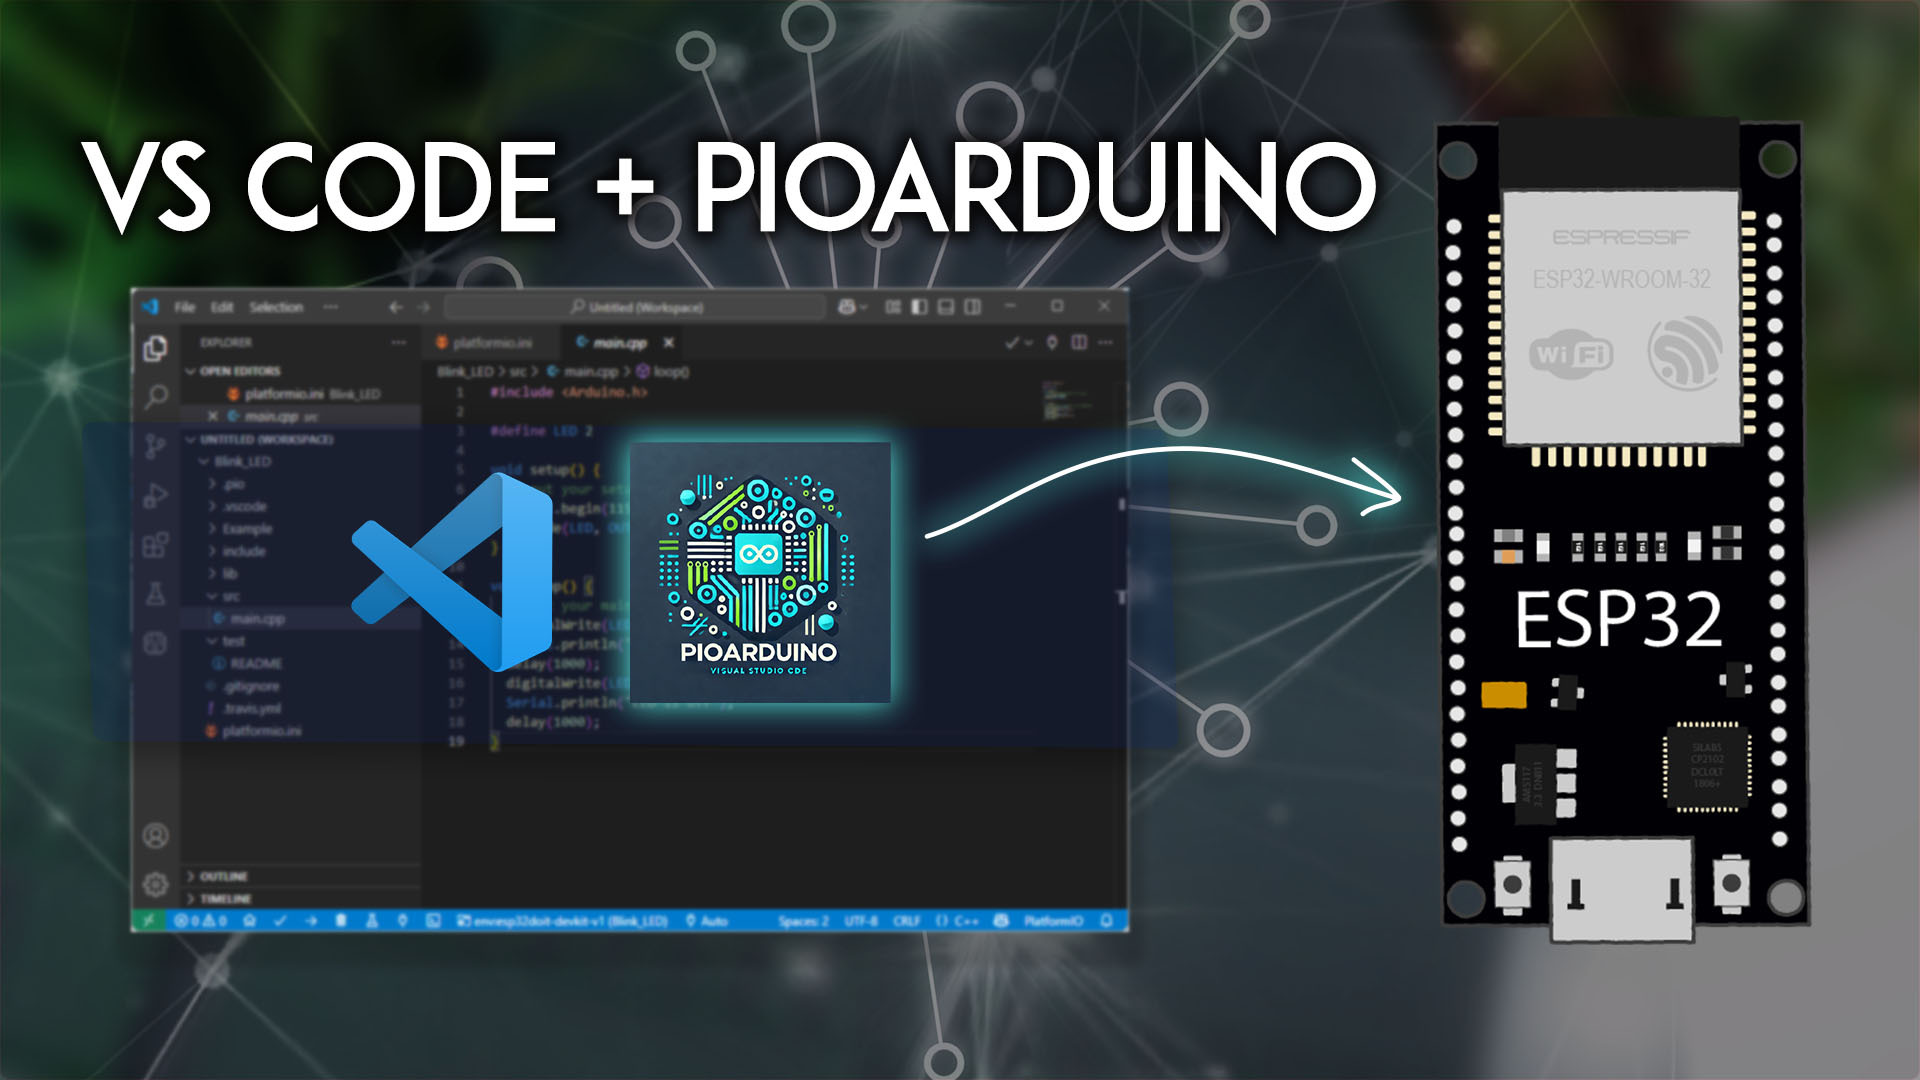
Program the ESP32 boards using VS Code (Visual Studio Code) with the pioarduino IDE extension. Install the software on Windows, Mac OS X or Linux Ubuntu Operating Systems.| Random Nerd Tutorials
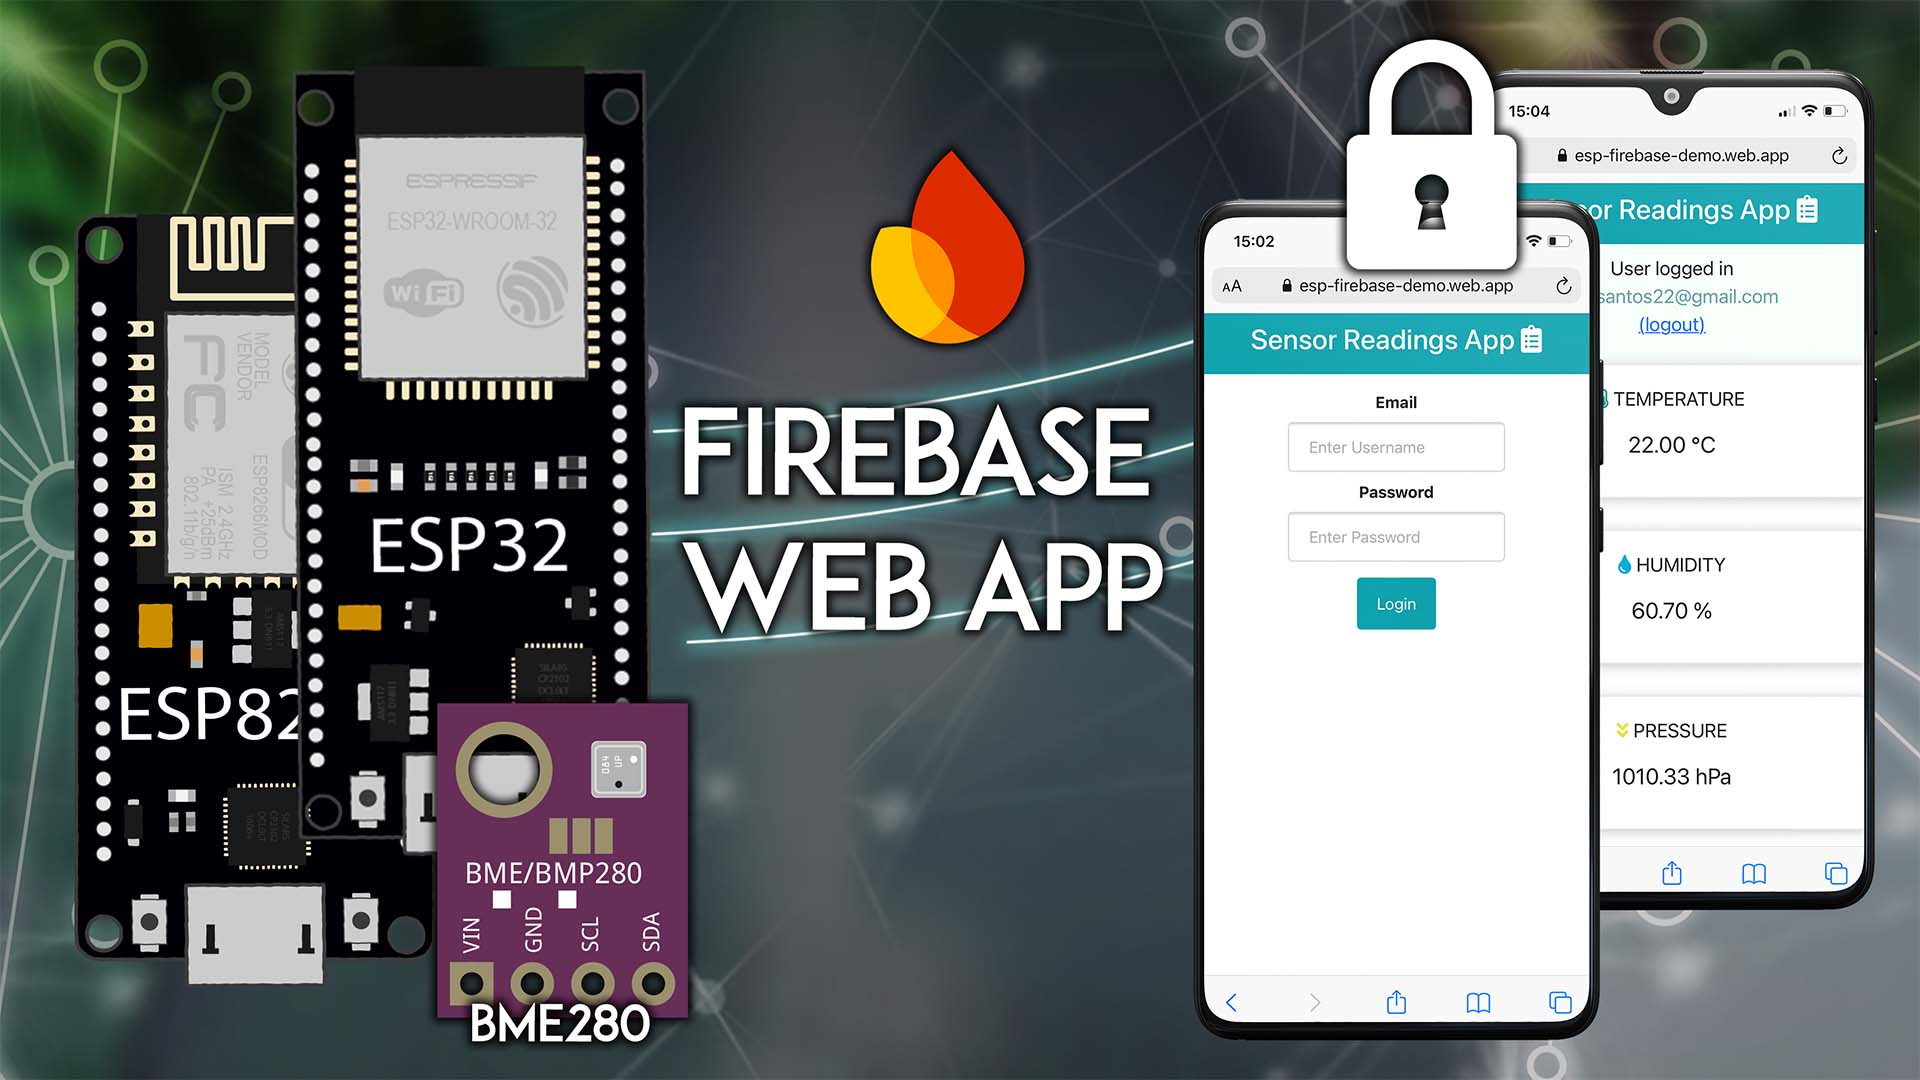
Create a Firebase Web App to display sensor readings saved on the Firebase Realtime Database. The sensor readings web page is protected with authentication with email and password.| Random Nerd Tutorials
Send BME280 sensor readings to the Firebase Realtime Database using the ESP32 or ESP8266 NodeMCU boards. The ESP board will authenticate as a user with email and password.| Random Nerd Tutorials
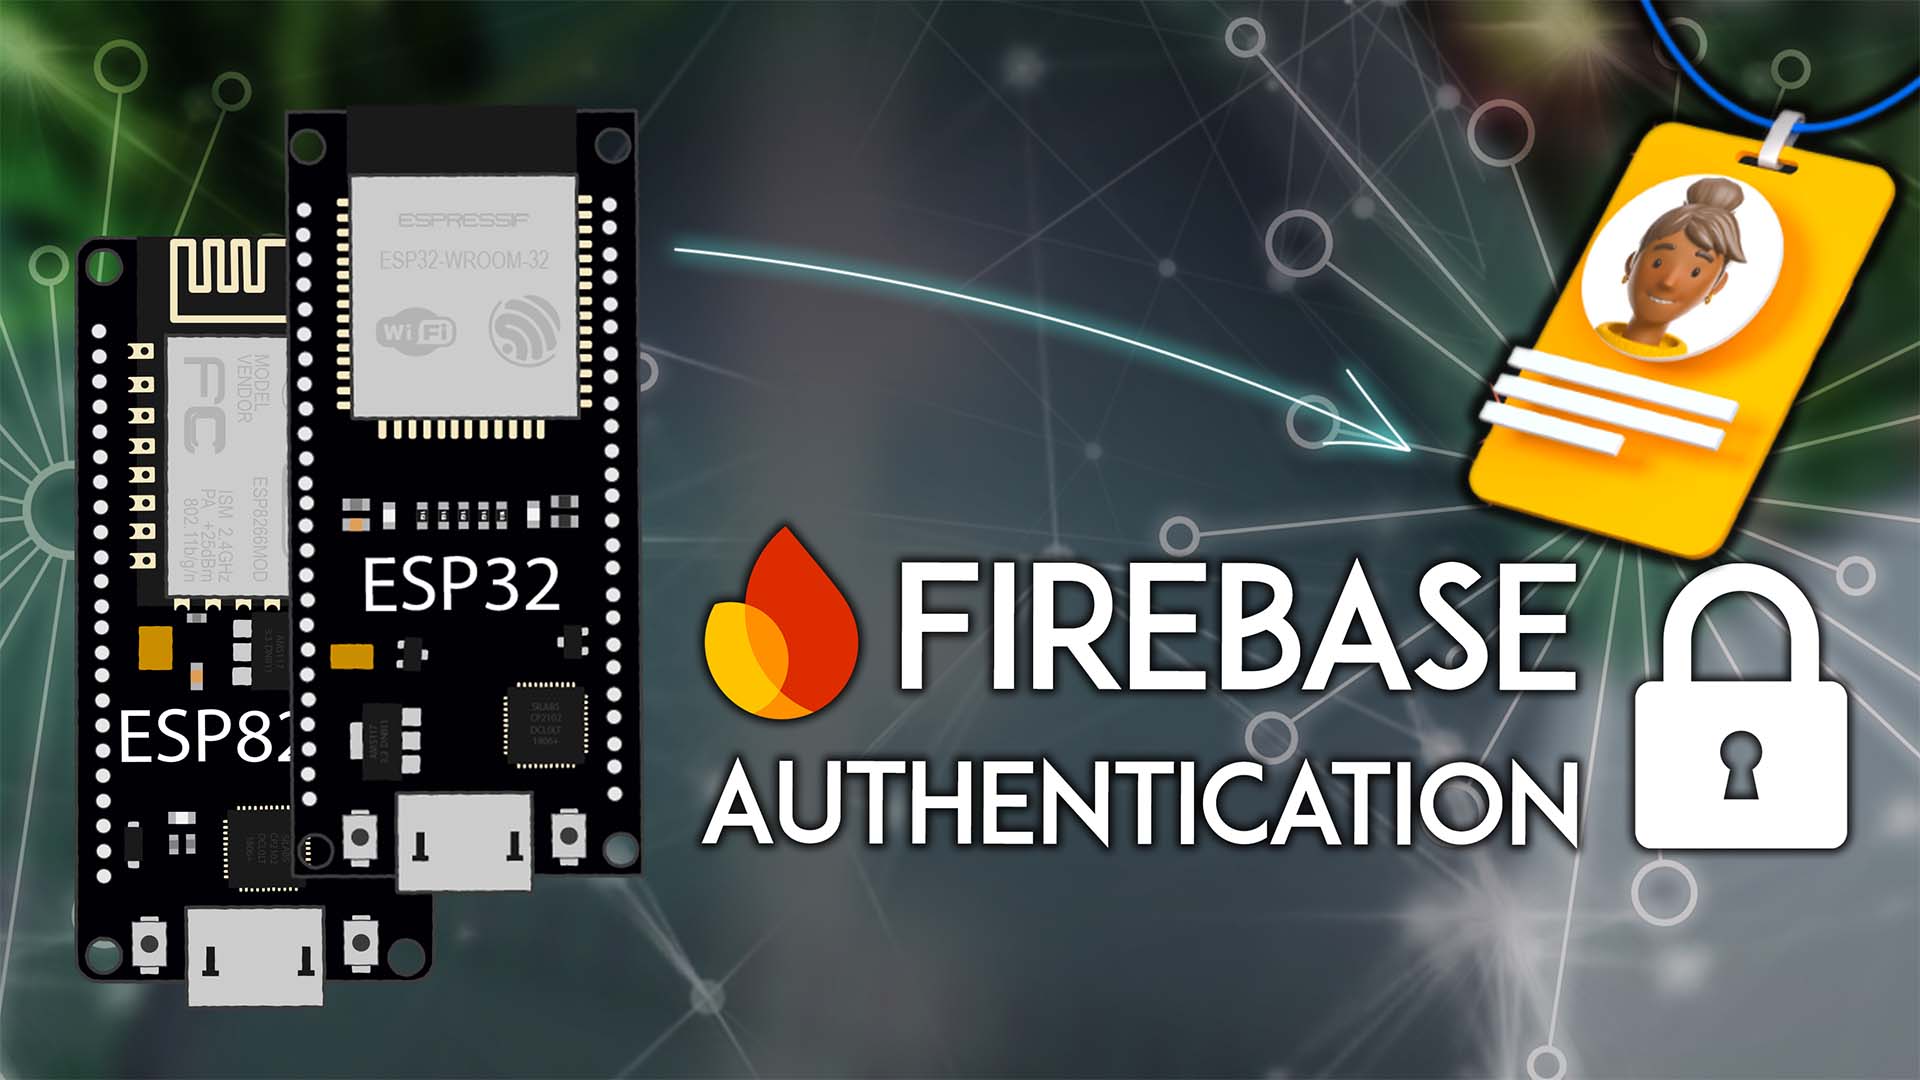
In this guide, you'll learn how to authenticate to Firebase using your ESP32 or ESP8266 board with an email and password, and get the user UID. This is useful for restricting or allowing access to certain users or creating multiple users that can access the same Firebase project. Additionally, this is helpful when setting up| Random Nerd Tutorials
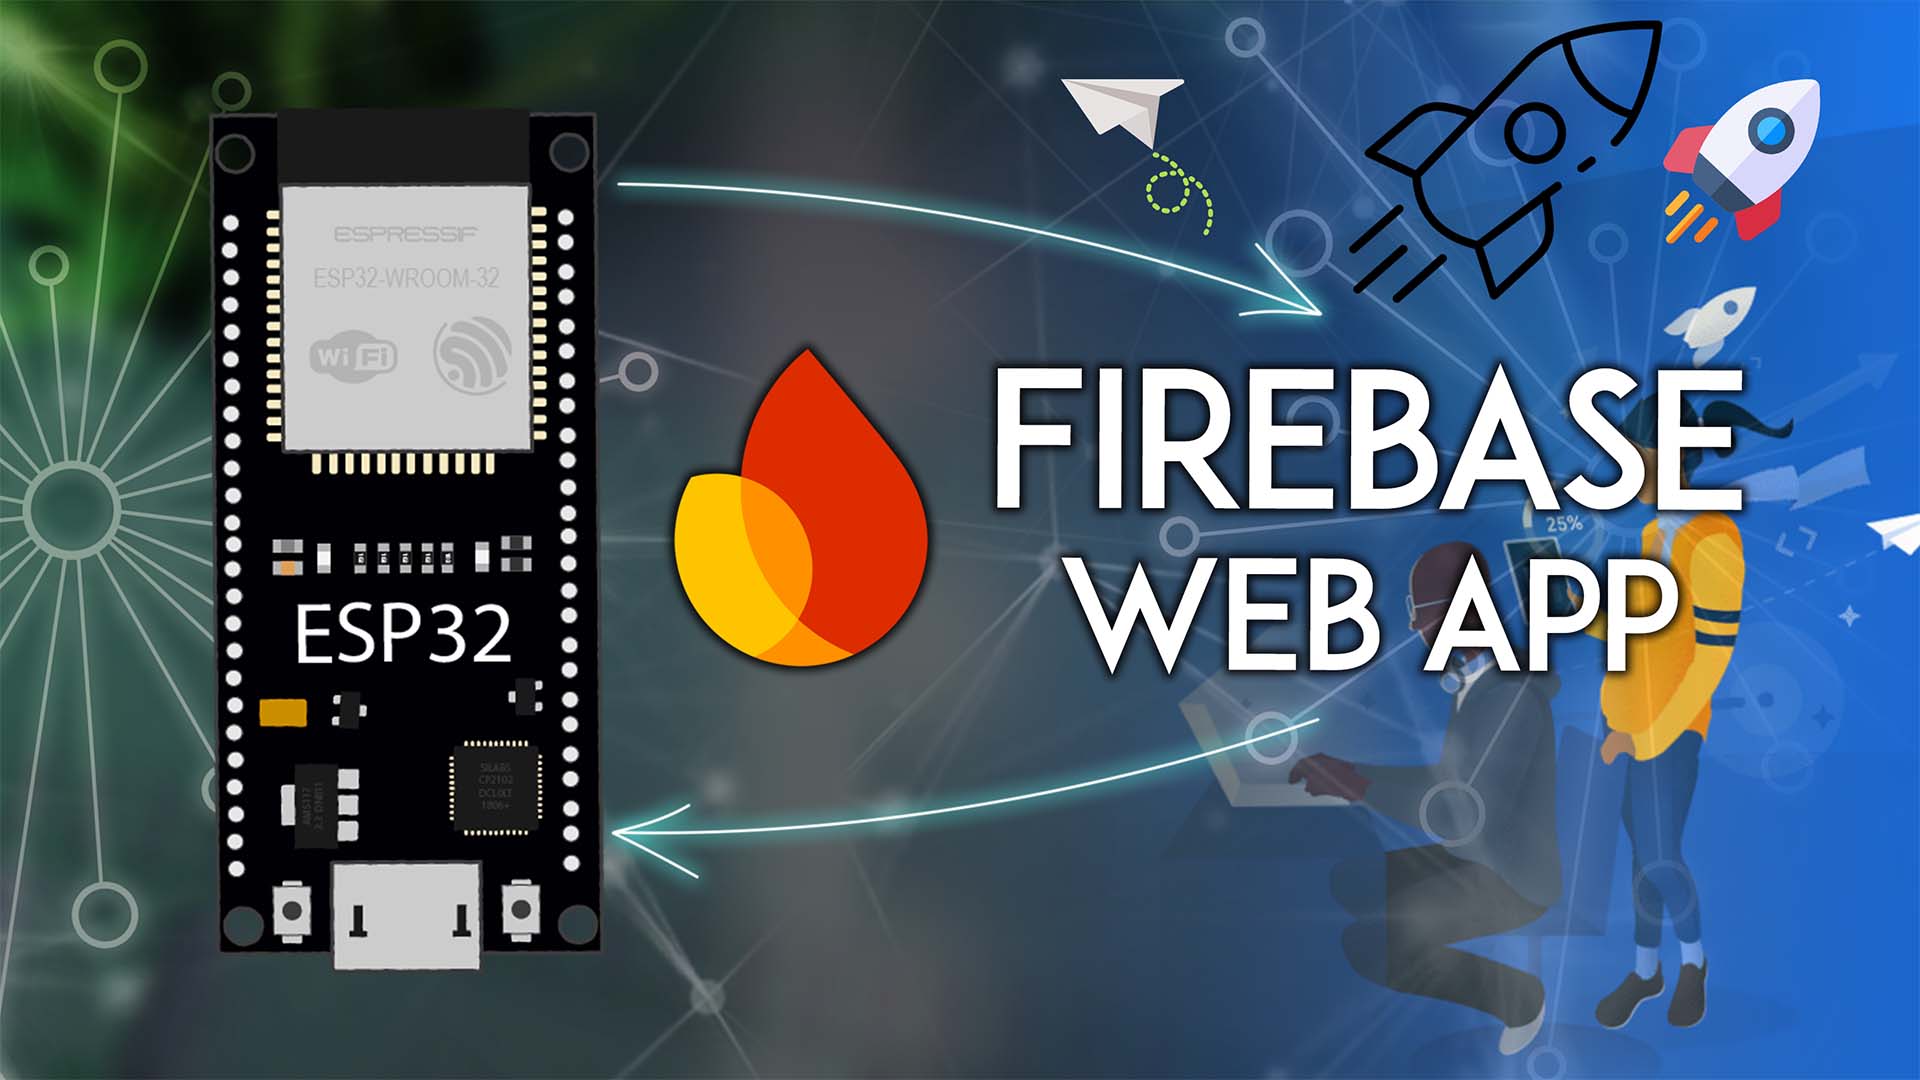
This guide will teach you how to create a simple Firebase Web App to control and monitor your ESP32 board. The Web App you'll create can be accessed worldwide to control and monitor your ESP32 from anywhere in the world. This Web App makes the bridge between the Firebase Realtime Database and the ESP32. Updated| Random Nerd Tutorials
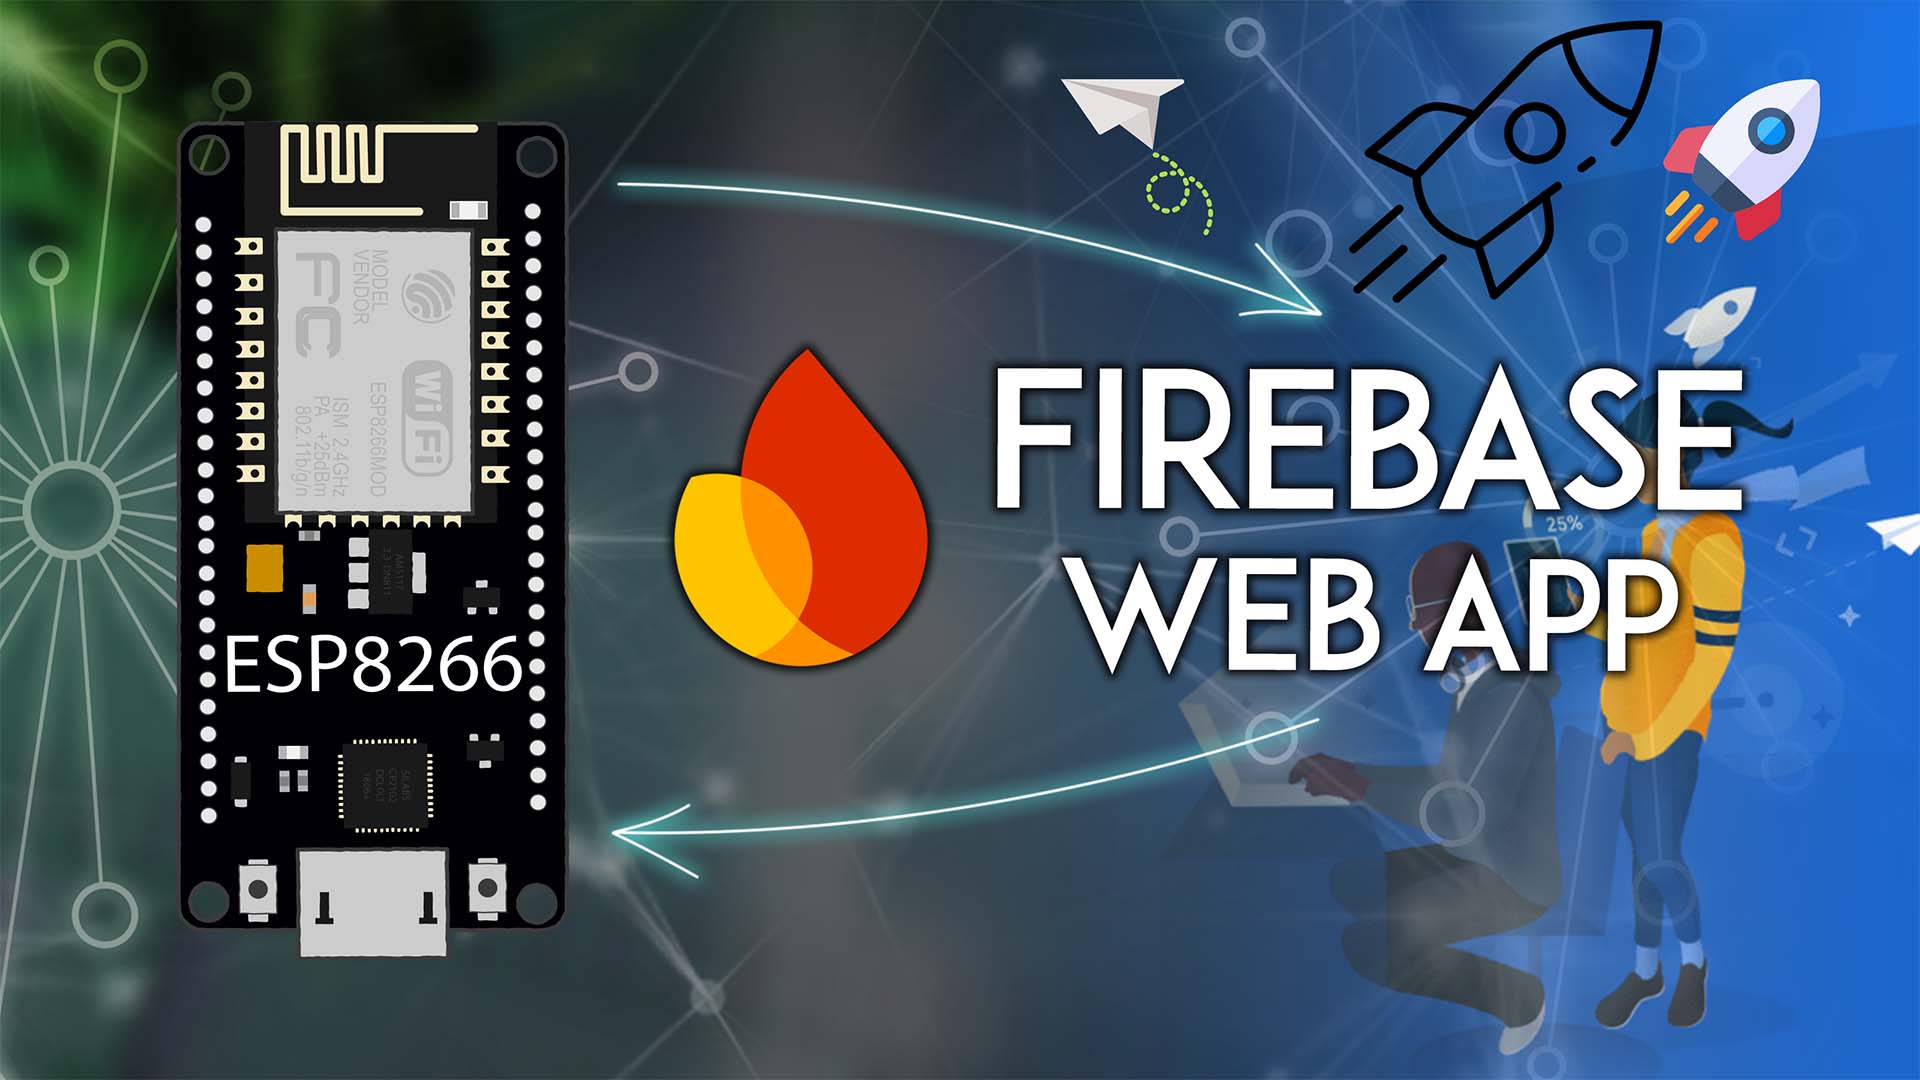
This guide will teach you how to create a simple Firebase Web App to control and monitor your ESP8266 NodeMCU board. The Web App you'll create can be accessed worldwide to control and monitor your ESP8266 from anywhere in the world. This Web App makes the bridge between the Firebase Realtime Database and the ESP8266.| Random Nerd Tutorials
Get started quickly with Firebase using the ESP32 board and programmed with Arduino IDE. Firebase is Google's mobile application development platform that includes many services.| Random Nerd Tutorials
Get started quickly with Firebase using the ESP8266 NodeMCU board. Firebase is Google’s mobile application development platform that includes many services to manage data from IOS, Android, or web applications. You’ll create a Firebase project with a realtime database (RTDB), and you’ll learn how to store and read values from the database with your ESP8266| Random Nerd Tutorials
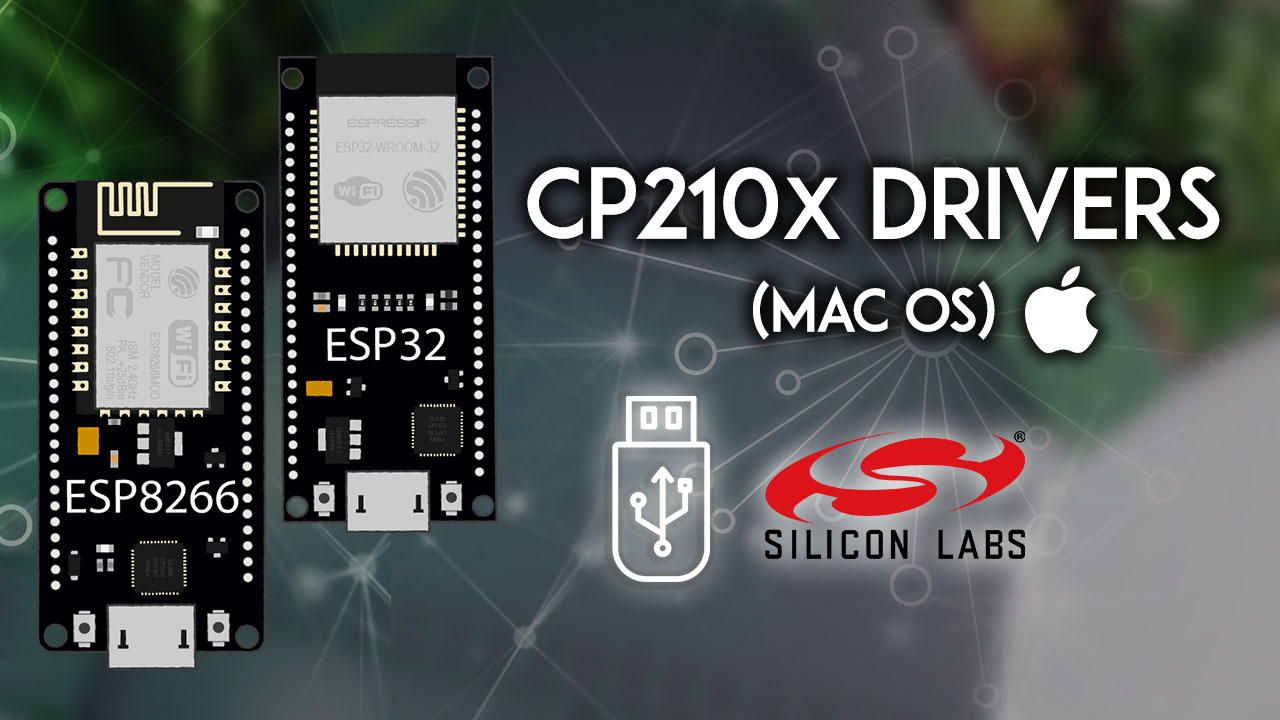
Install the CP210x USB to UART Bridge Virtual COM Port drivers to program the ESP32 and ESP8266 NodeMCU. This guide covers how to install drivers on Mac OS X.| Random Nerd Tutorials
Discover all our Raspberry Pi Guides with easy to follow step-by-step instructions. Each tutorial includes circuit schematics, source code, images and videos.| Random Nerd Tutorials
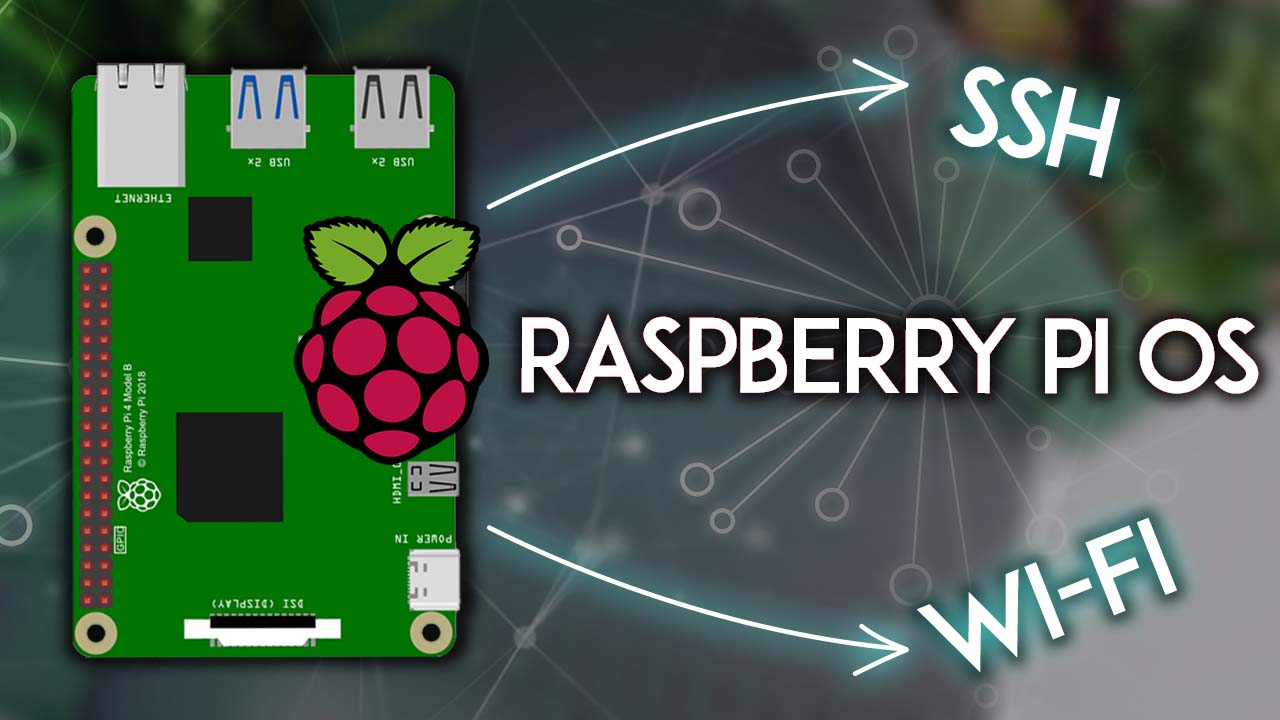
In this tutorial, you'll learn how to get started with the Raspberry Pi by installing the operating system (Raspberry Pi OS), setting up Wi-Fi, and connecting via SSH.| Random Nerd Tutorials
Discover all our ESP8266 NodeMCU Guides with easy to follow step-by-step instructions. Each tutorial includes circuit schematics, source code, images and videos| Random Nerd Tutorials
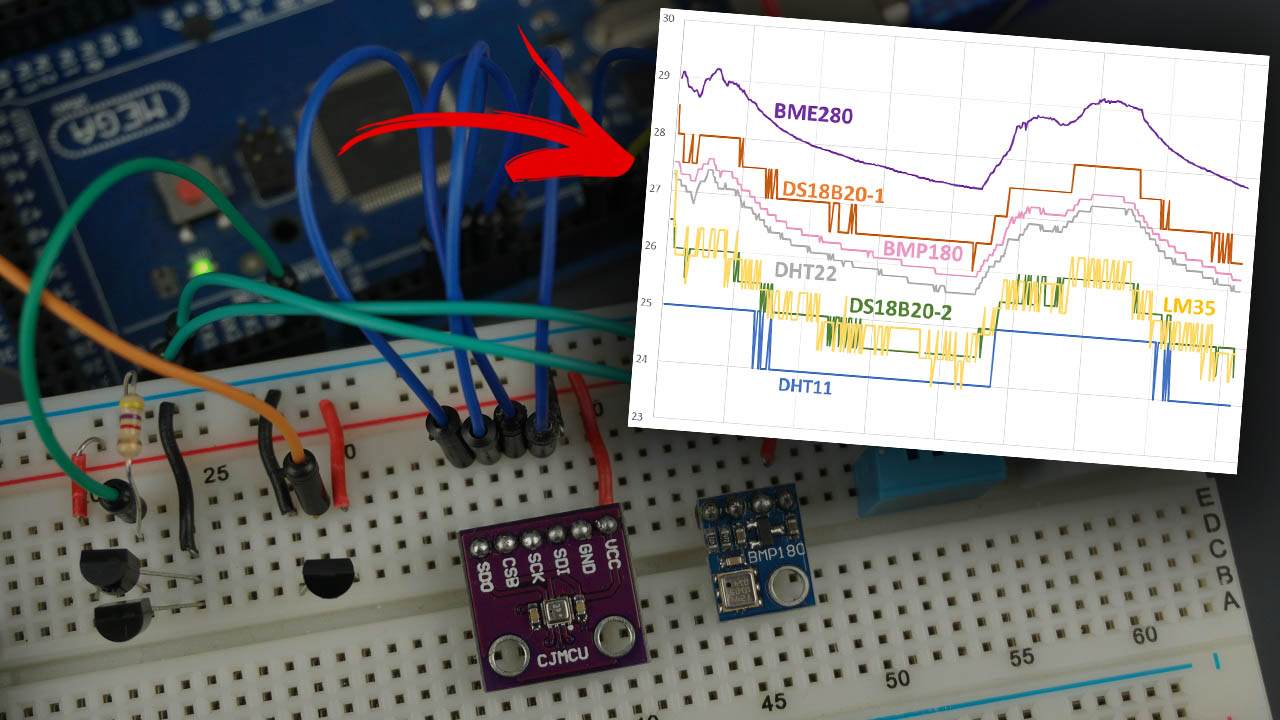
It can be difficult to pick the best temperature sensor for your Arduino, ESP32 or ESP8266 project. Compare these sensors: DHT11, DHT22, LM35, DS18B20, BME280 and BMP180 to find the most suitable.| Random Nerd Tutorials
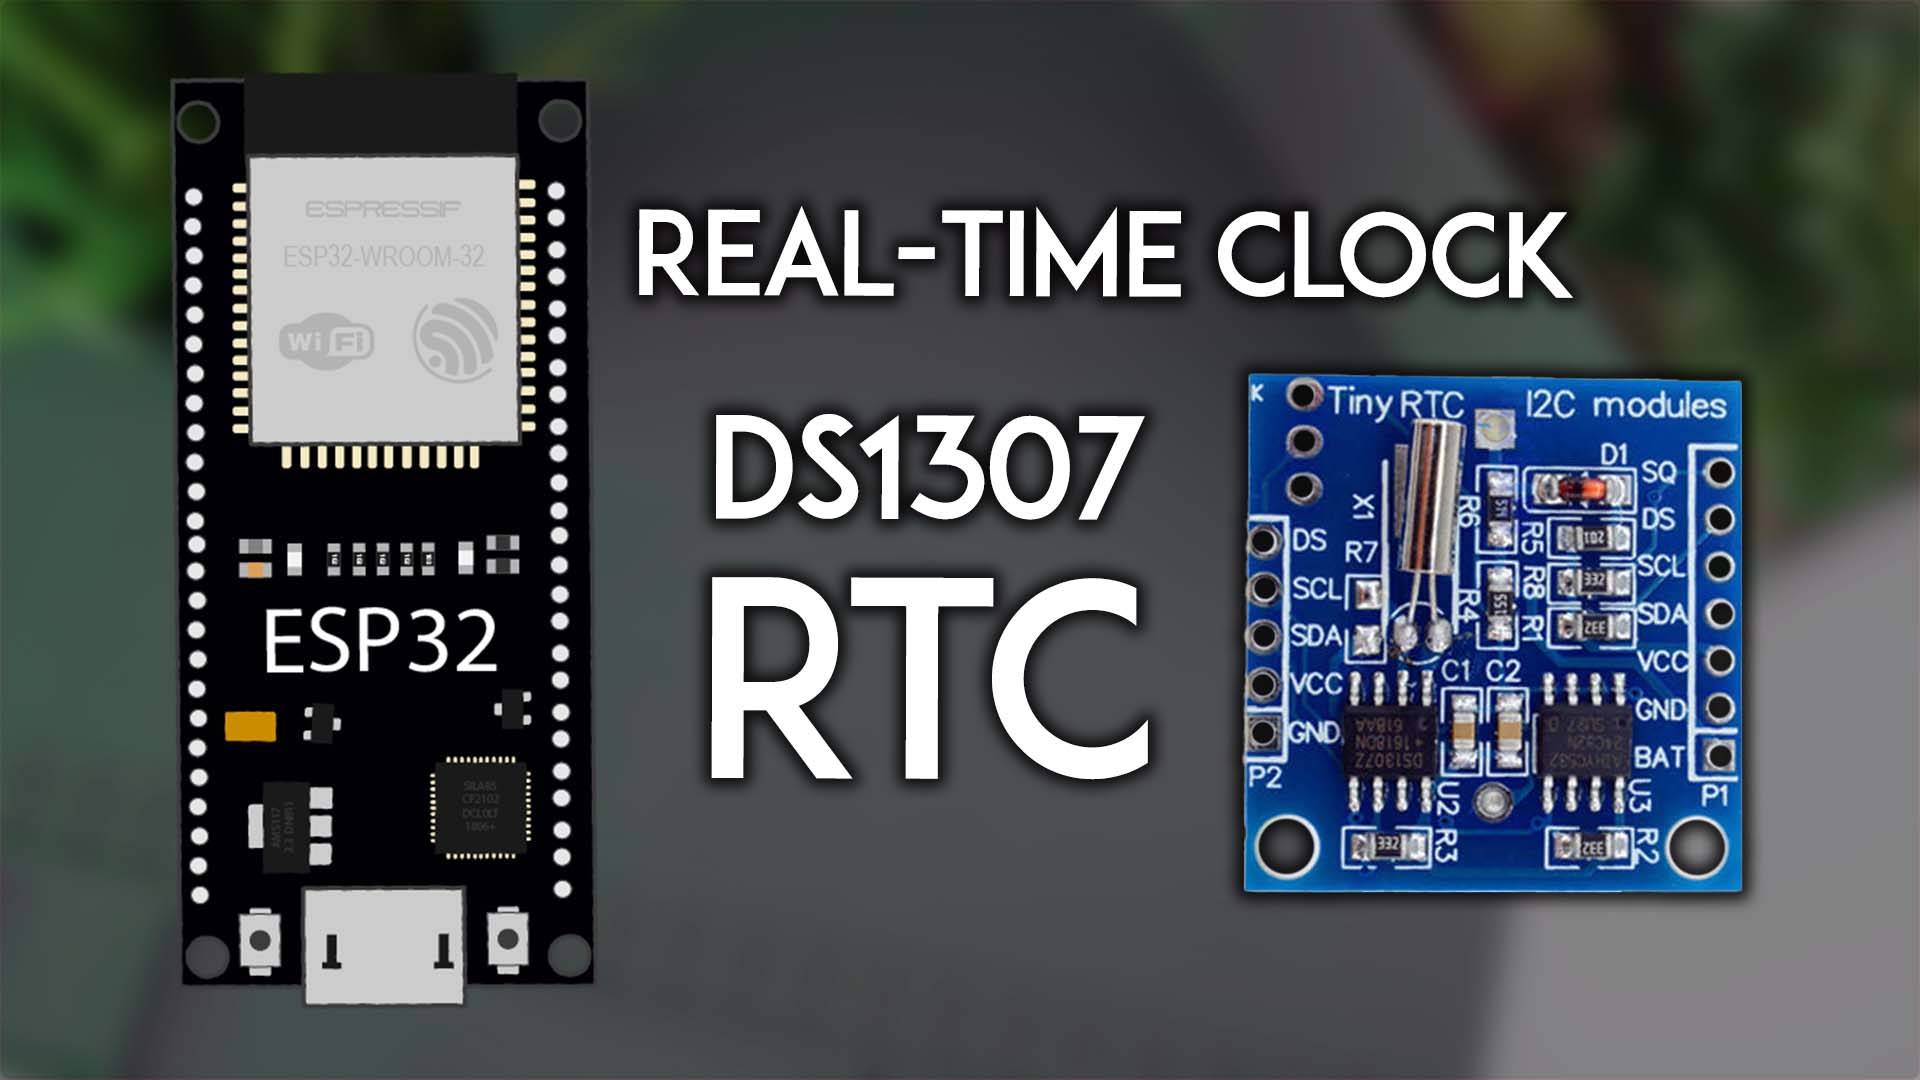
Use the DS1307 Real Time Clock Module with the ESP32 programmed with Arduino IDE. Set and read the time, synchronize with NTP server, set time zone, daylight saving time.| Random Nerd Tutorials
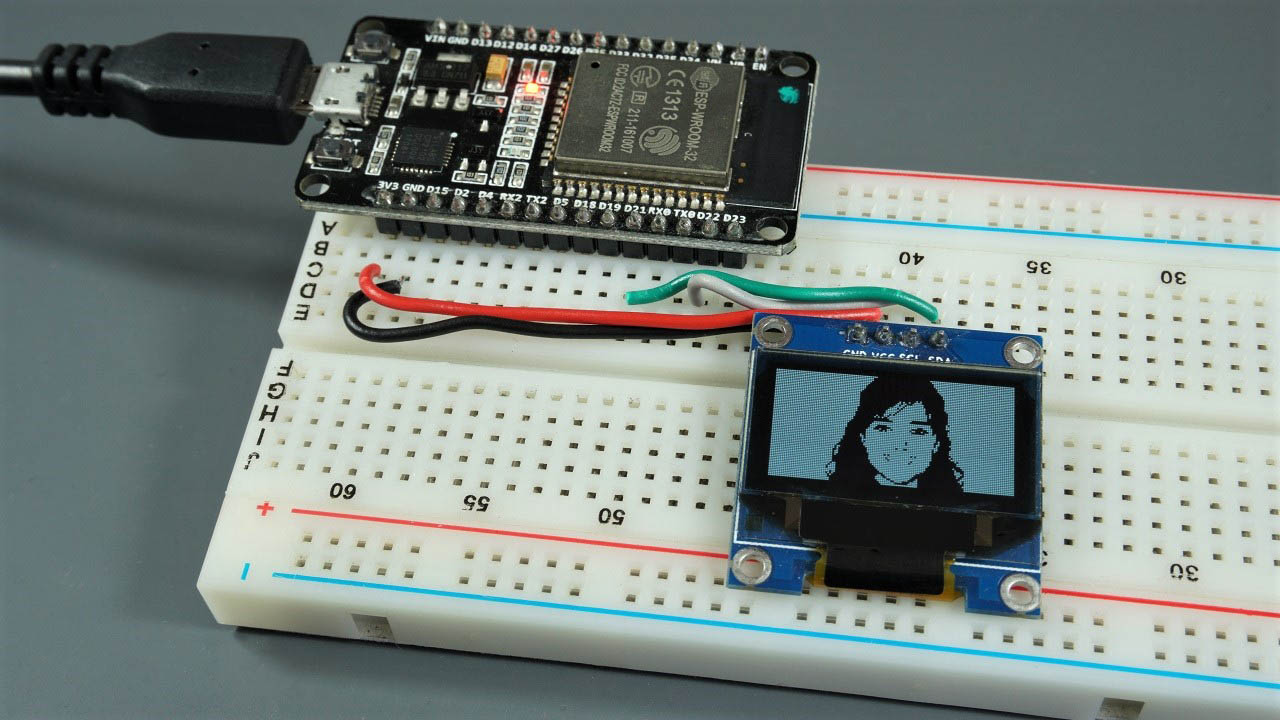
This guide shows how to use the 0.96 inch SSD1306 OLED display with ESP32 using Arduino IDE. Learn how to write text, set different fonts, draw shapes and display bitmaps images.| Random Nerd Tutorials
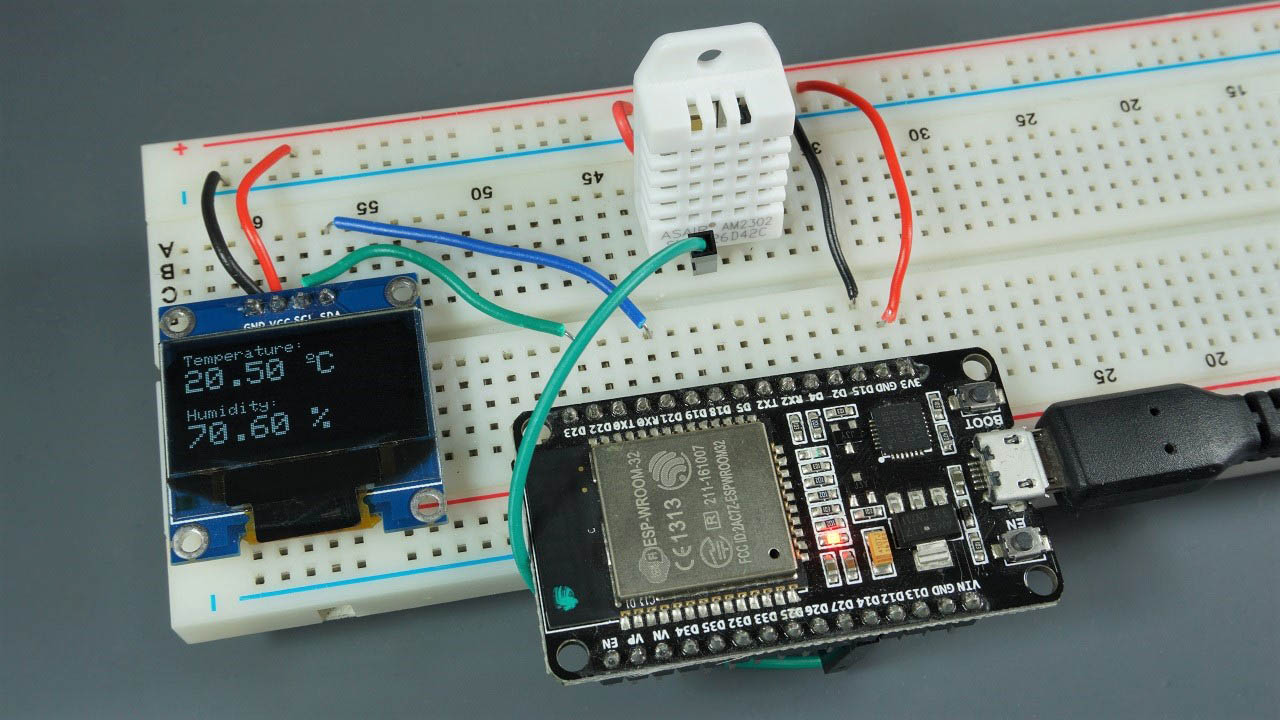
Learn how to display temperature and humidity readings from a DHT11/DHT22 sensor in an SSD1306 OLED display using an ESP32 or an ESP8266 with Arduino IDE.| Random Nerd Tutorials
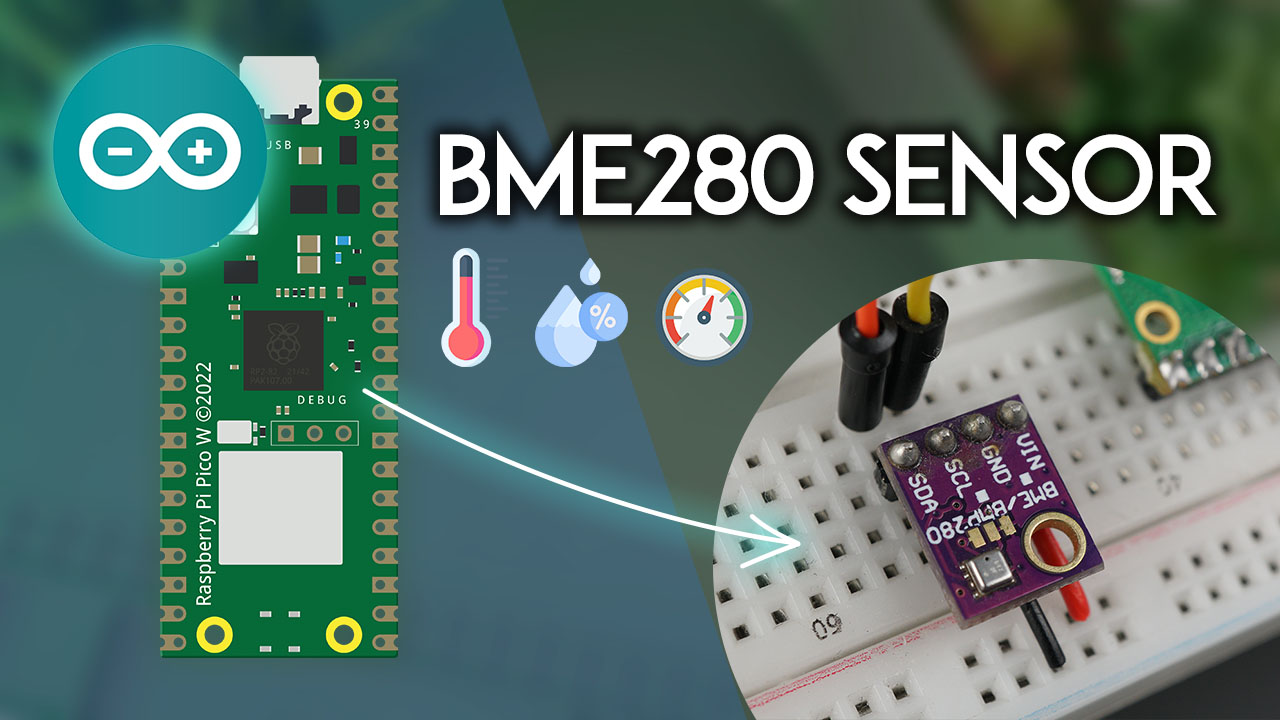
Get started quickly with BME280 sensor module with the Raspberry Pi Pico board, programmed using Arduino IDE, to get temperature, humidity, and pressure readings.| Random Nerd Tutorials
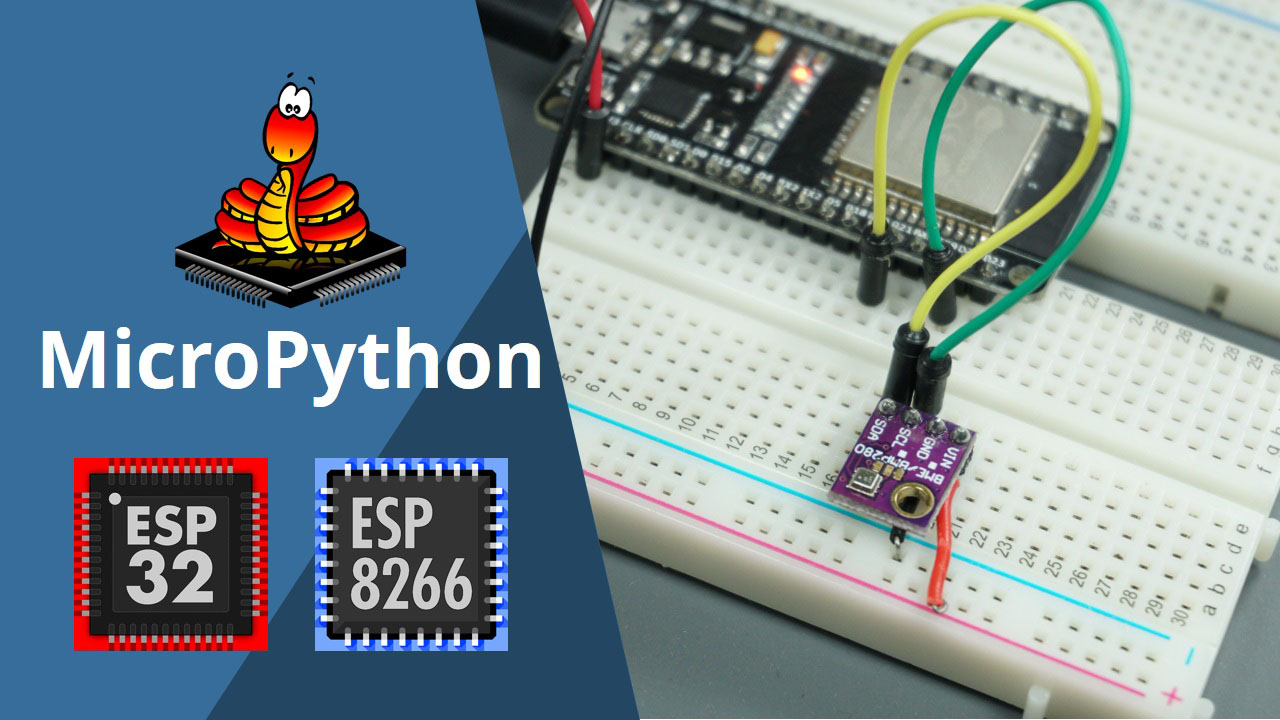
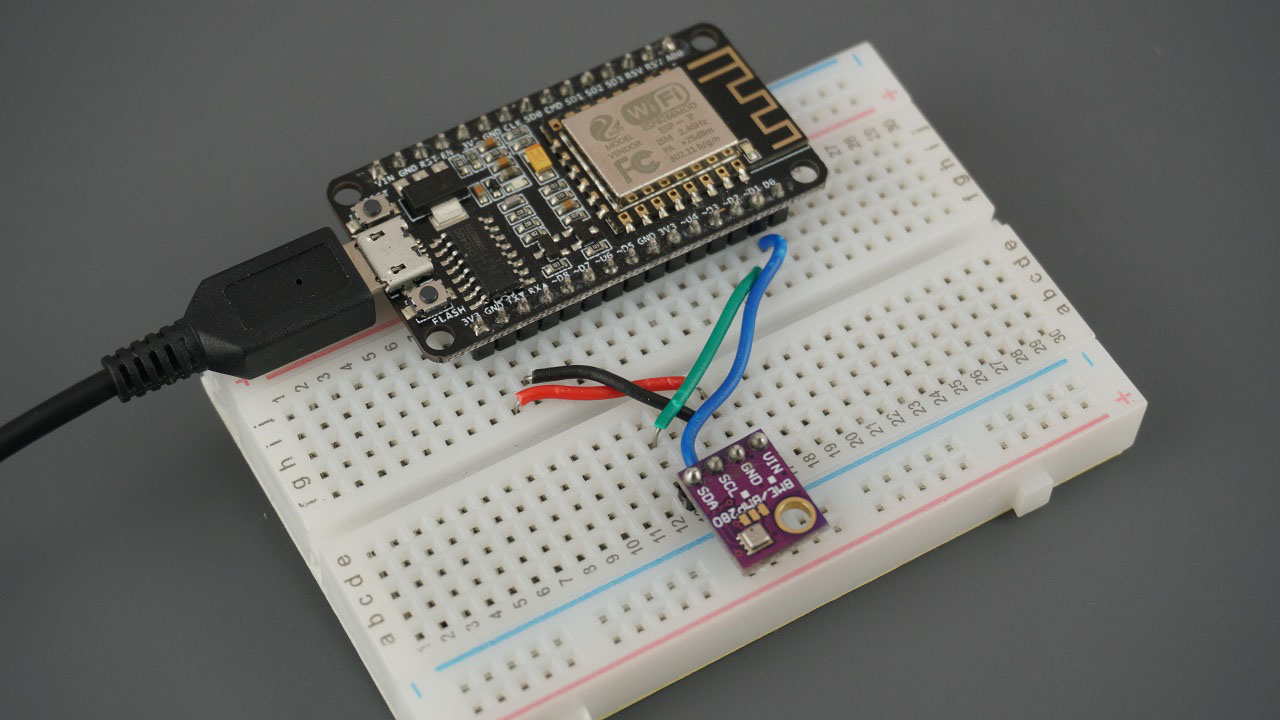
In this guide you'll learn how to use the BME280 sensor module with the ESP32 and ESP8266 to get pressure, temperature and humidity readings using MicroPython firmware.| Random Nerd Tutorials
Learn how to build a low power temperature, humidity and pressure datalogger with ESP8266 and BME280 sensor. The readings will be published in Google Sheets.| Random Nerd Tutorials
Learn how to use the BME280 sensor module with ESP8266 to read pressure, temperature, humidity and estimate altitude using Arduino IDE. It uses I2C or SPI communication protocol.| Random Nerd Tutorials
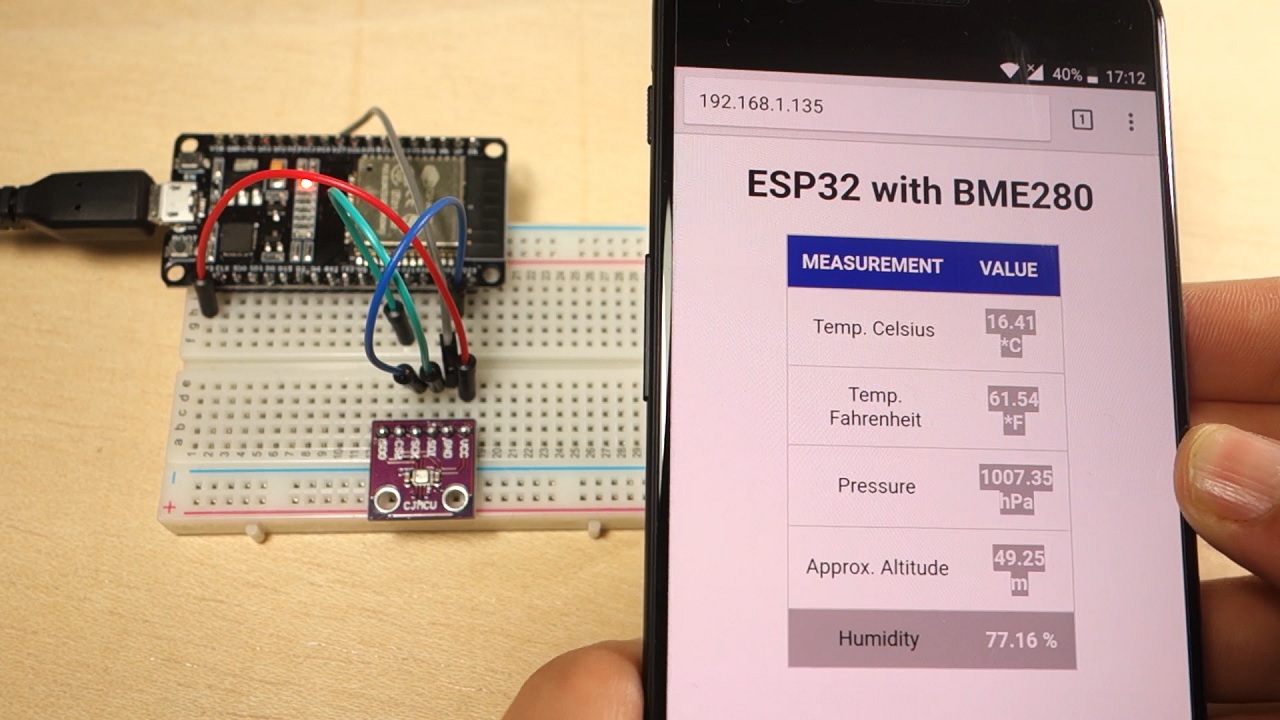
Learn how to create a web server with the ESP32 to display readings from the BME280 sensor module: temperature, humidity and pressure. We'll use Arduino IDE to program the ESP32.| Random Nerd Tutorials
Learn how to use the BME280 sensor module with ESP32 to read pressure, temperature, humidity and estimate altitude using Arduino IDE. It uses I2C or SPI communication protocol.| Random Nerd Tutorials
Learn how to use the BME280 sensor module with Arduino to read pressure, temperature, humidity and estimate altitude. Build the circuit and write a sketch example.| Random Nerd Tutorials
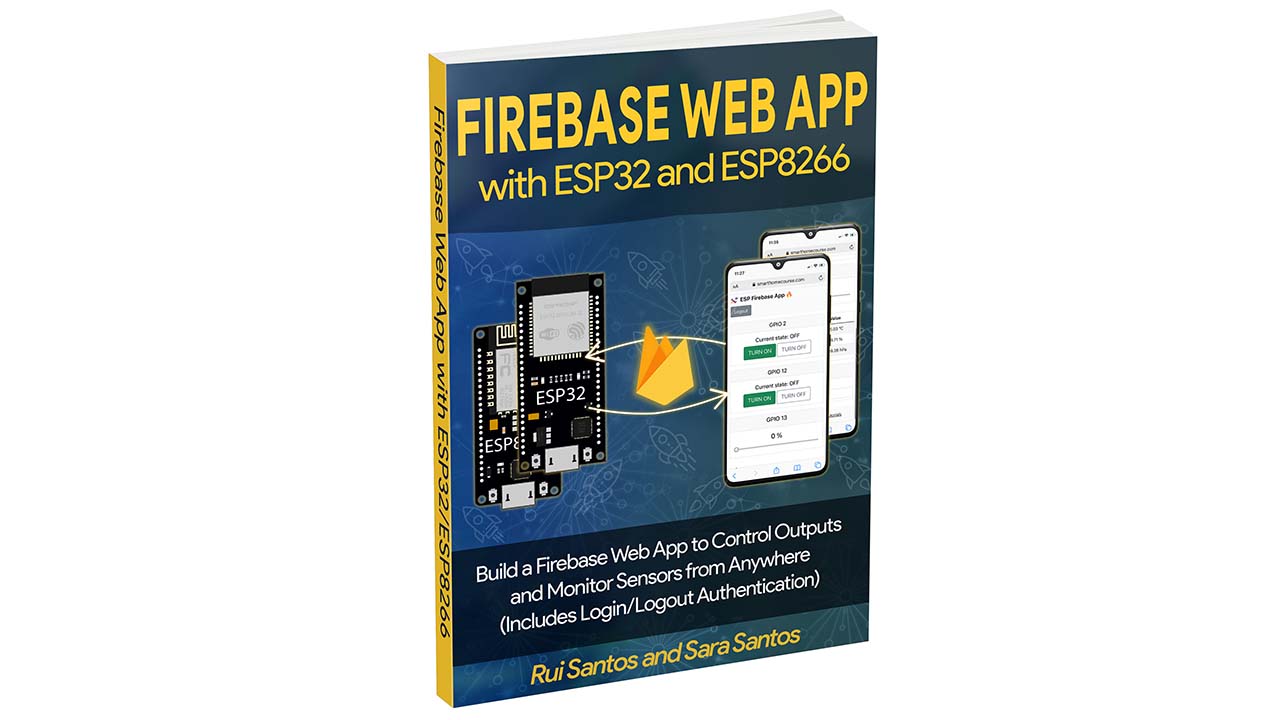
Firebase Web App with the ESP32 and ESP8266 eBook Build a Firebase Web App to Control Outputs and Monitor Sensors from Anywhere (Includes Login/Logout Authentication) GET THE EBOOK » Build a Firebase web application that can monitor and control your ESP32 and ESP8266 boards from anywhere in the world. The application allows you to control| Random Nerd Tutorials
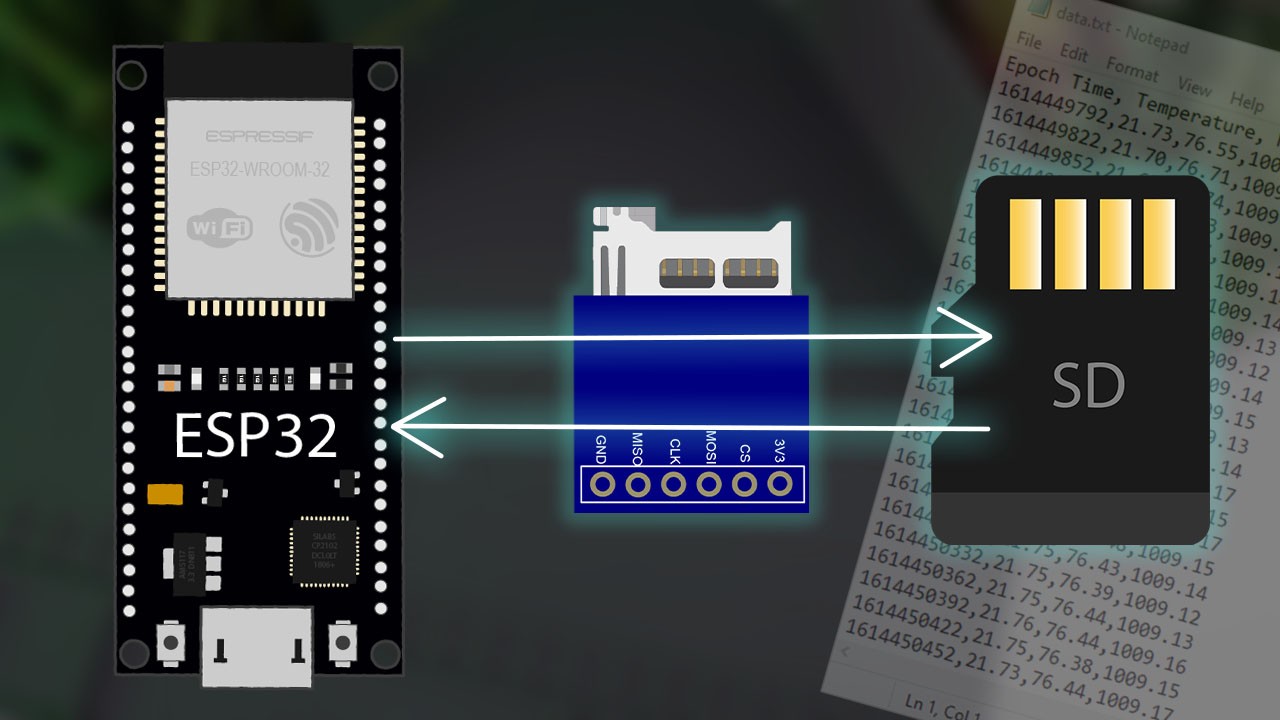
Use a microSD card with the ESP32: you'll learn how to read and write files to the microSD card. To interface a microSD card with an ESP32 board, we'll use SPI.| Random Nerd Tutorials
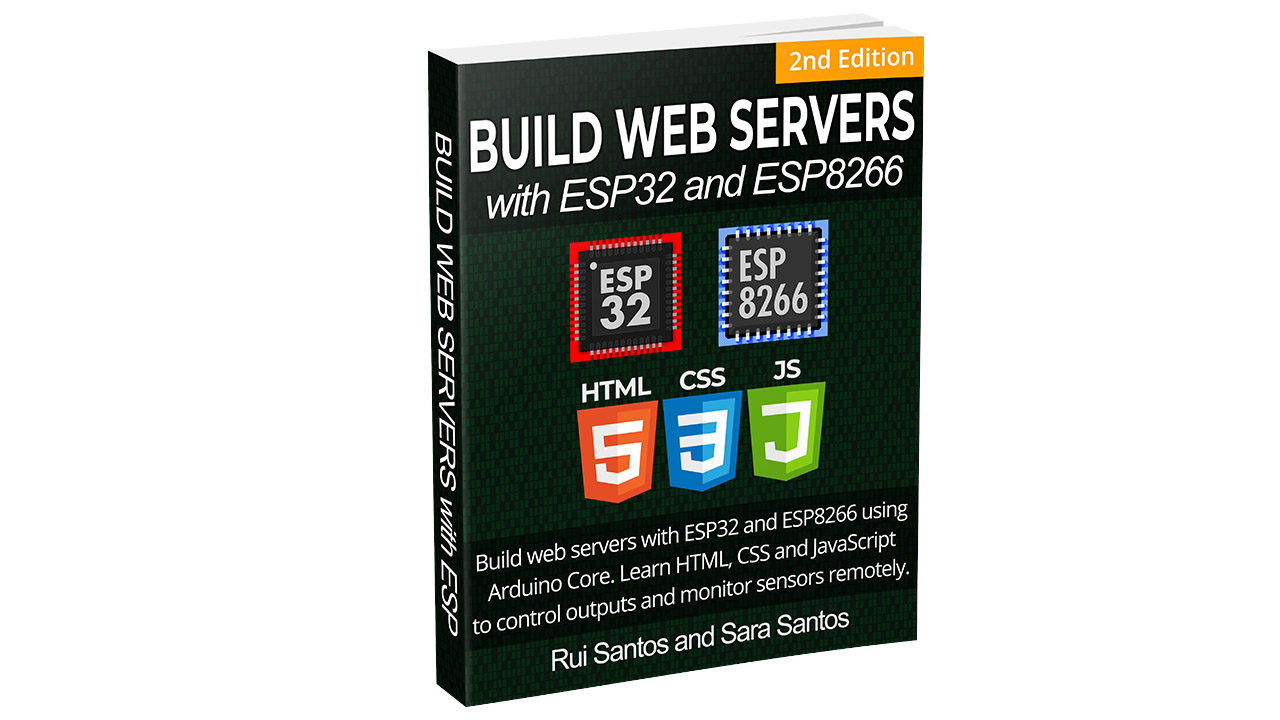
Build Web Server projects with the ESP32 and ESP8266 boards to control outputs and monitor sensors. Learn HTML, CSS, JavaScript and client-server communication protocols.| Random Nerd Tutorials
The ESP32 is currently being integrated with the Arduino IDE just like it was done for the ESP8266, but not everything is working at the moment.| Random Nerd Tutorials
Interface the Raspberry Pi Pico with the DS18B20 temperature sensor and get temperature readings by programming your board using MicroPython firmware. The DS18B20 is an addressable temperature sensor| Random Nerd Tutorials
How to interface the Raspberry Pi Pico with the DS18B20 temperature sensor and how to get temperature readings using Arduino IDE. The DS18B20 is an addressable temperature sensor| Random Nerd Tutorials
The DS18B20 temperature sensor is a One-Wire digital temperature sensor. Learn how to read the temperature from one or multiple DS18B20 sensors with an Arduino.| Random Nerd Tutorials
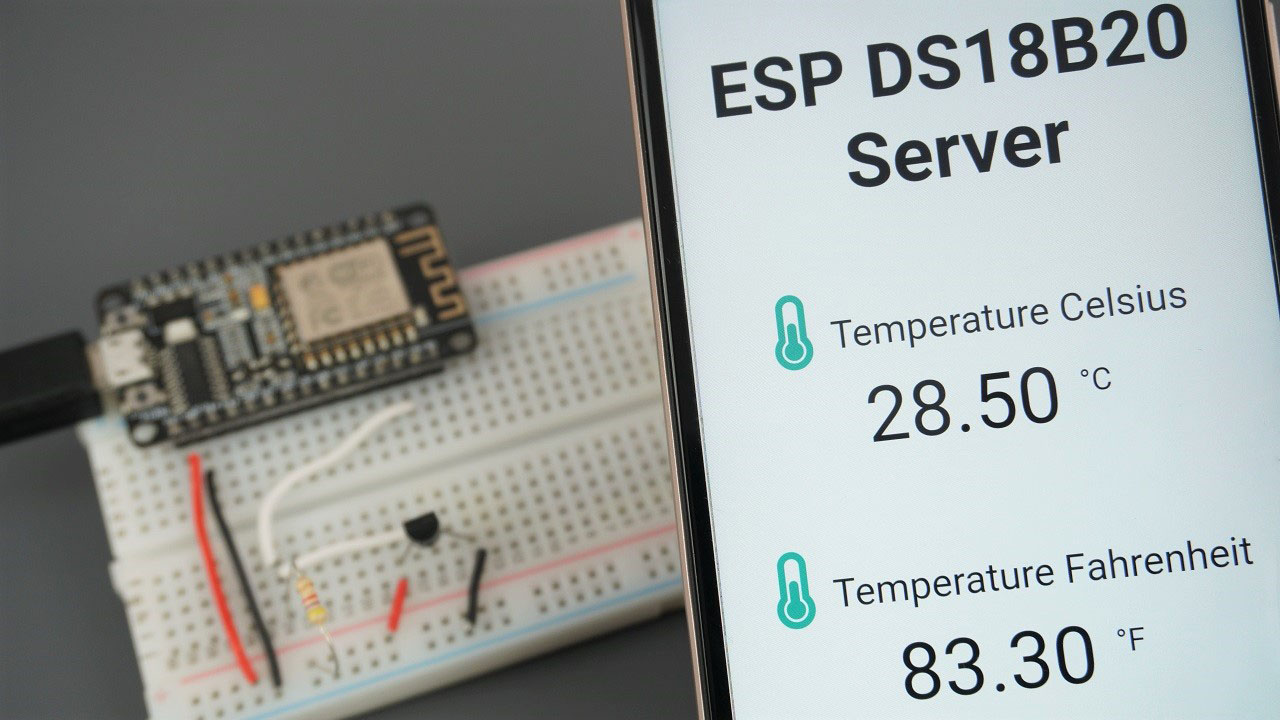
DS18B20 OneWire Temperature sensor with ESP8266 using Arduino IDE. Learn how to read temperature from one or multiple sensors and build a web server to display sensor readings.| Random Nerd Tutorials
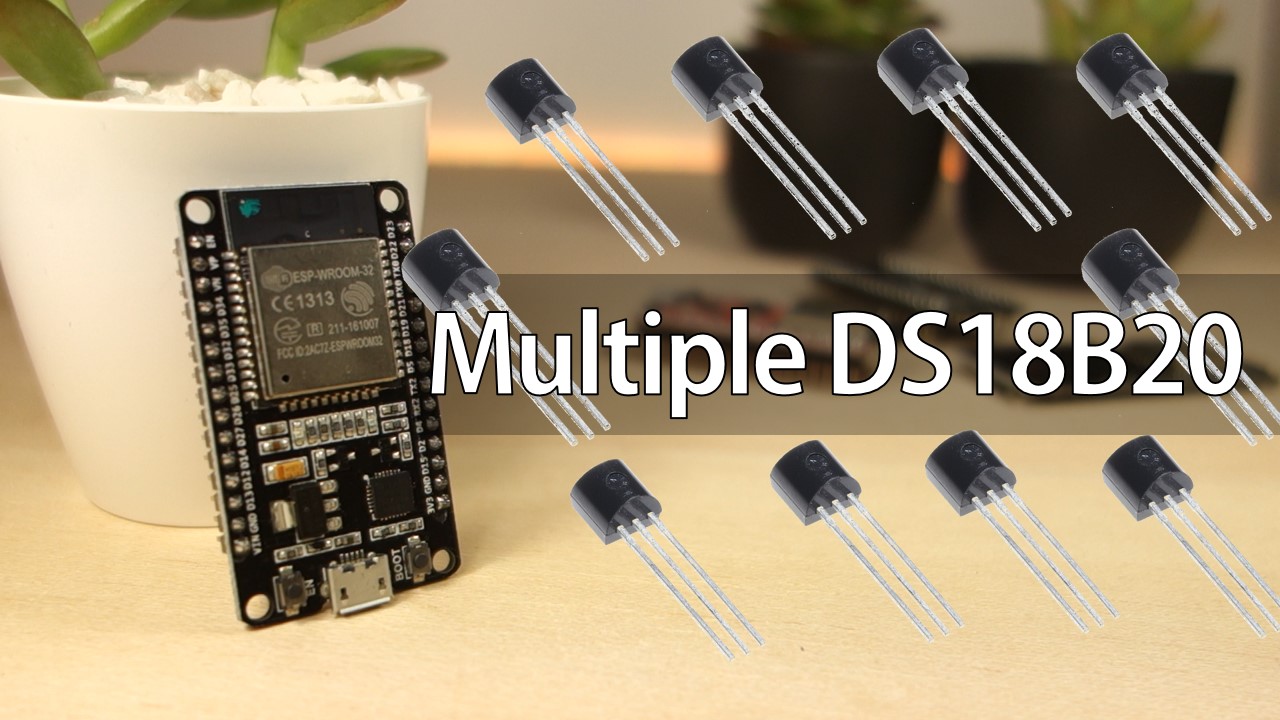
This guide reads temperature from multiple DS18B20 temperature sensors with ESP32 using Arduino IDE. We’ll wire the sensors on the same data bus to the ESP32| Random Nerd Tutorials
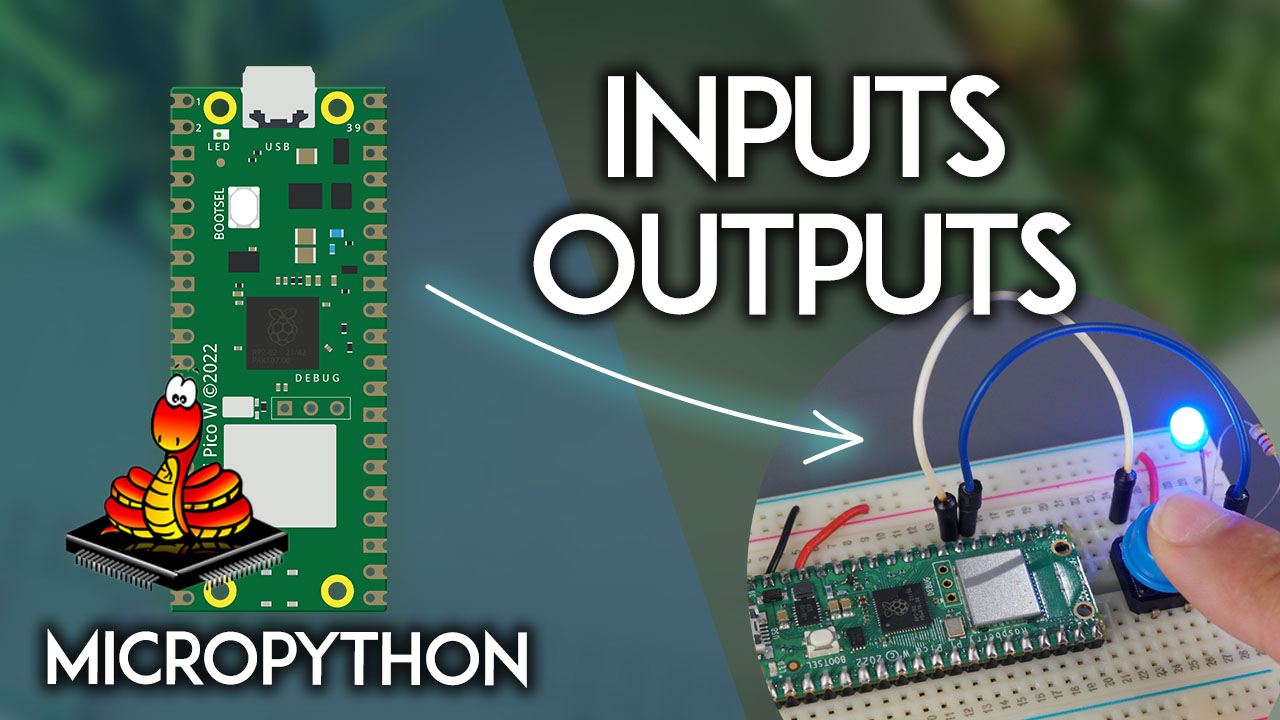
Set the Raspberry Pi Pico GPIOs as digital inputs and digital outputs using MicroPython firmware. As an example, you'll learn how to read the value of a pushbutton and light up an LED accordingly,| Random Nerd Tutorials
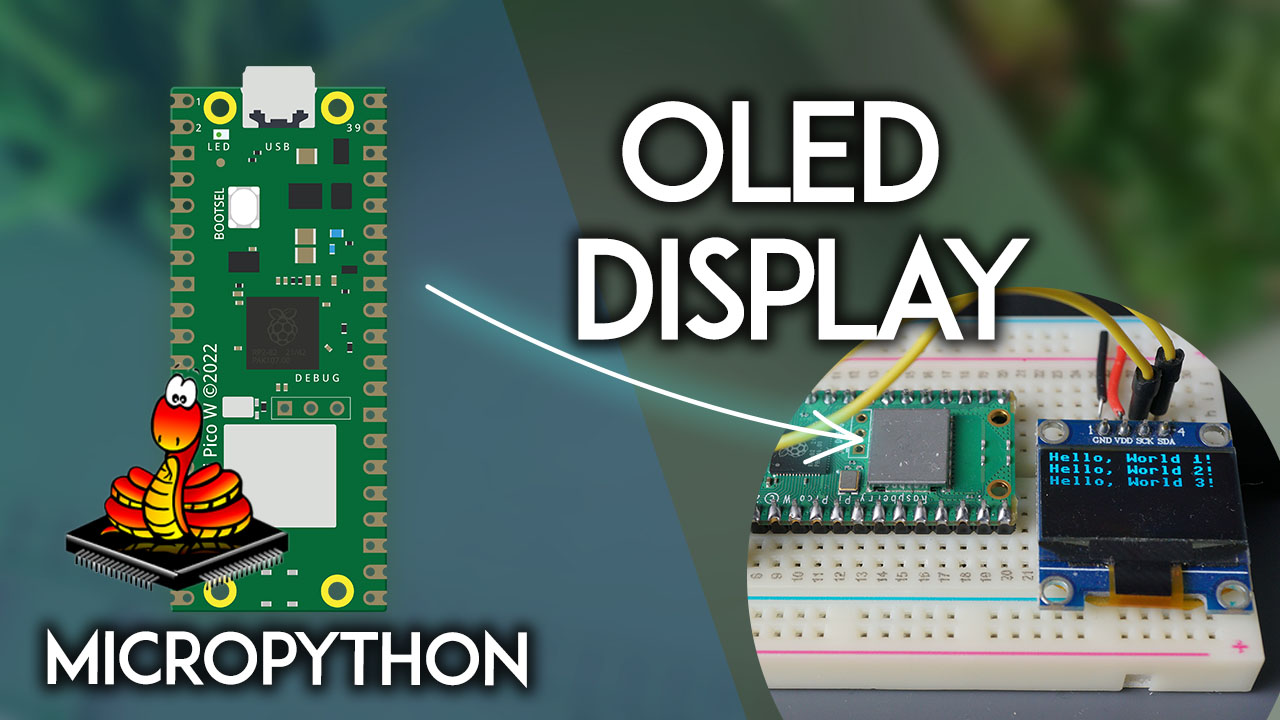
Interface SSD1306 OLED display with the Raspberry Pi Pico programmed MicroPython firmware. You'll learn how to display text and other useful functions to interact with the OLED display.| Random Nerd Tutorials
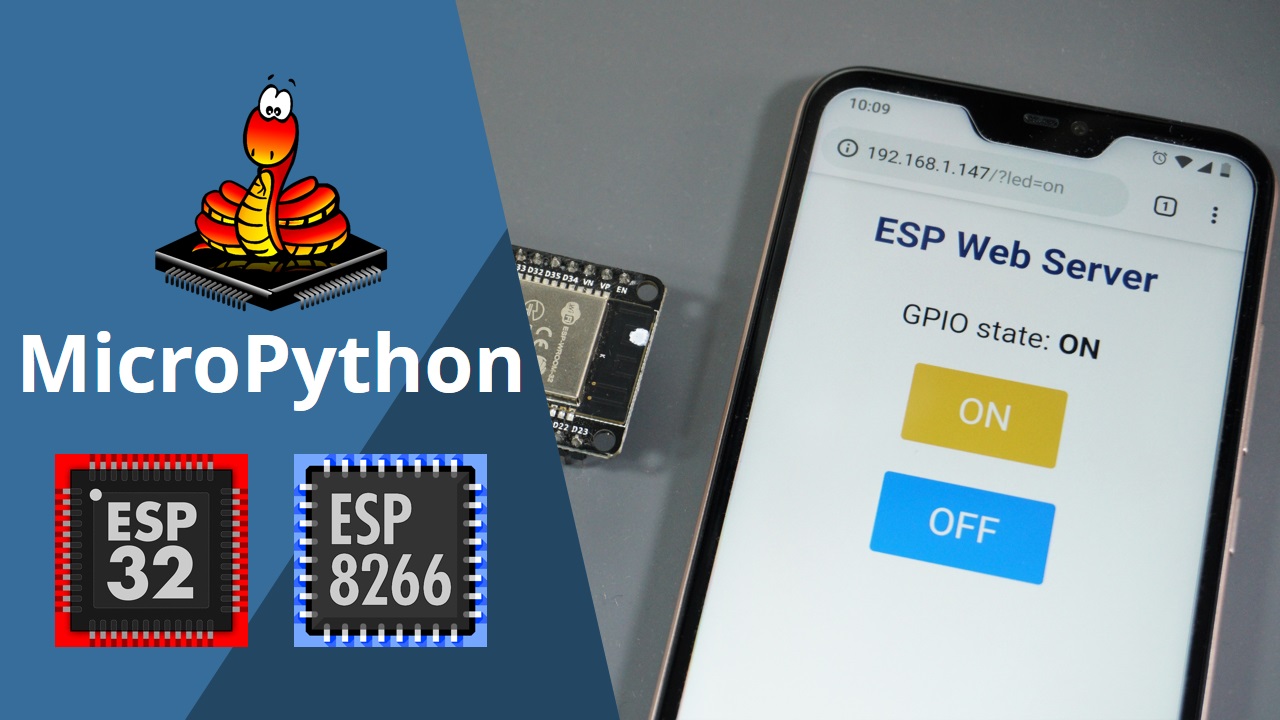
Learn how to build a web server to control the ESP32 ESP8266 outputs using MicroPython framework. As an example we'll build a web server with ON and OFF buttons| Random Nerd Tutorials
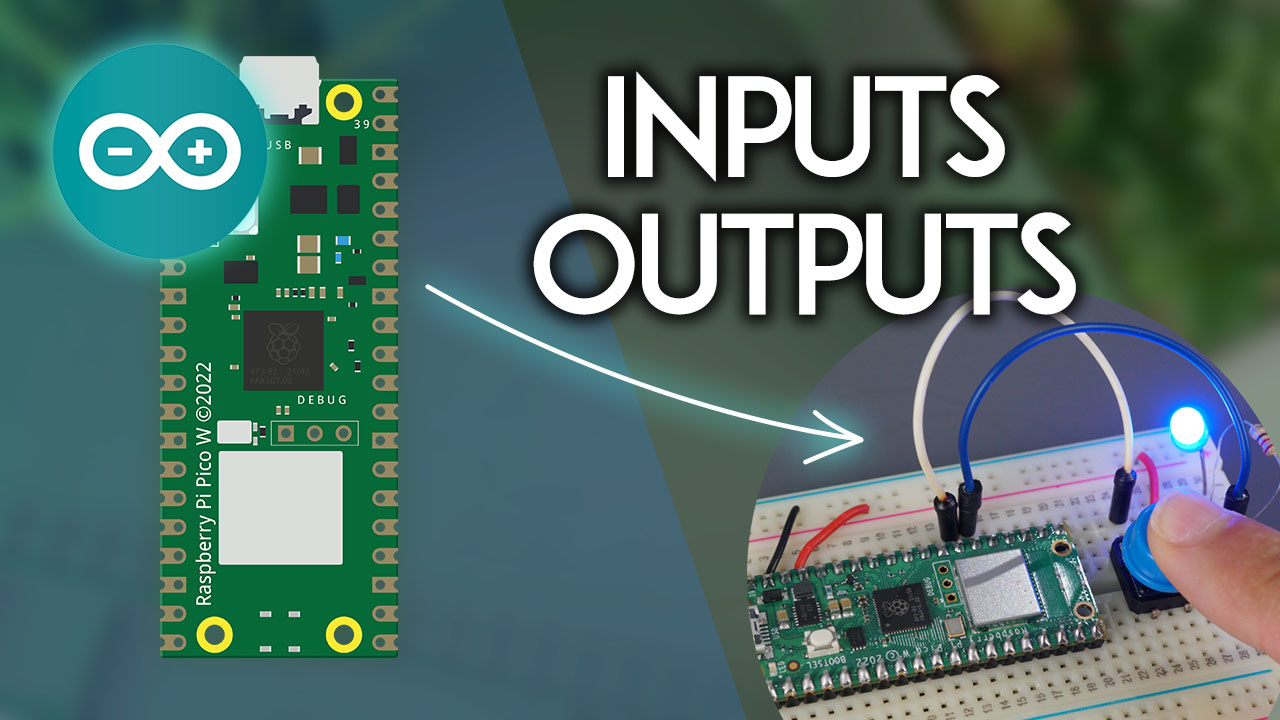
Set the Raspberry Pi Pico GPIOs as digital inputs and digital outputs using Arduino IDE. You'll learn how to read digital inputs like a button switch and how to control a digital output like an LED.| Random Nerd Tutorials
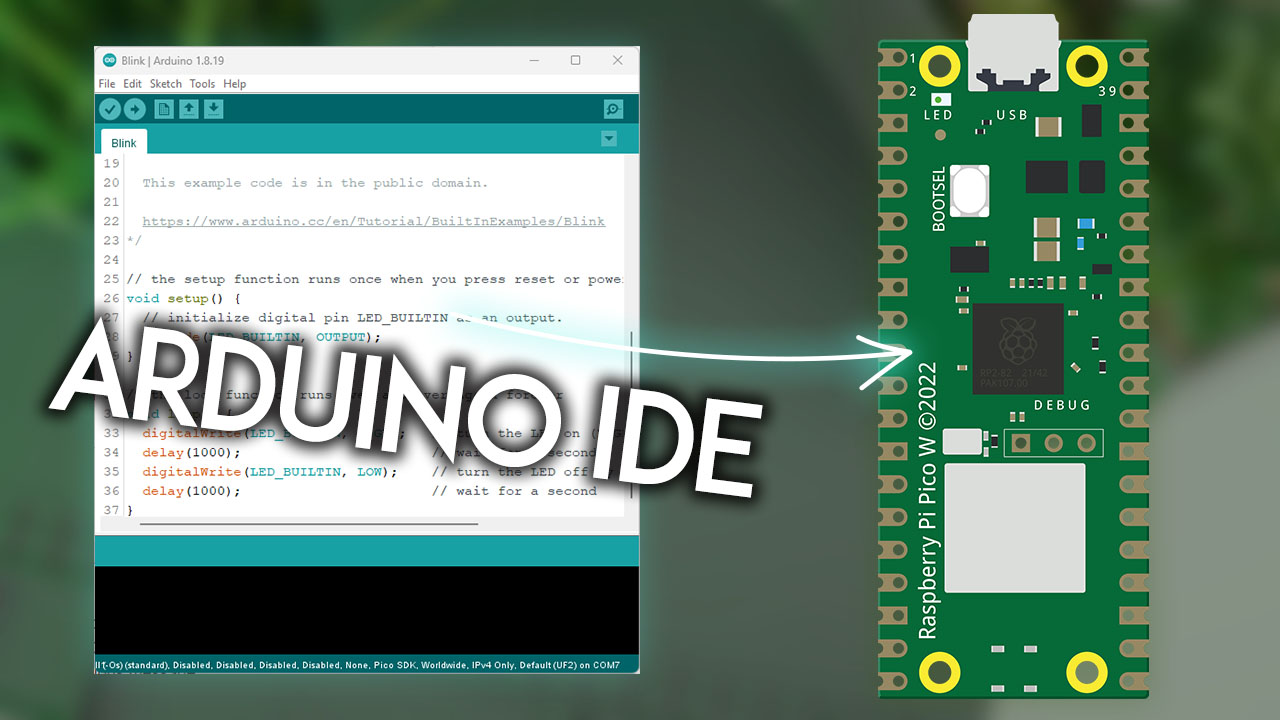
Program the Raspberry Pi Pico using Arduino IDE software. The Raspberry Pi Pico is a low-cost microcontroller board developed around the RP2040 chip by the Raspberry Pi Foundation.| Random Nerd Tutorials
Learn how to install the ESP32 board add-on in Arduino IDE in less than 1 minute. This guides works in any operating system: Windows PC, Mac OS X, and Linux.| Random Nerd Tutorials
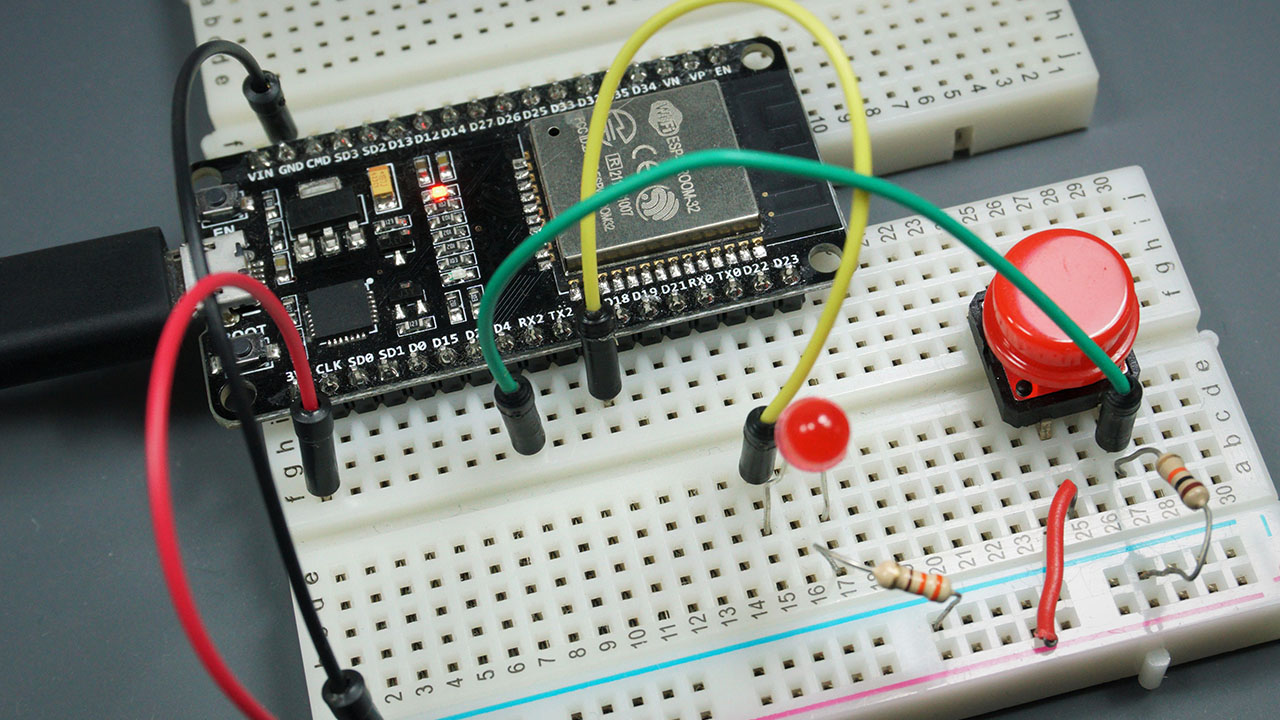
Learn how to read digital inputs (like a button switch) and control digital outputs (an LED) using the ESP32 board programmed with Arduino IDE.| Random Nerd Tutorials
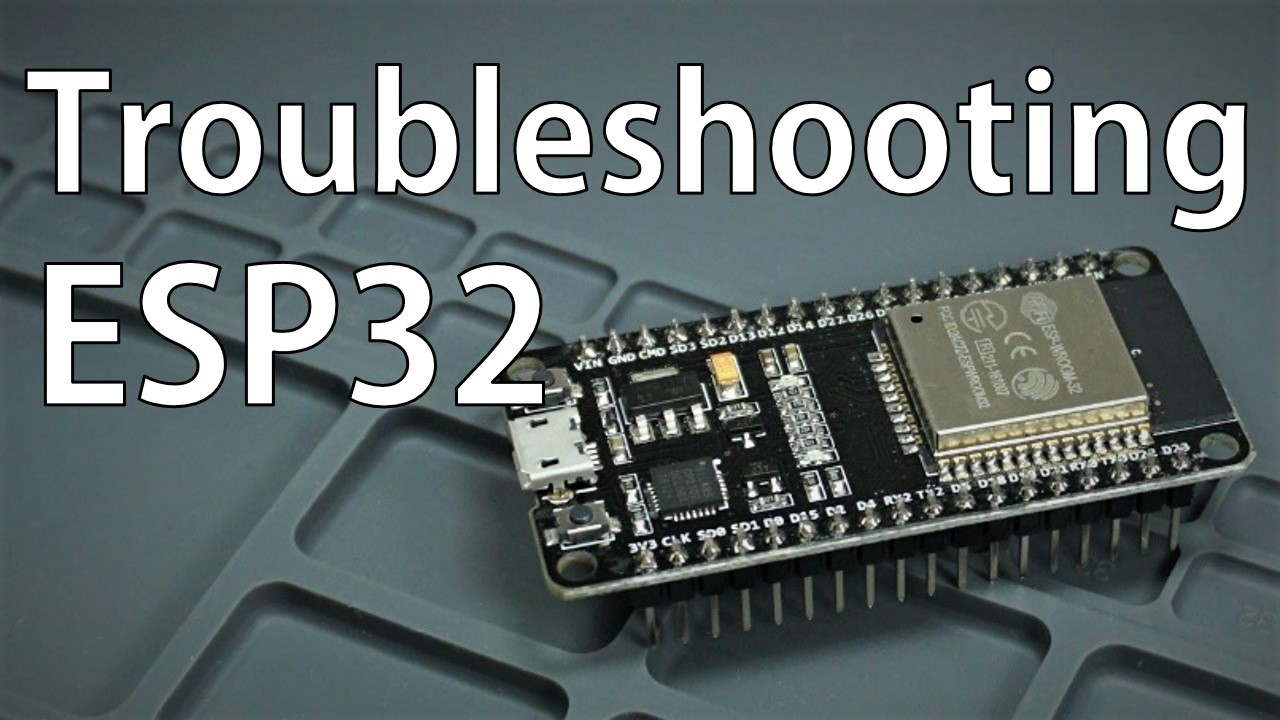
The ESP32 has a few problems when you are trying to upload new sketches or install the ESP32 add-on. This is the ESP32 troubleshooting guide for Arduino IDE.| Random Nerd Tutorials
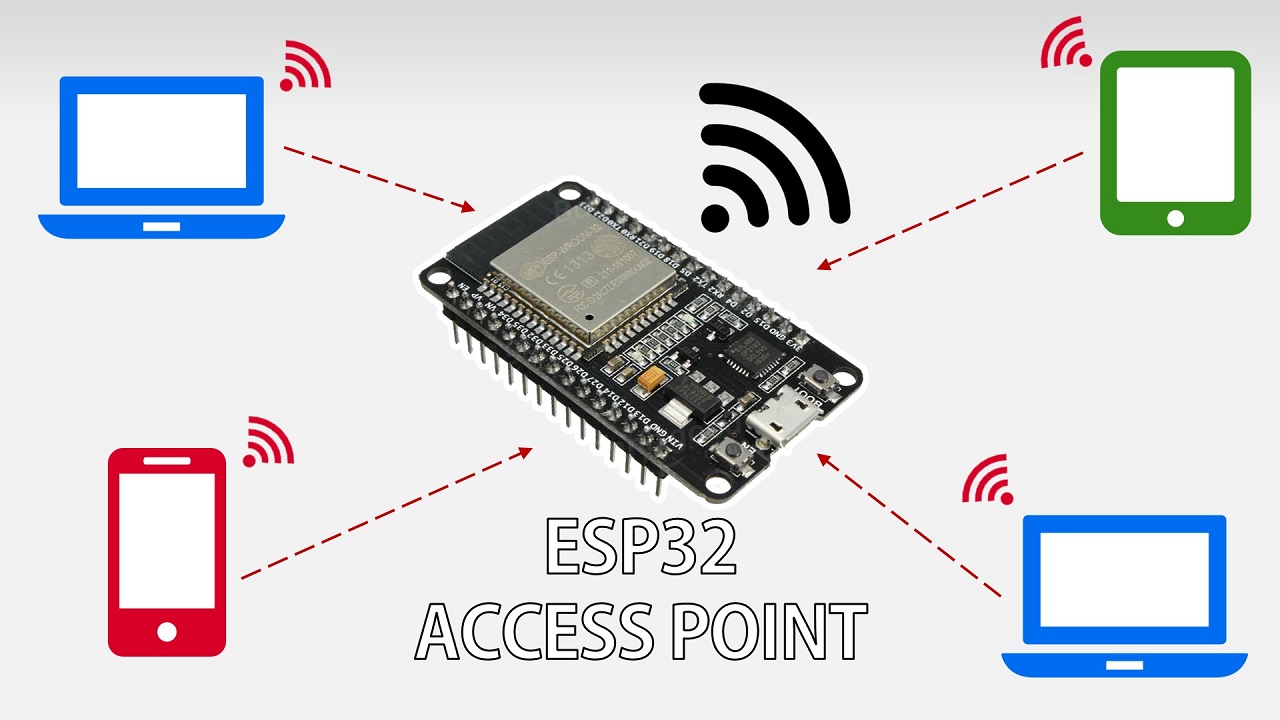
The ESP32 can act as a Wi-Fi station, as an AP (Access Point), or both. In this tutorial you'll set the ESP32 as an access point using the Arduino IDE.| Random Nerd Tutorials
SMART HOME with Raspberry Pi, ESP32, and ESP8266 Learn Node-RED and InfluxDB on a Raspberry Pi to build a Home Automation System with the ESP32 and ESP8266. GET THE EBOOK » Throughout this eBook, you’ll learn how to build a home automation system and we’ll cover the following main subjects: Node-RED, Node-RED Dashboard, Raspberry Pi,| Random Nerd Tutorials
Discover all our ESP32 Guides with easy to follow step-by-step instructions. Each tutorial includes circuit schematics, source code, images and videos.| Random Nerd Tutorials
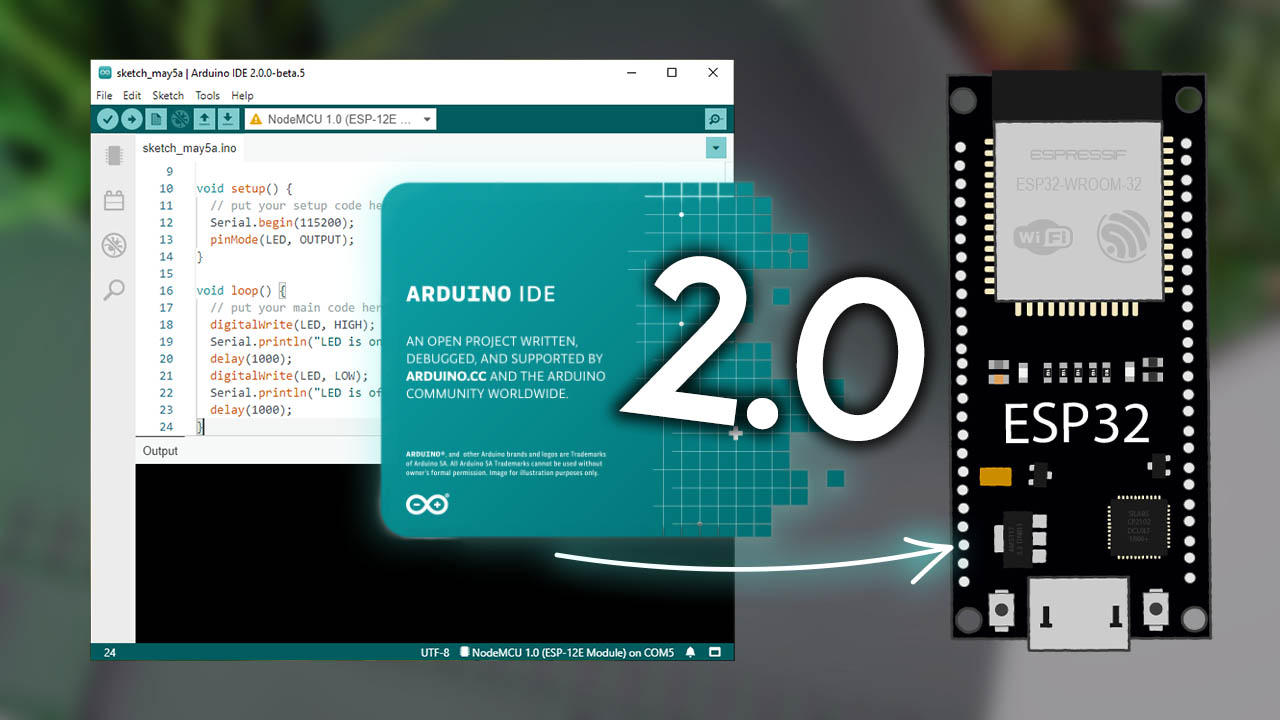
Install the ESP32 boards in Arduino IDE 2.0 and upload code to the board. This guide is compatible with Windows, Mac OS X, and Linux operating systems.| Random Nerd Tutorials
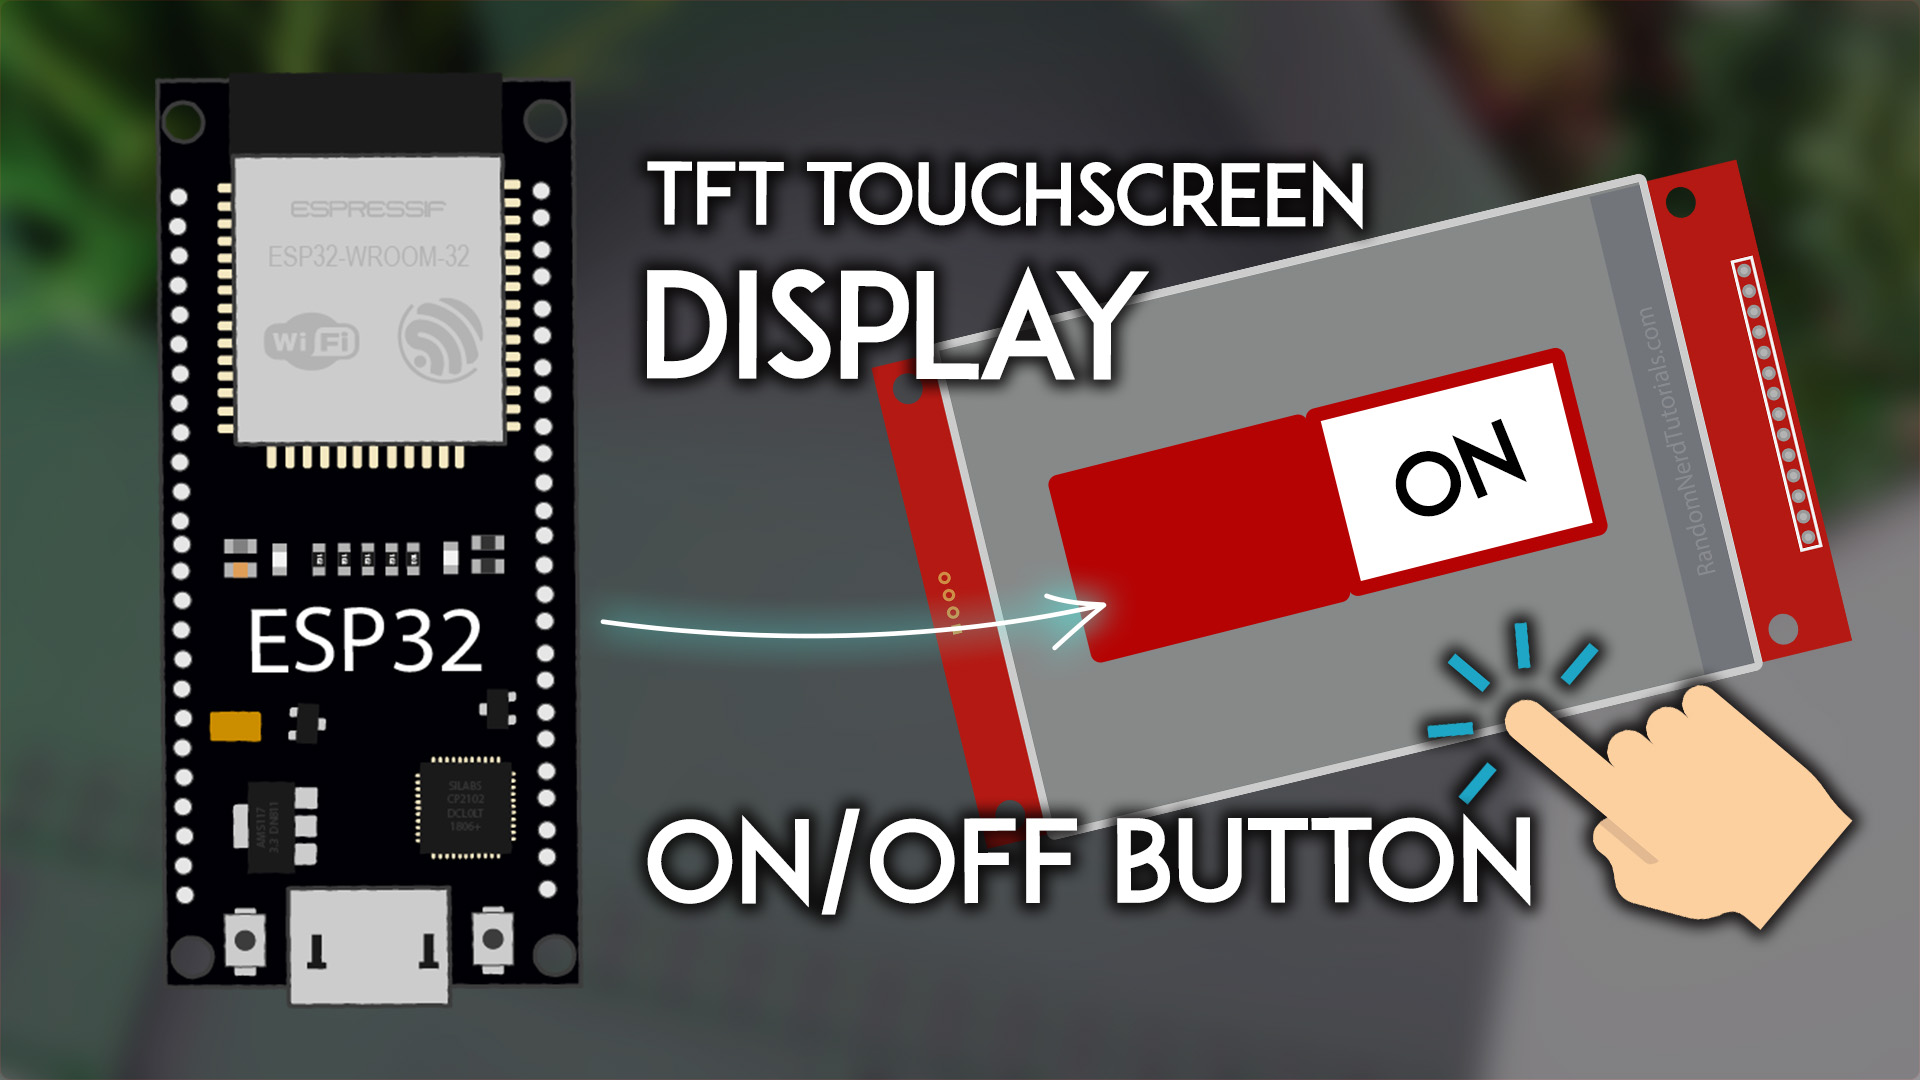
Build a simple graphical user interface (GUI) with the ESP32 and a TFT Touchscreen with 2.8 inch display (240×320 px) with ILI9341 driver. It will have an ON and OFF button.| Random Nerd Tutorials
Program the ESP32 and ESP8266 NodeMCU boards using VS Code (Visual Studio) with PlatformIO IDE extension. Install the software on Windows, Mac OS X or Ubuntu operating systems.| Random Nerd Tutorials
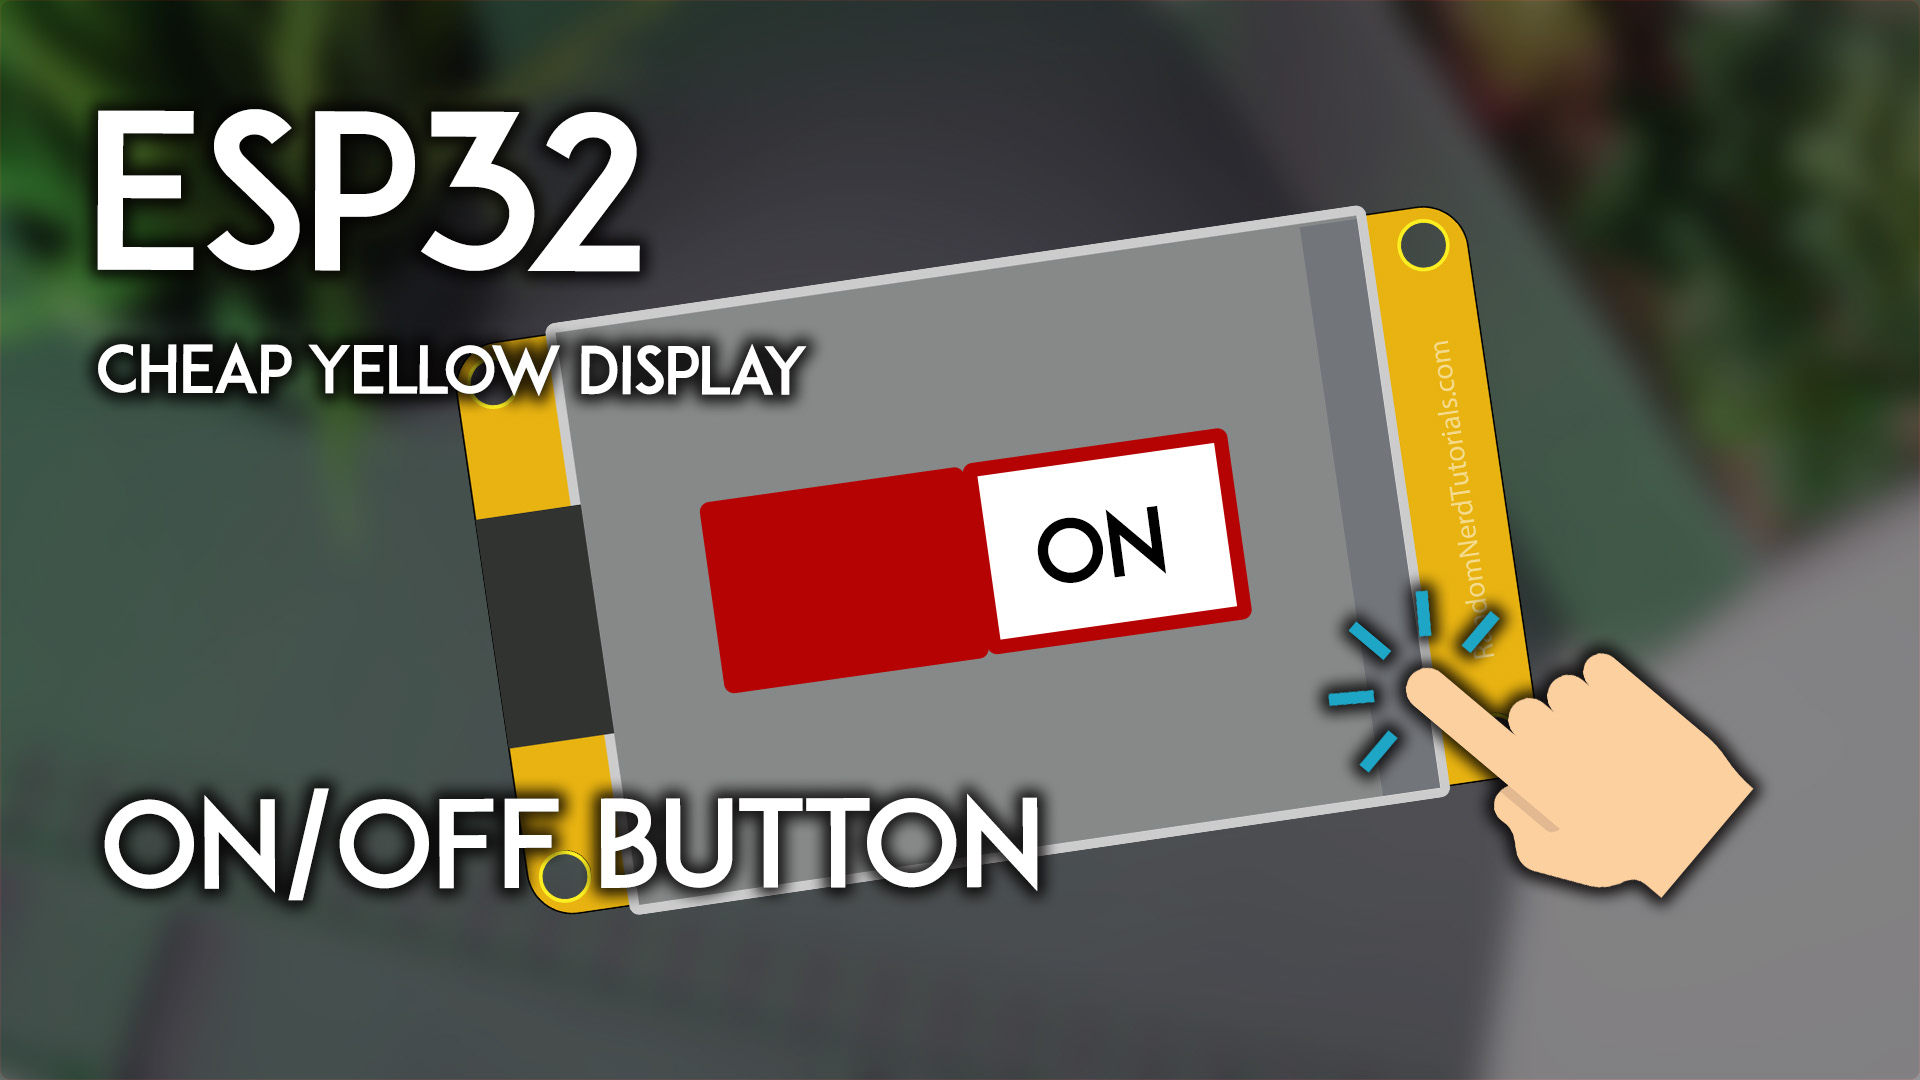
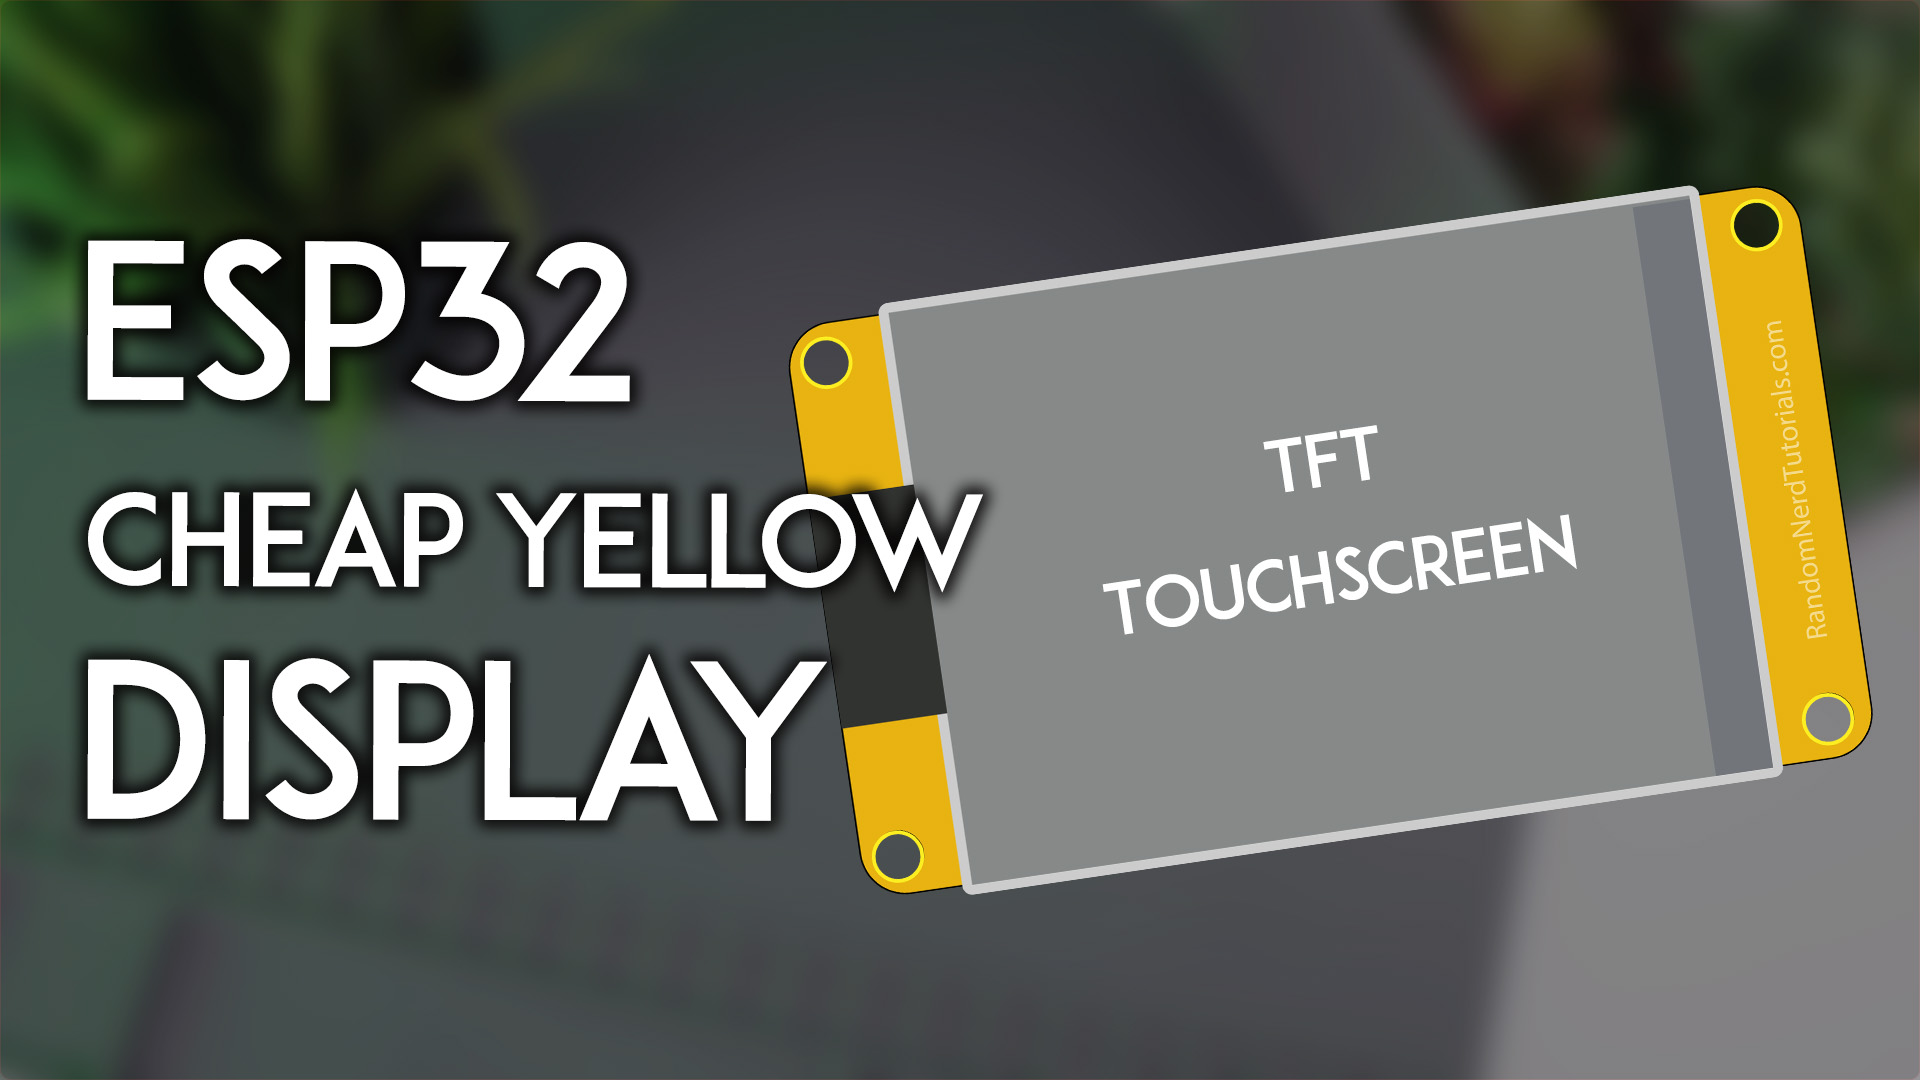
Create a simple graphical user interface (GUI) with the ESP32 Cheap Yellow Display (ESP32-2432S028R). The TFT display will have an ON and OFF button that you can use to control an output.| Random Nerd Tutorials
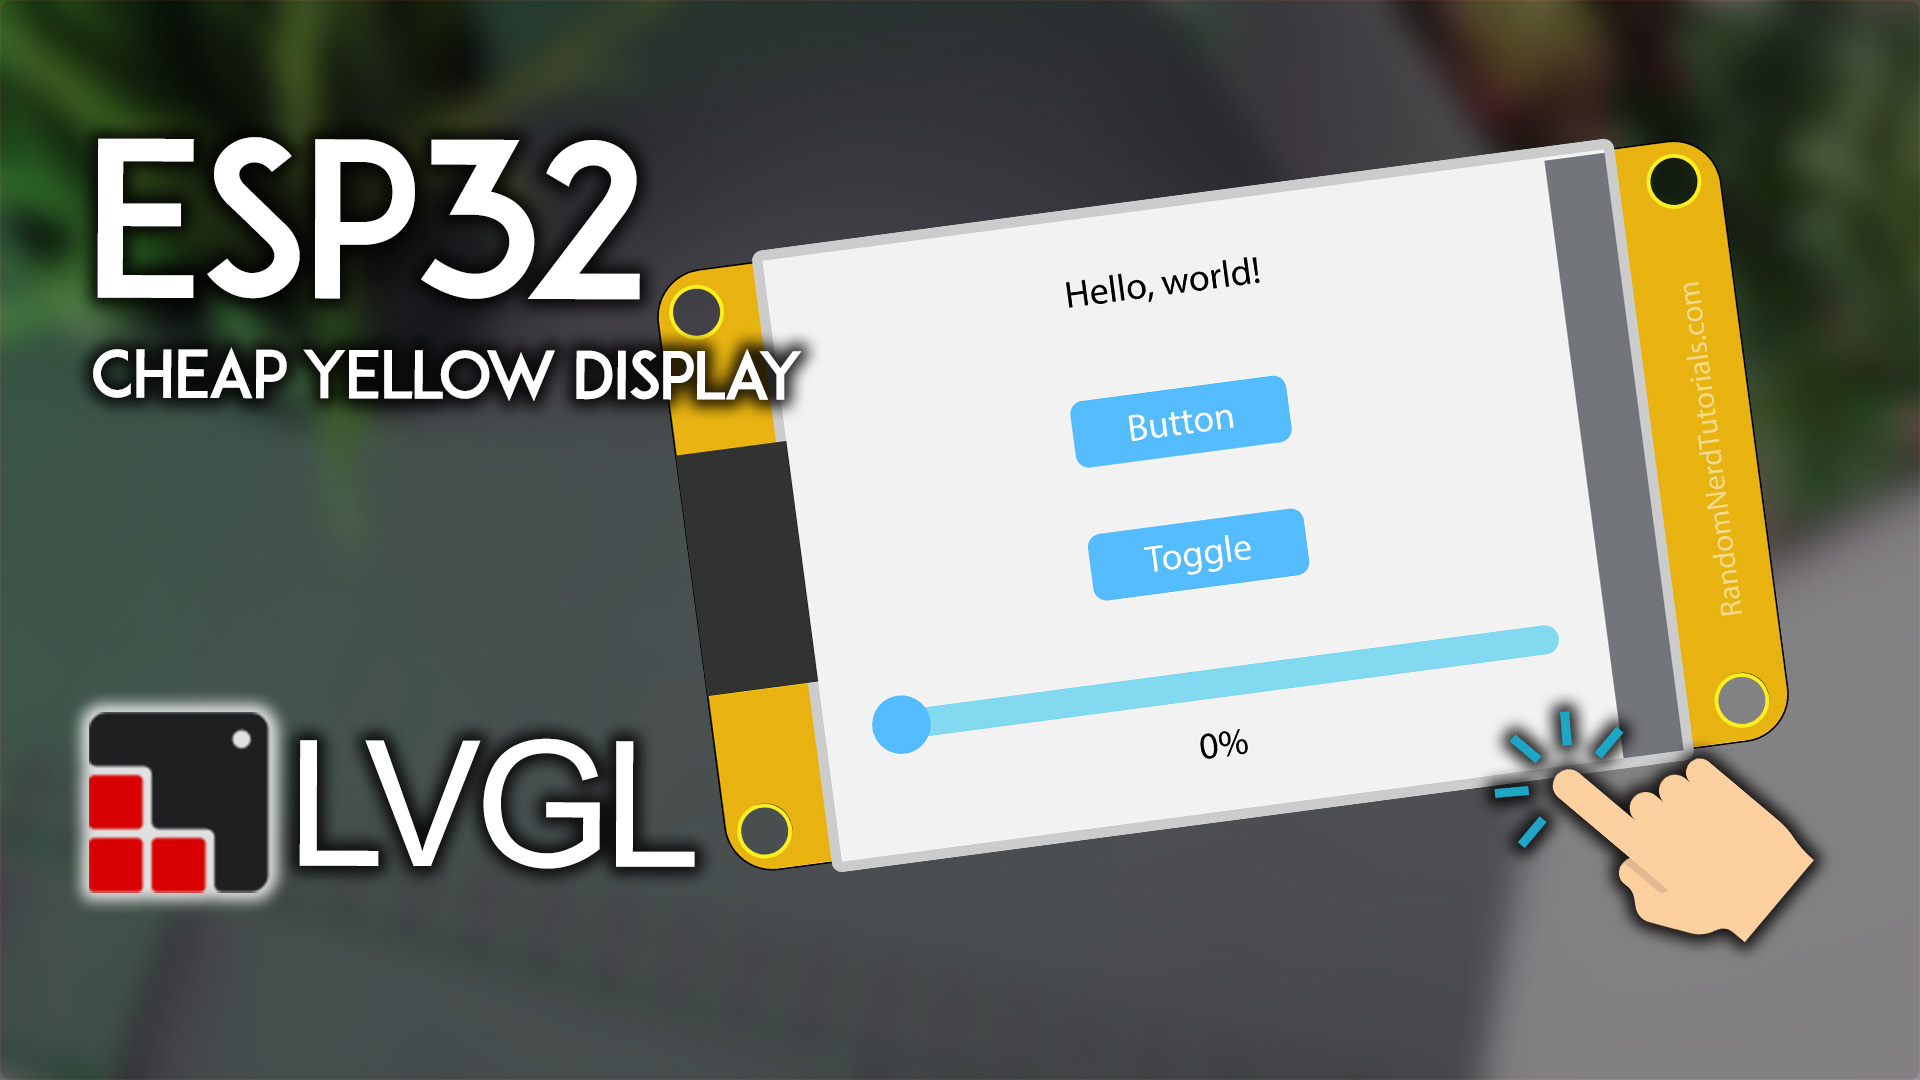
Get started with LVGL (Light and Versatile Graphics Library) with the ESP32 Cheap Yellow Display (ESP32-2432S028R). LVGL is a popular embedded graphics library to create awesome UIs for many microcontrollers and displays| Random Nerd Tutorials
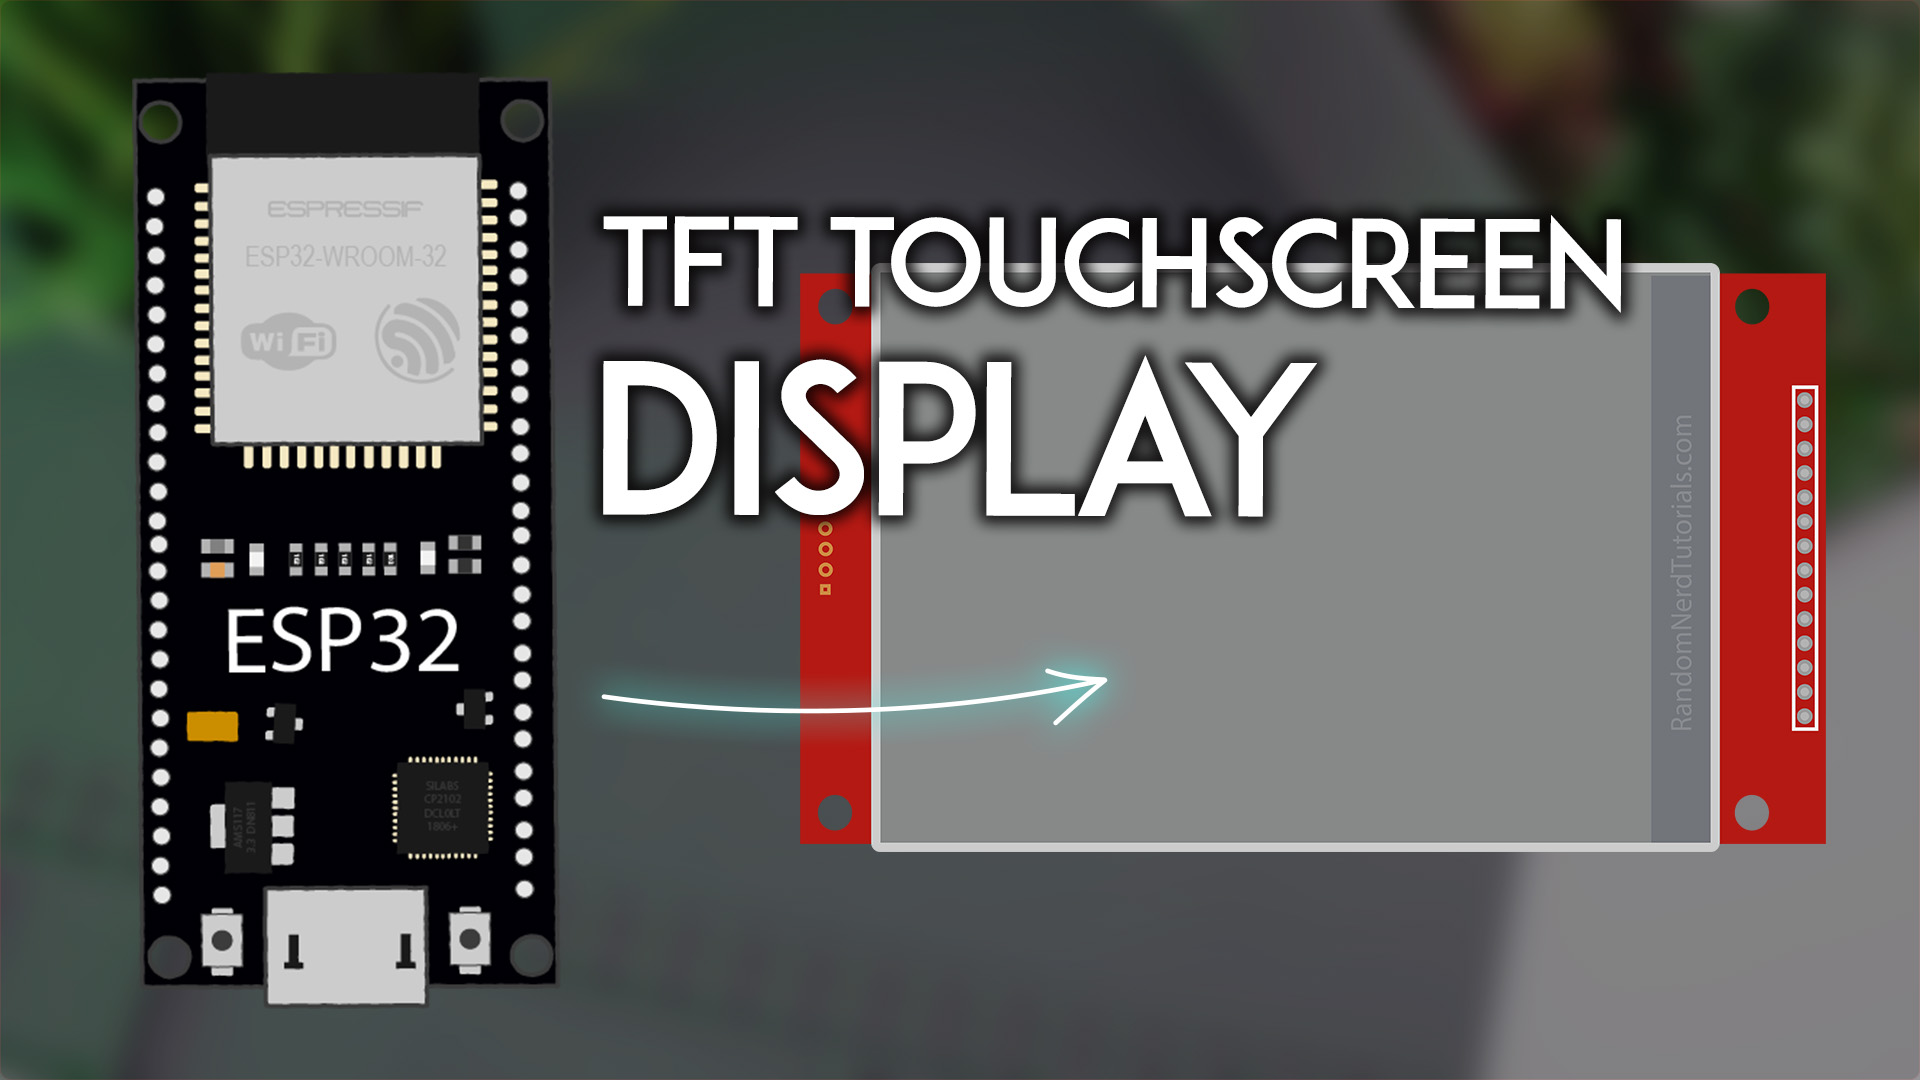
Get started with the TFT LCD Touchscreen Display with the ESP32 board. This TFT Touchscreen display with 2.8 inch (240×320 px) comes with the ILI9341 driver.| Random Nerd Tutorials
Take a look at the ESP32 Cheap Yellow Display (CYD) Pinout - ESP32-2432S028R. Which pins are used to control the display, touchscreen, microSD card and available GPIOs| Random Nerd Tutorials
Get started with the ESP32 Cheap Yellow Display (ESP32-2432S028R). This is a TFT Touchscreen display LCD with an ESP32 dev board. This is a great to build graphical user interfaces (GUI) to your IoT projects.| Random Nerd Tutorials
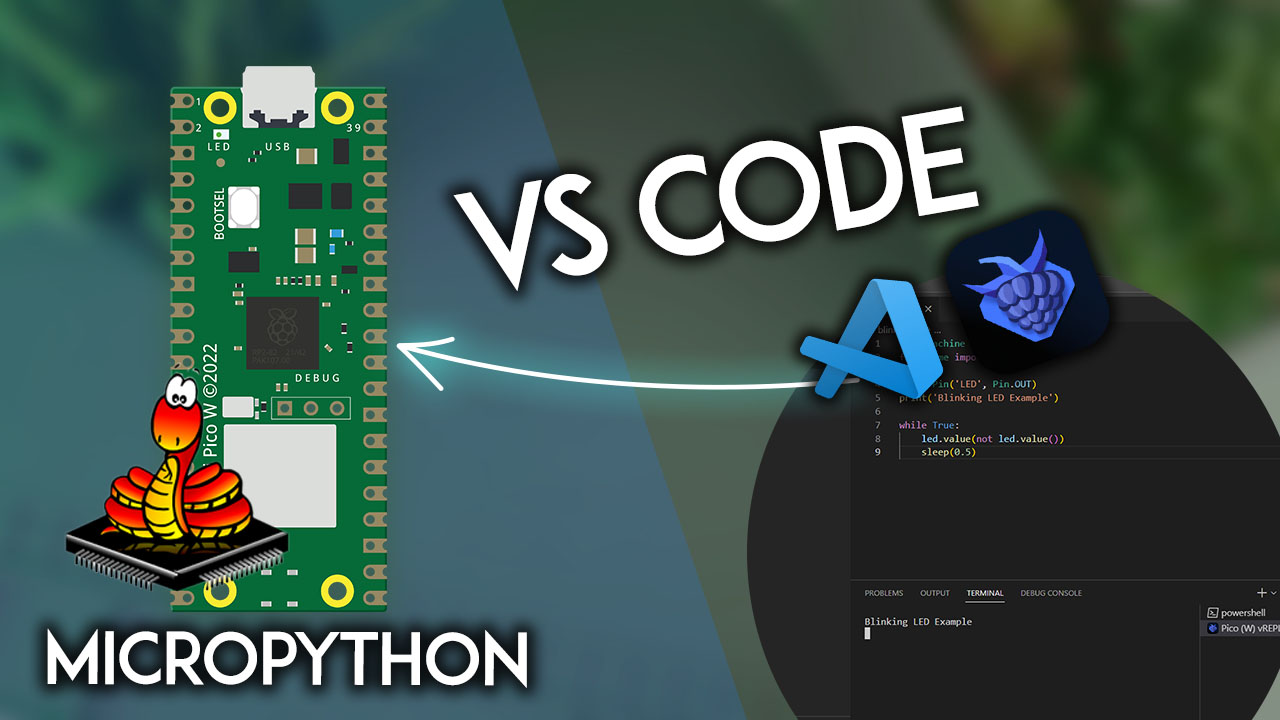
Learn how to program the Raspberry Pi Pico board with MicroPython using VS Code (Visual Studio) Editor and the MicroPico extension (previously called Pico-W-Go).| Random Nerd Tutorials
Discover all our MicroPython Guides for the ESP32 and ESP8266 with easy to follow step-by-step instructions. Each tutorial includes schematics and source code.| Random Nerd Tutorials
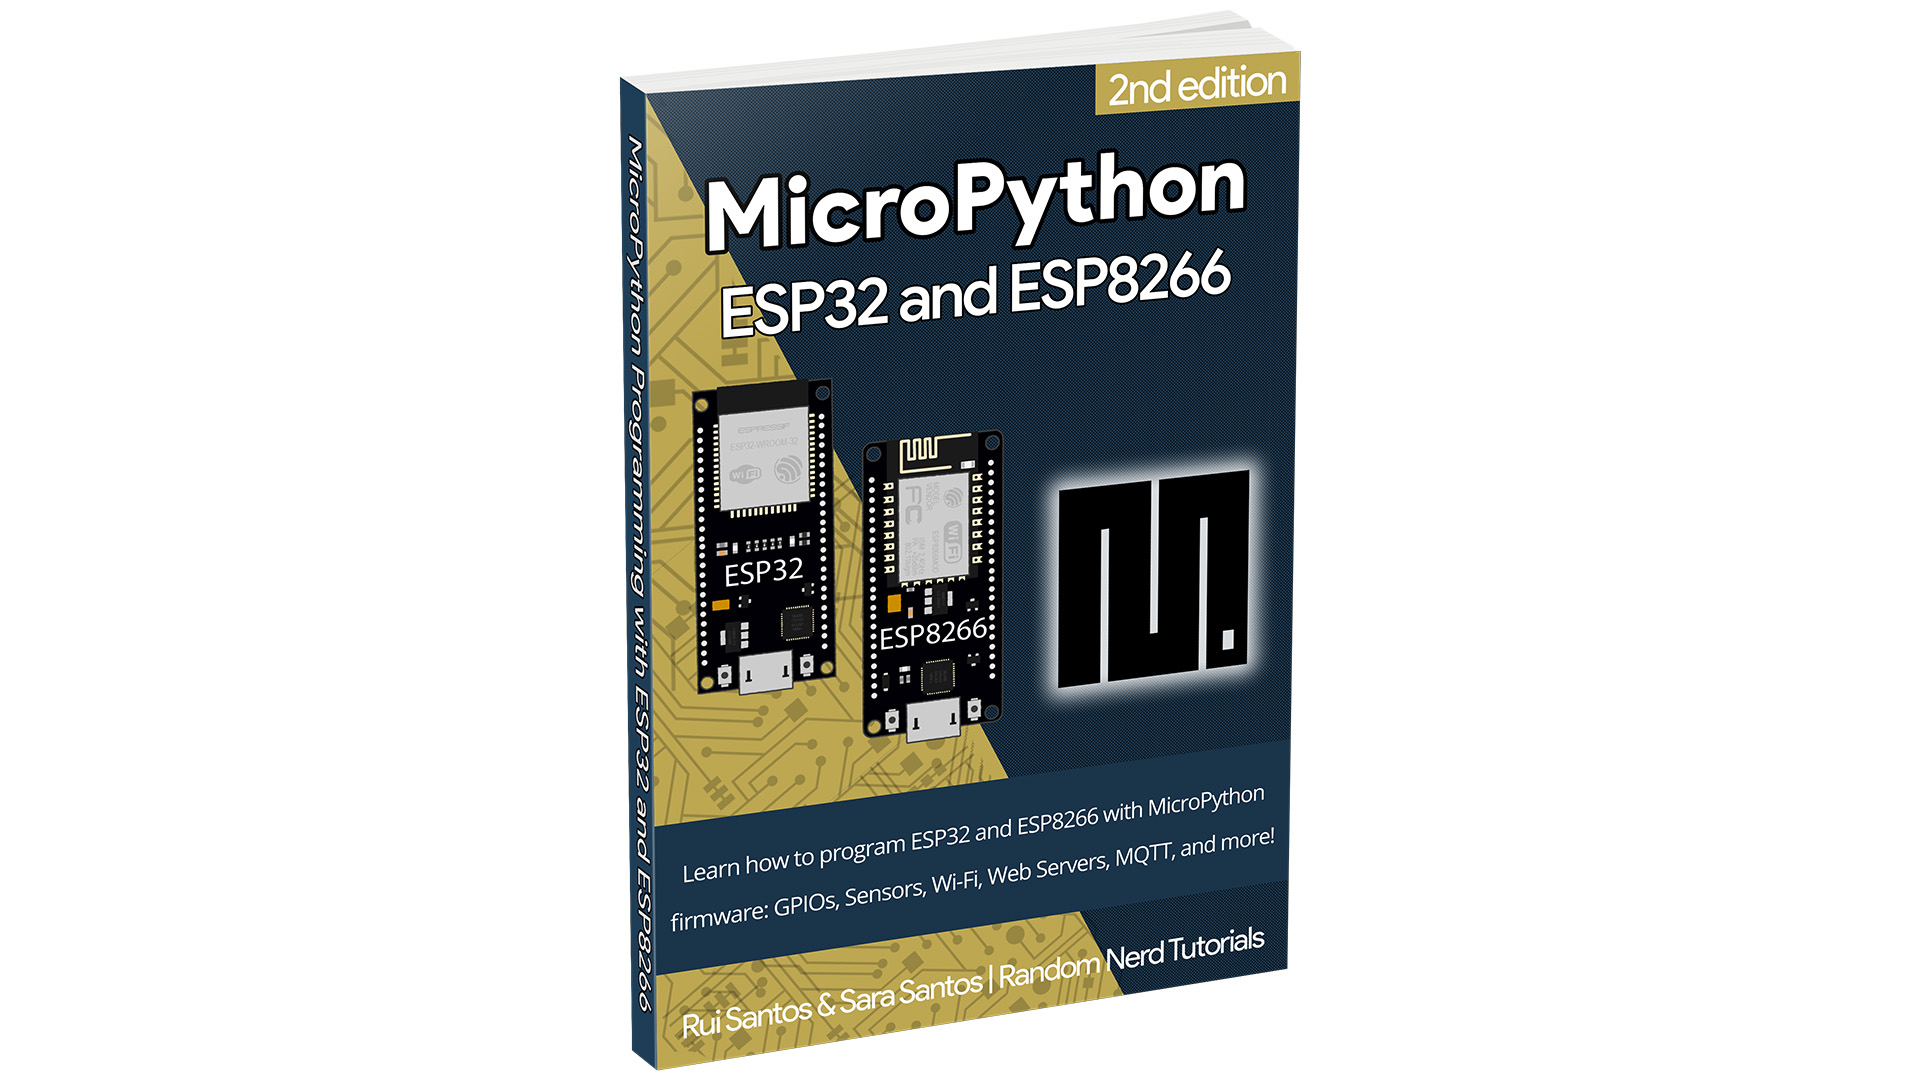
Learn how to program the ESP32 and ESP8266 with MicroPython firmware with our eBook. This is one of the easiest ways to program your ESP32 and ESP8266 boards!| Random Nerd Tutorials
In this guide, you'll learn how to program your ESP32 and ESP8266 boards with MicroPython using VS Code Editor (Visual Studio Code) with the Pymakr extension.| Random Nerd Tutorials
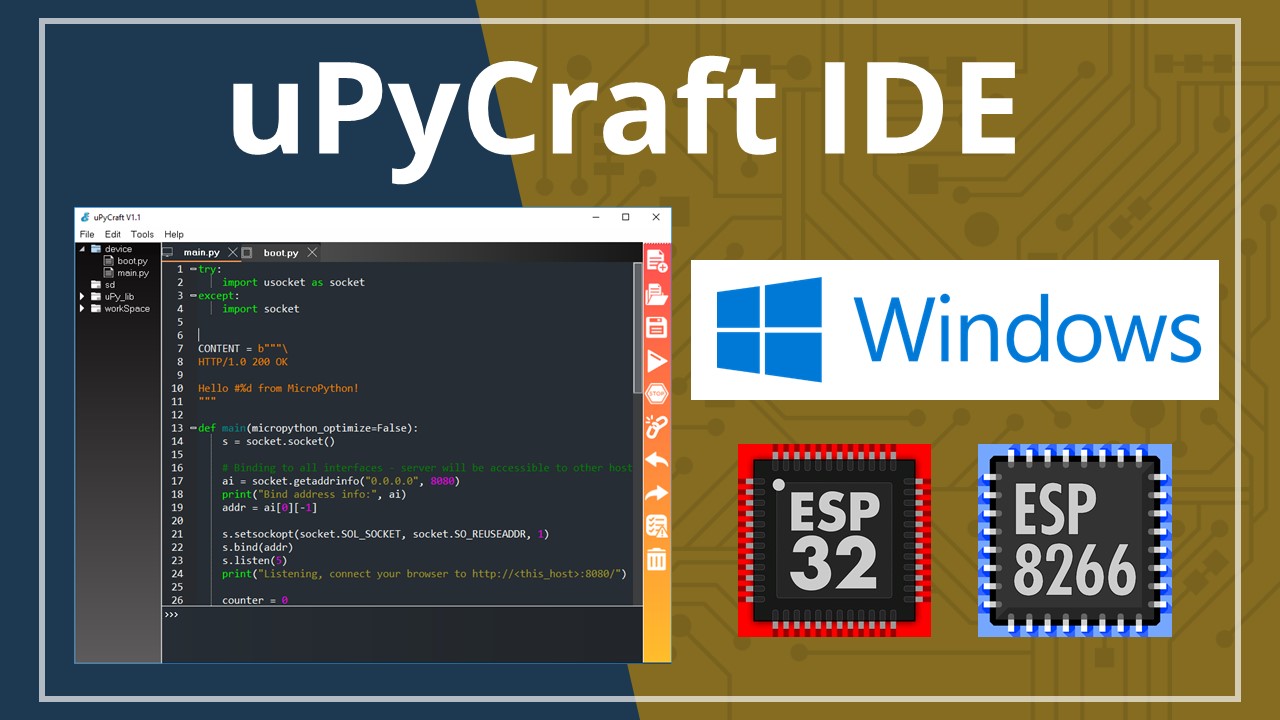
We recommend using the uPyCraft IDE to program ESP32 or ESP8266 boards using MicroPython firmware. This post shows how to install uPyCraft IDE on a Windows PC.| Random Nerd Tutorials
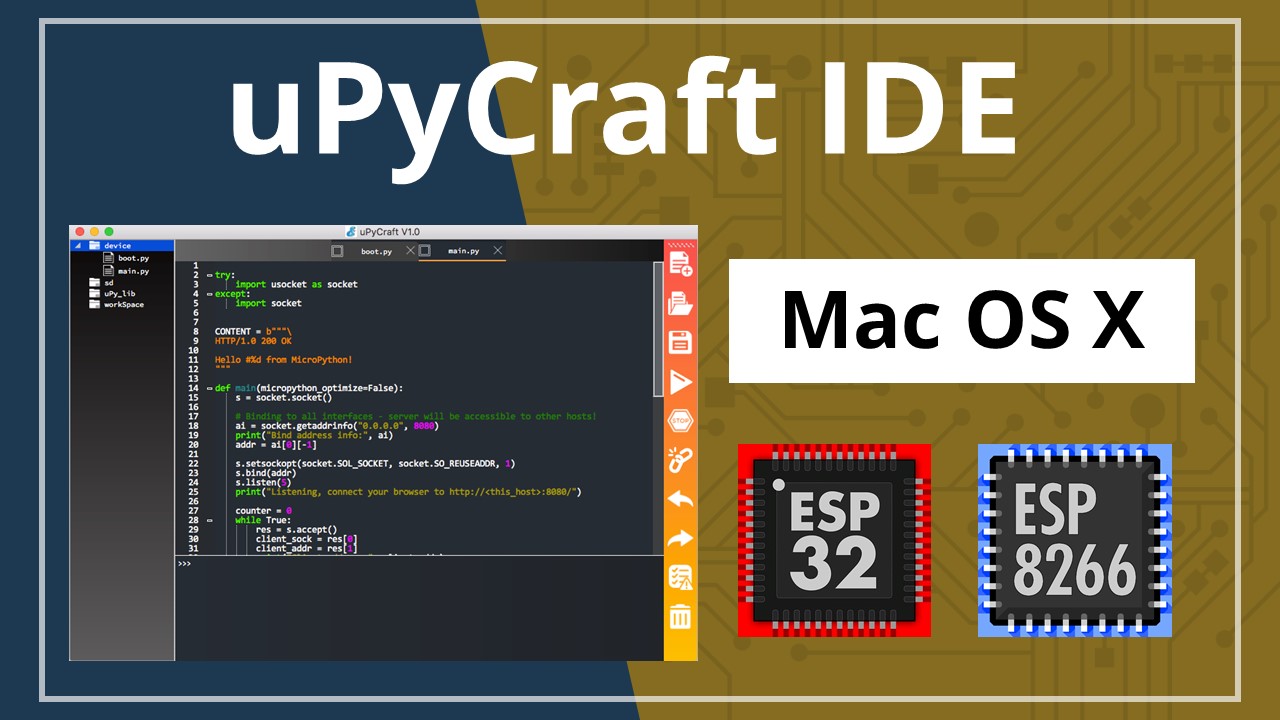
We recommend using the uPyCraft IDE to program ESP32 or ESP8266 boards using MicroPython firmware. This post shows how to install uPyCraft IDE on Mac OS X.| Random Nerd Tutorials
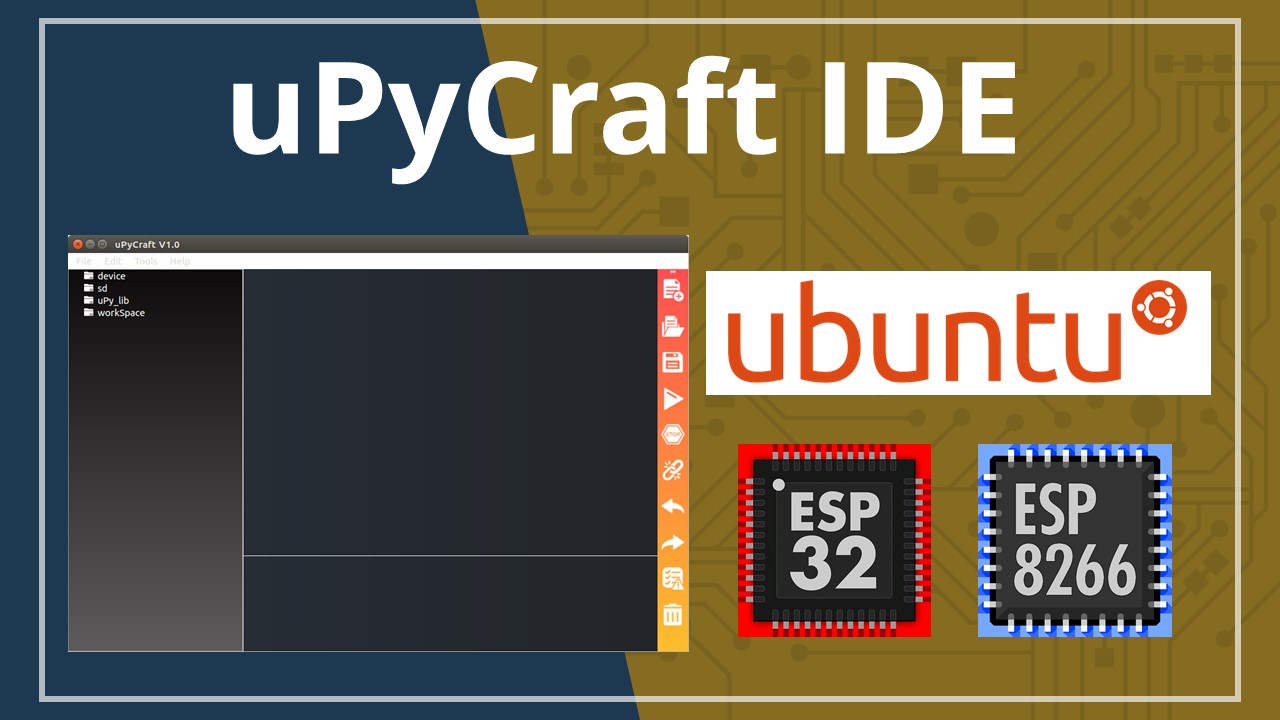
We recommend using the uPyCraft IDE to program ESP32 or ESP8266 boards using MicroPython firmware. This post shows how to install uPyCraft IDE on Linux Ubuntu.| Random Nerd Tutorials
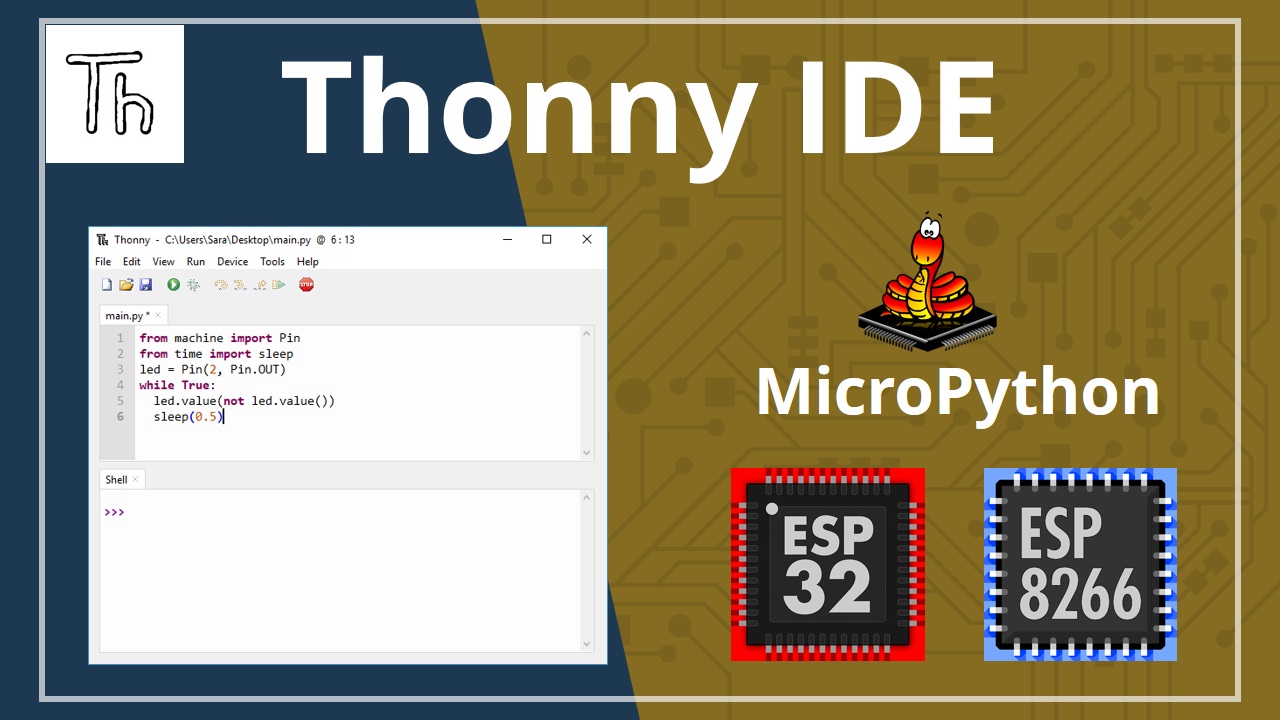
If you want to program your ESP32 and ESP8266 with MicroPython firmware, it’s very handy to use an IDE. In this guide, we’ll introduce you to Thonny IDE.| Random Nerd Tutorials